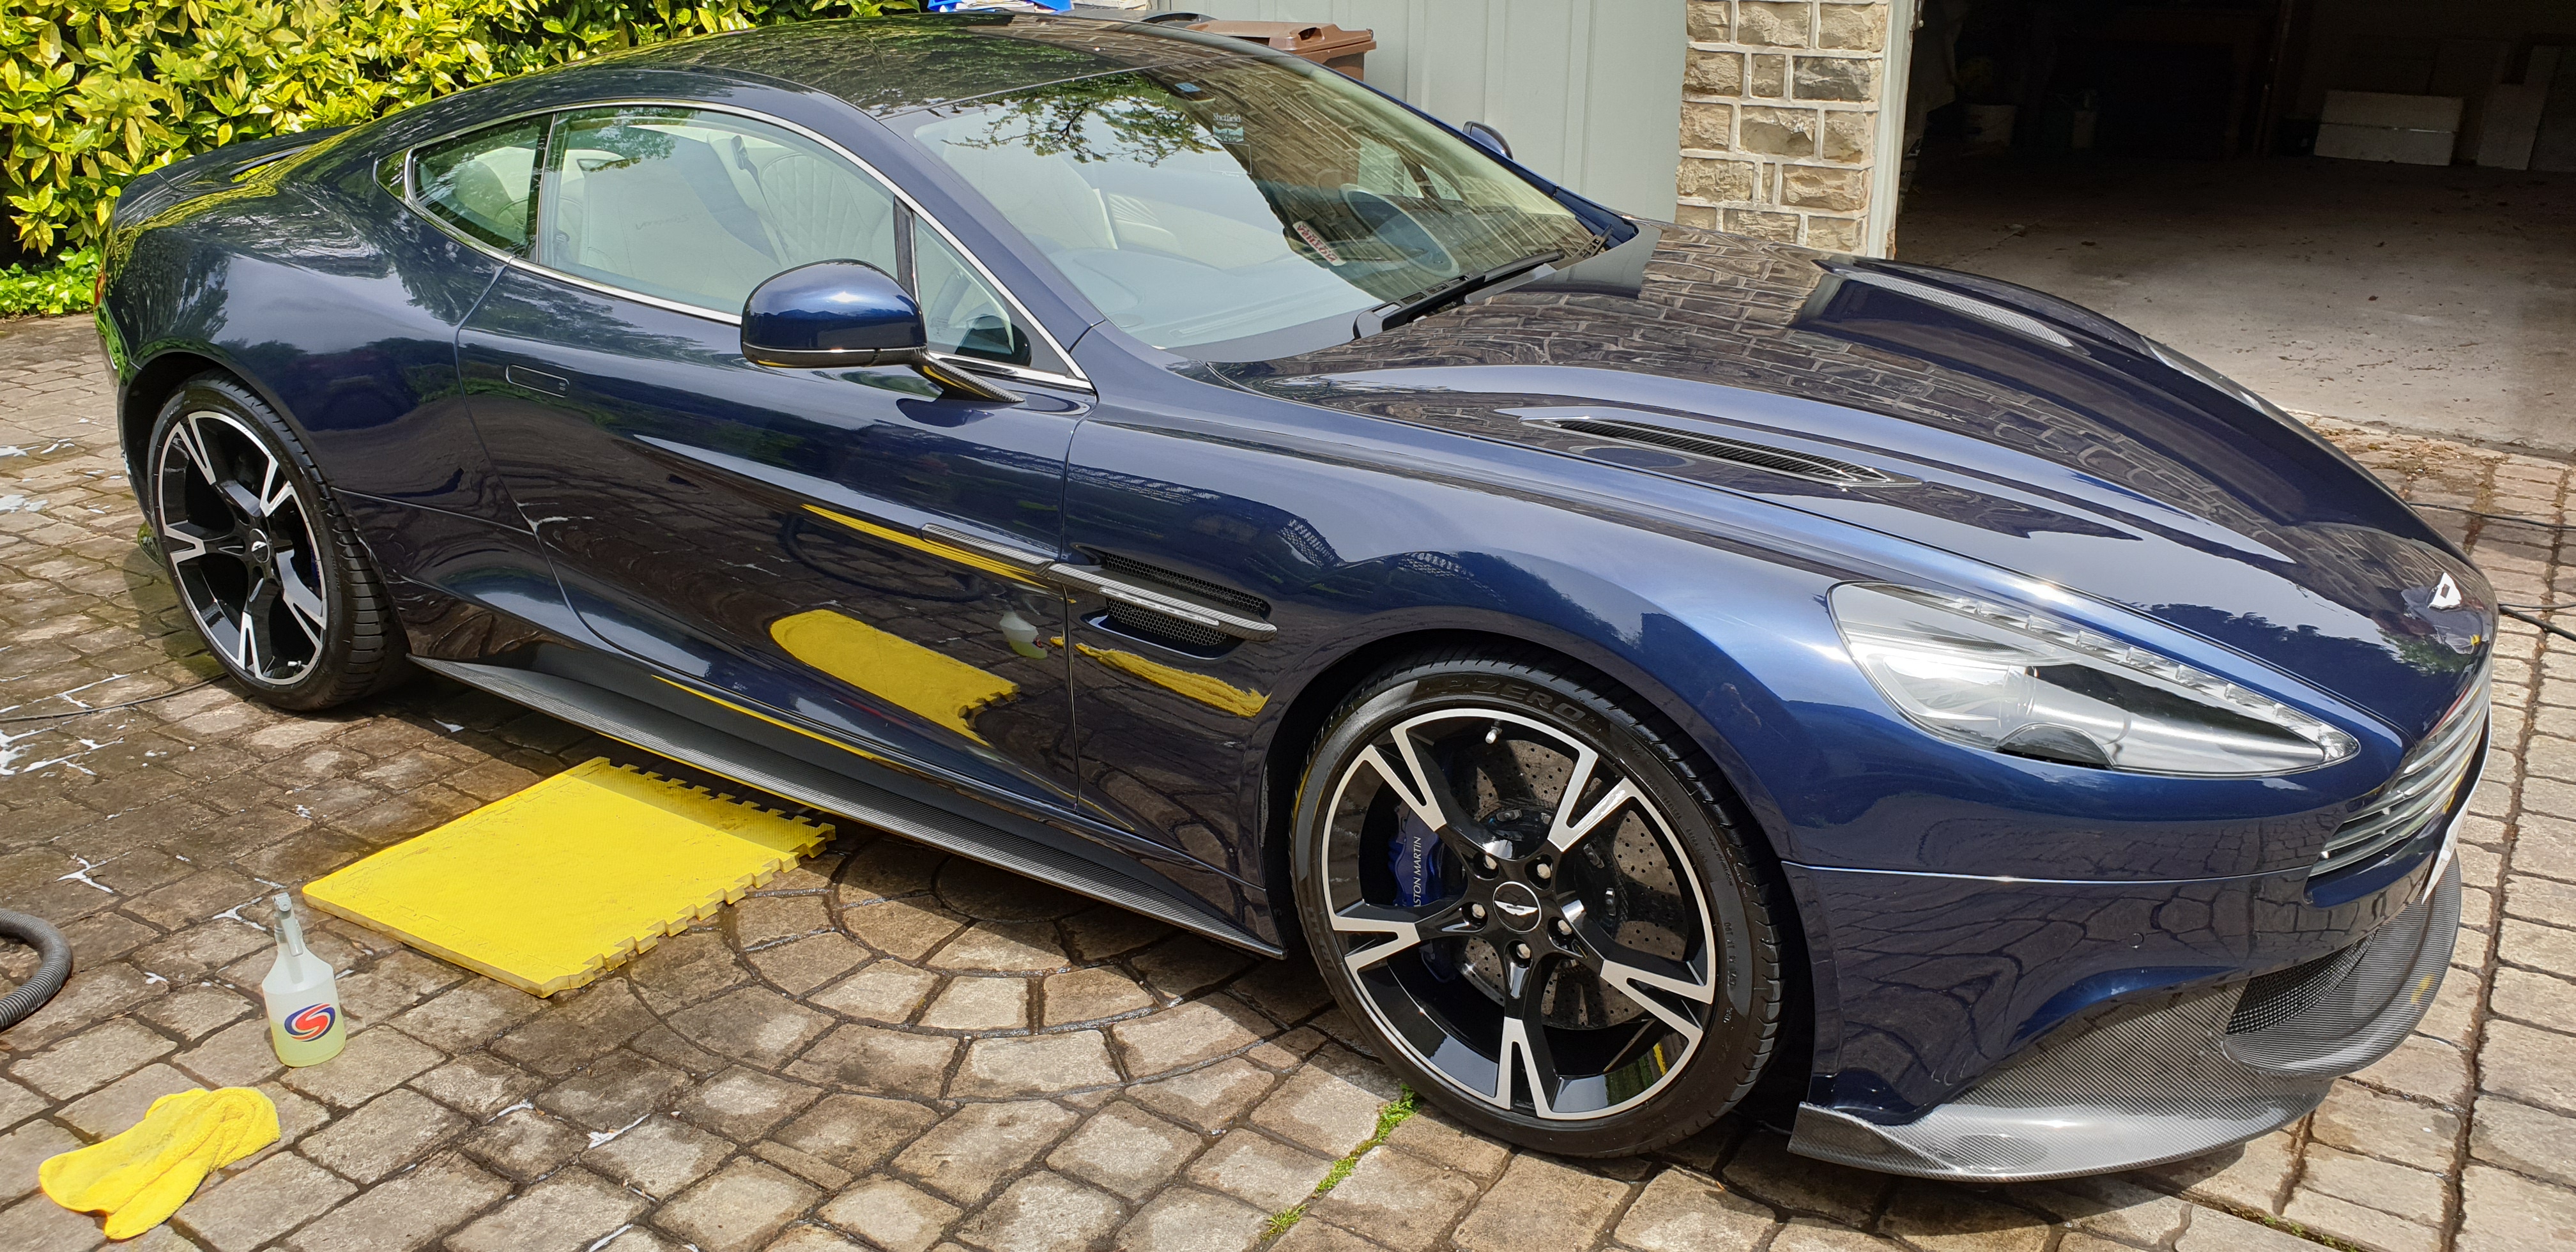
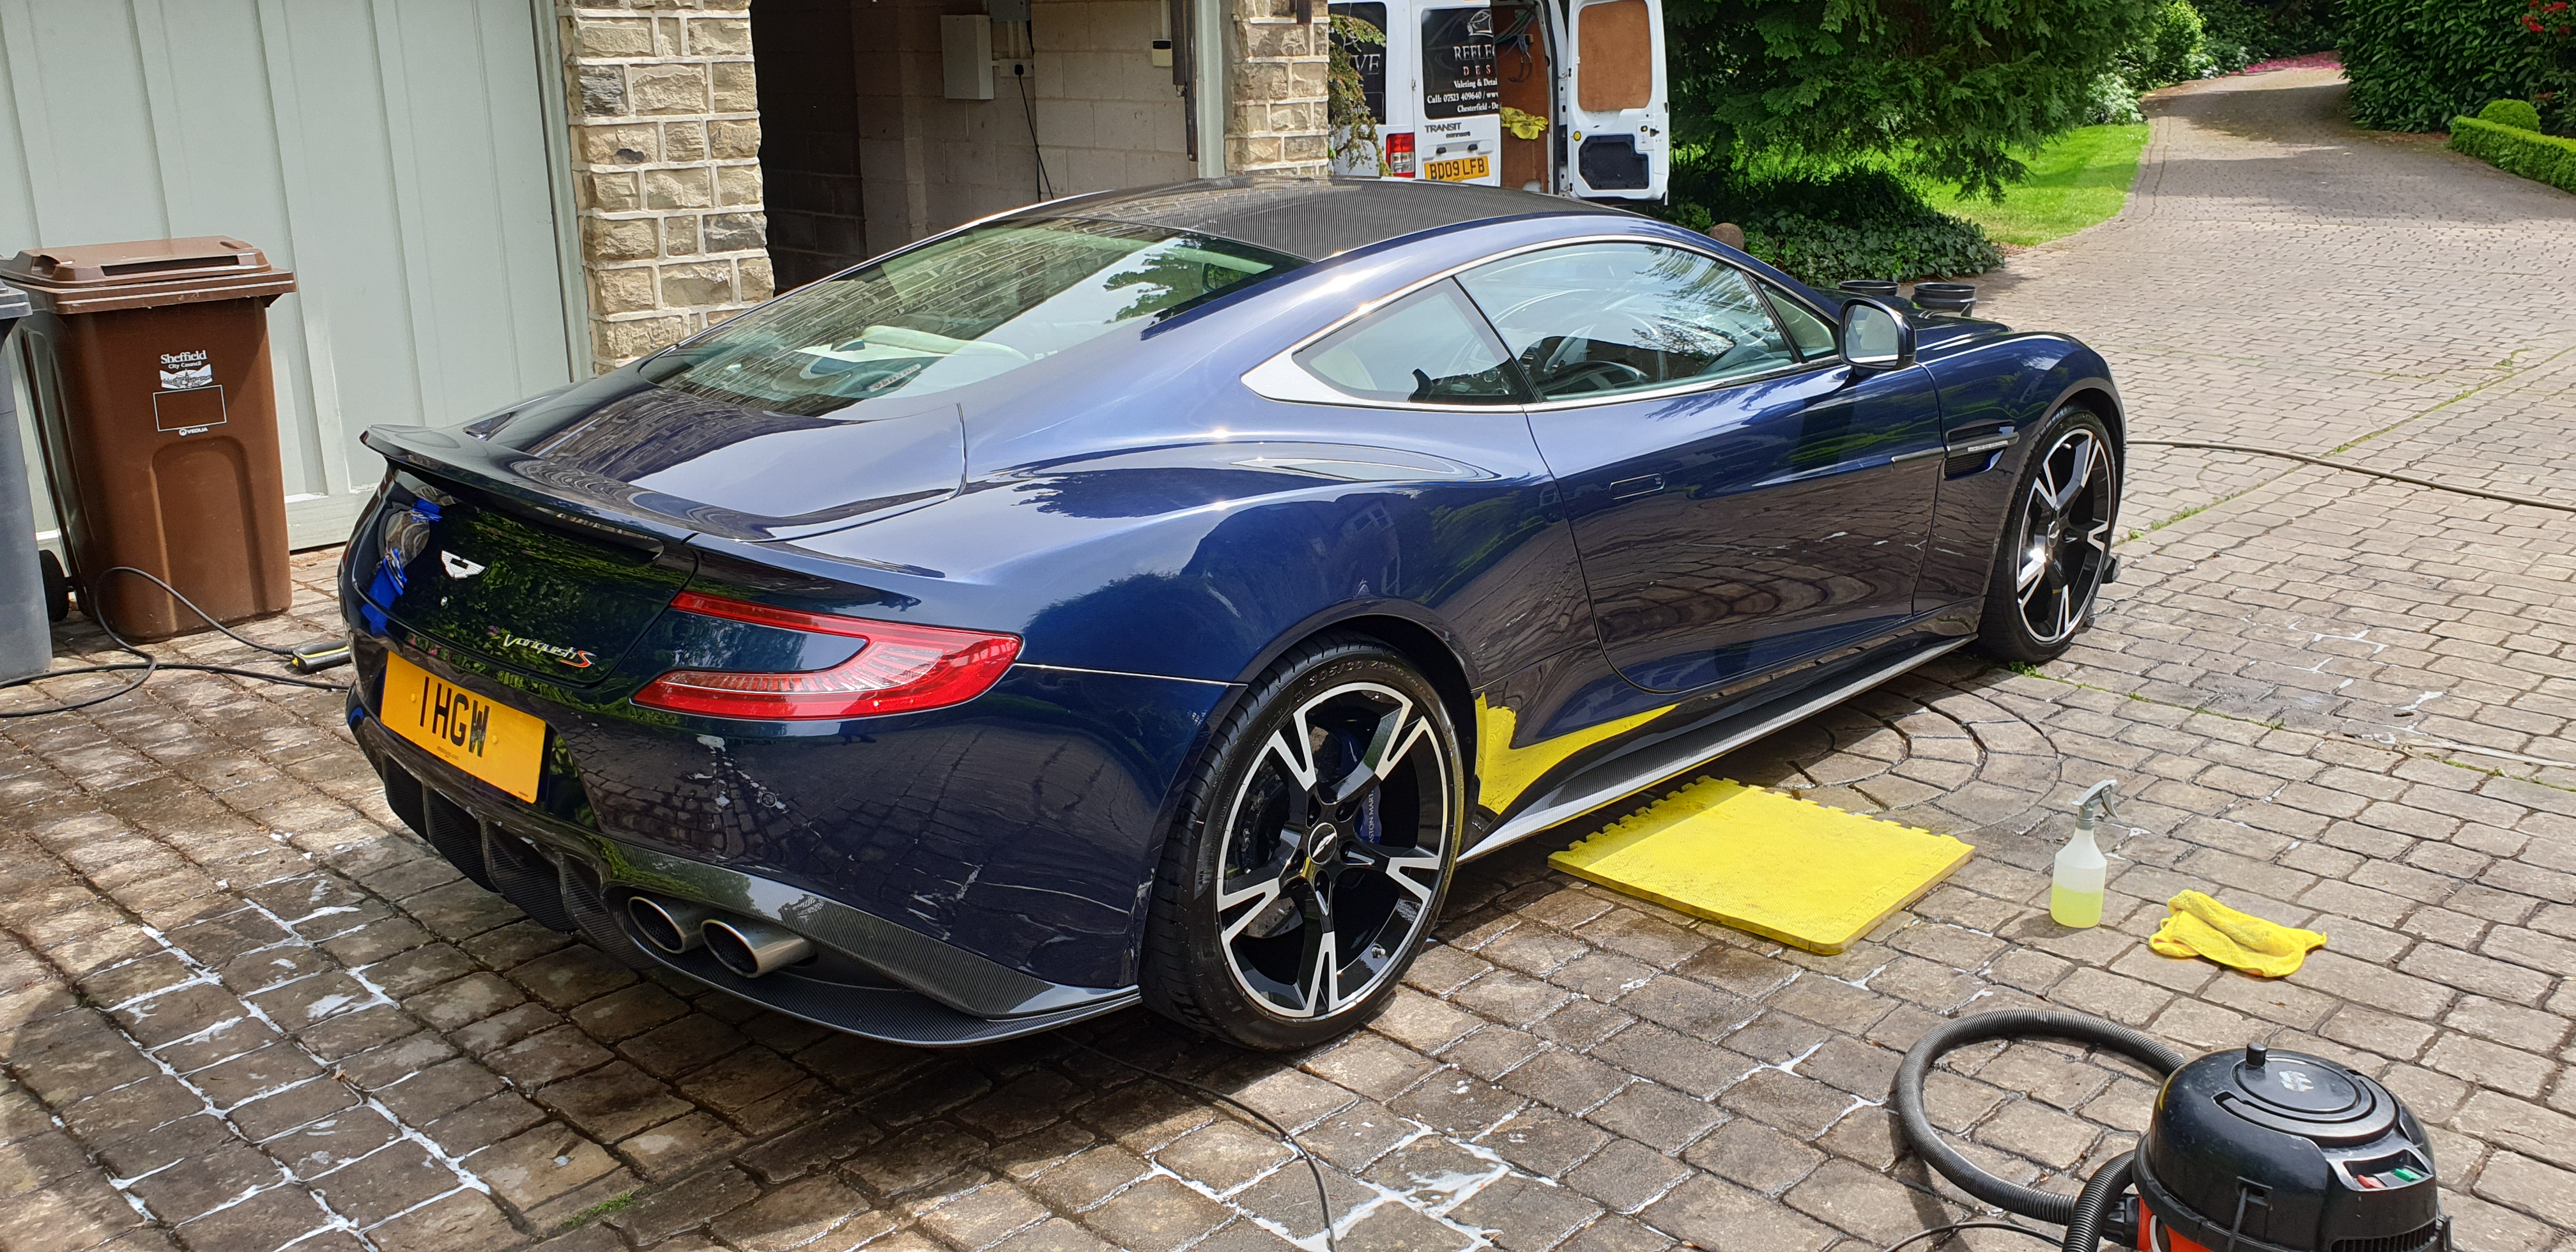
A full decontamination and sealant was applied to this stunning Aston Martin the other day.
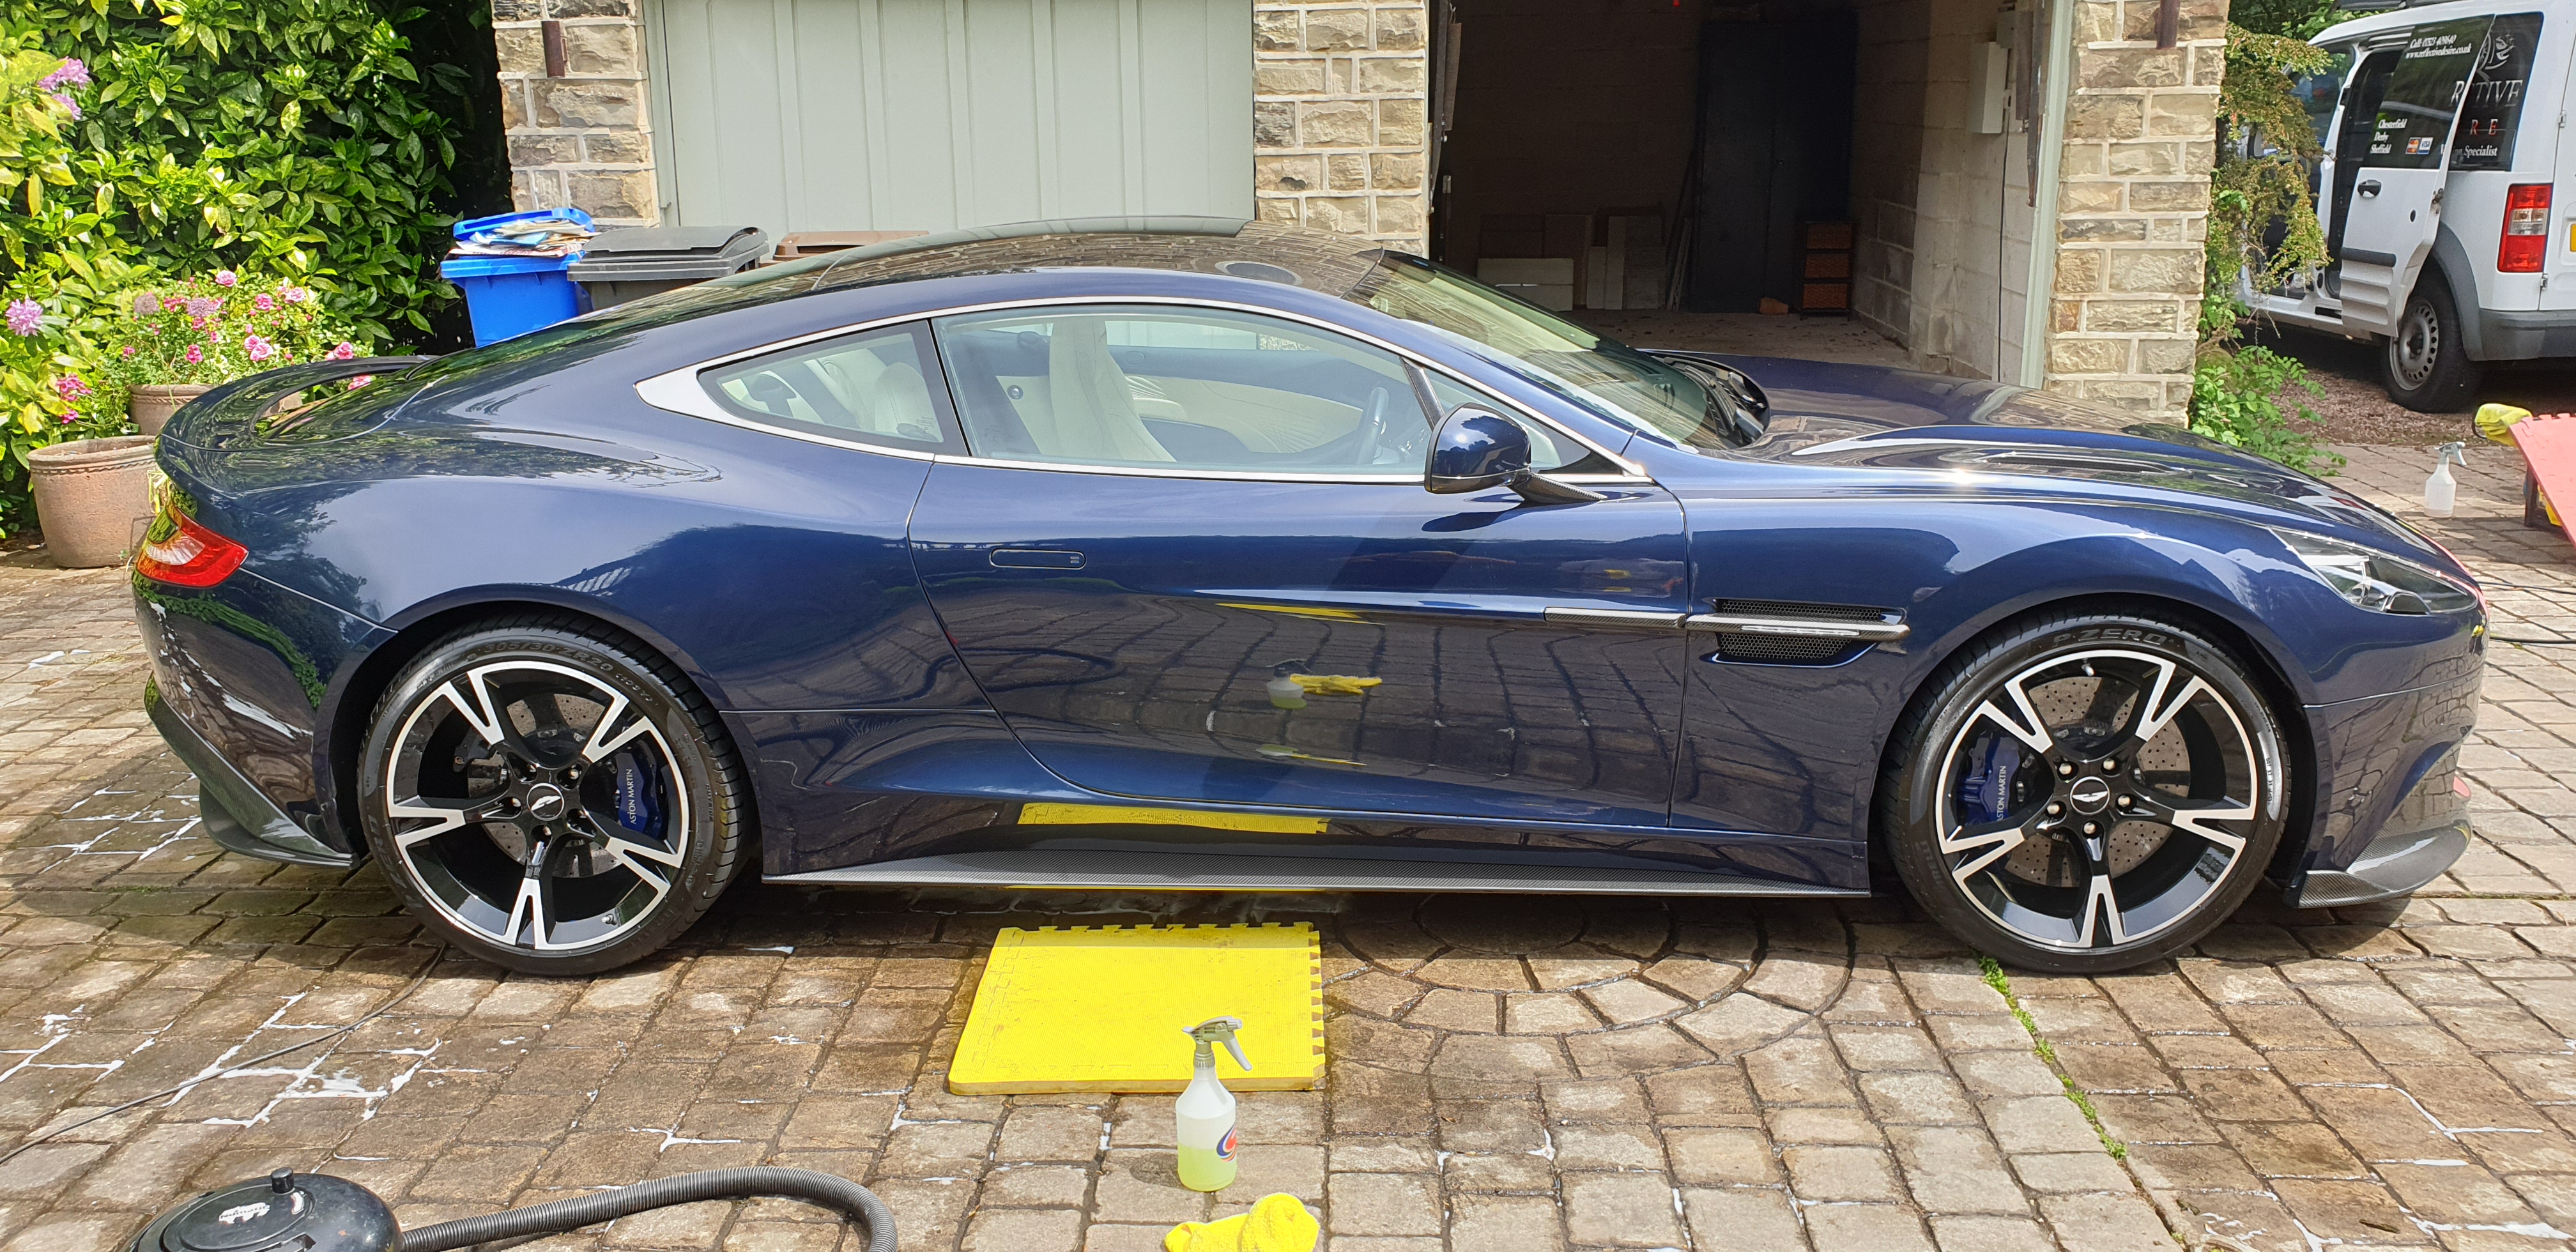
Aston Martin V12 Vanquish S Snow foaming
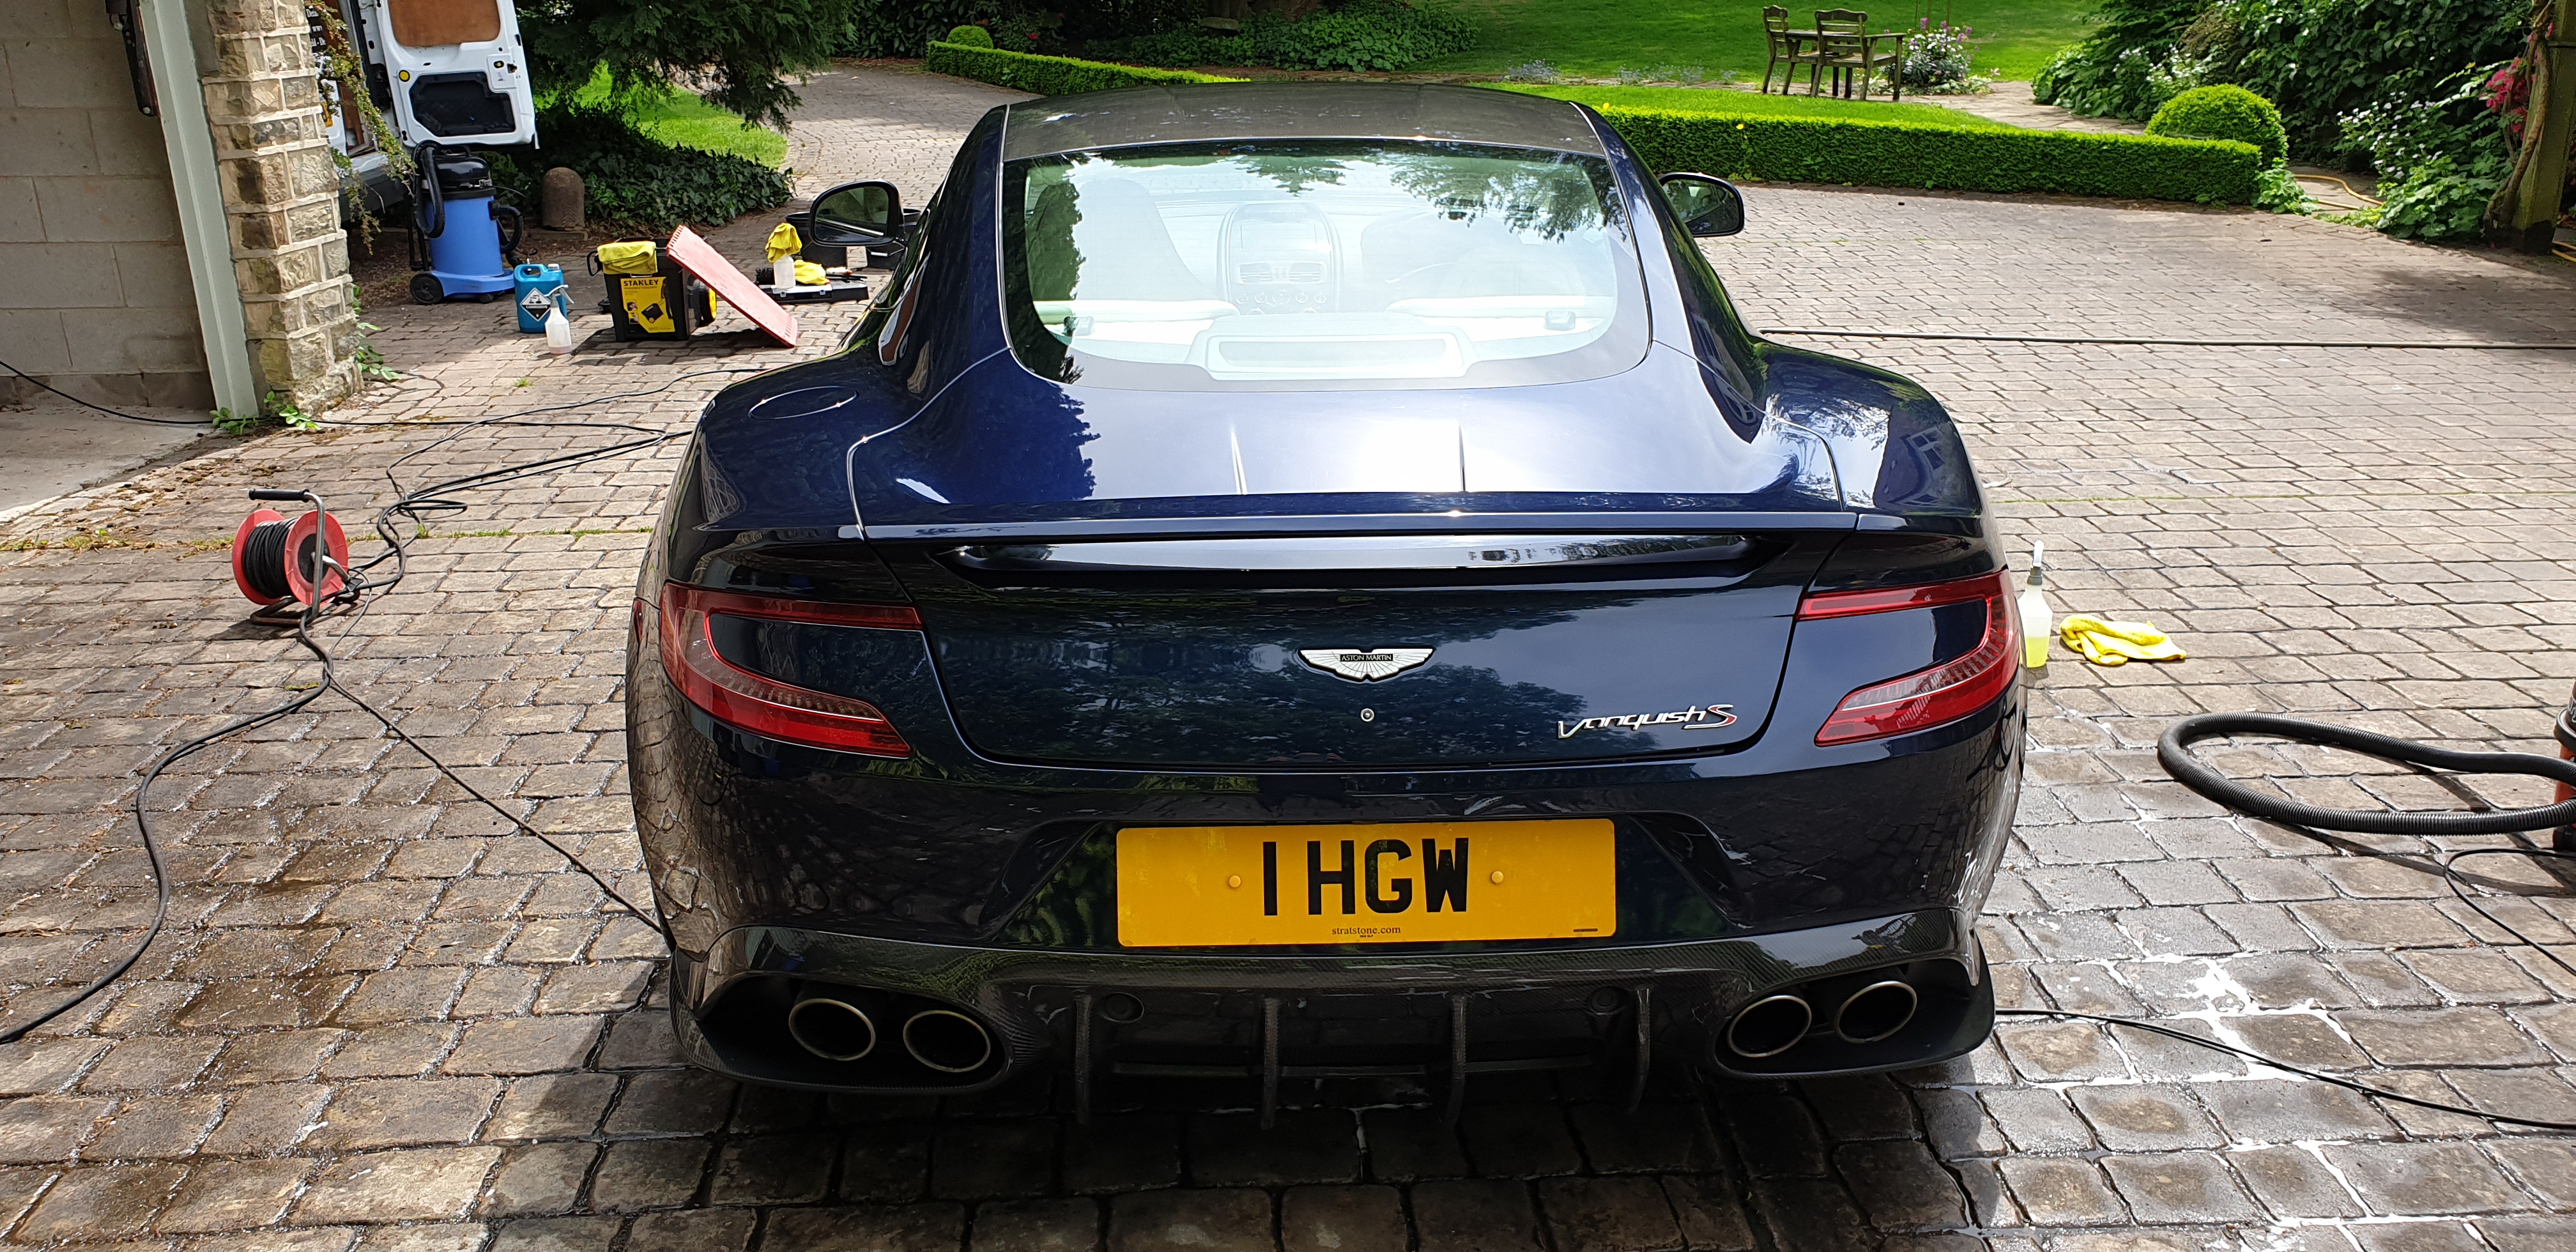
Aston Martin V12 Vanquish S
Pre-rinse with a citrus cleaner, then a snow foam to break up any mud and make it safer for the 2 bucket method wash. Afterwards, a claybar, then a de-tar and iron x treatment.
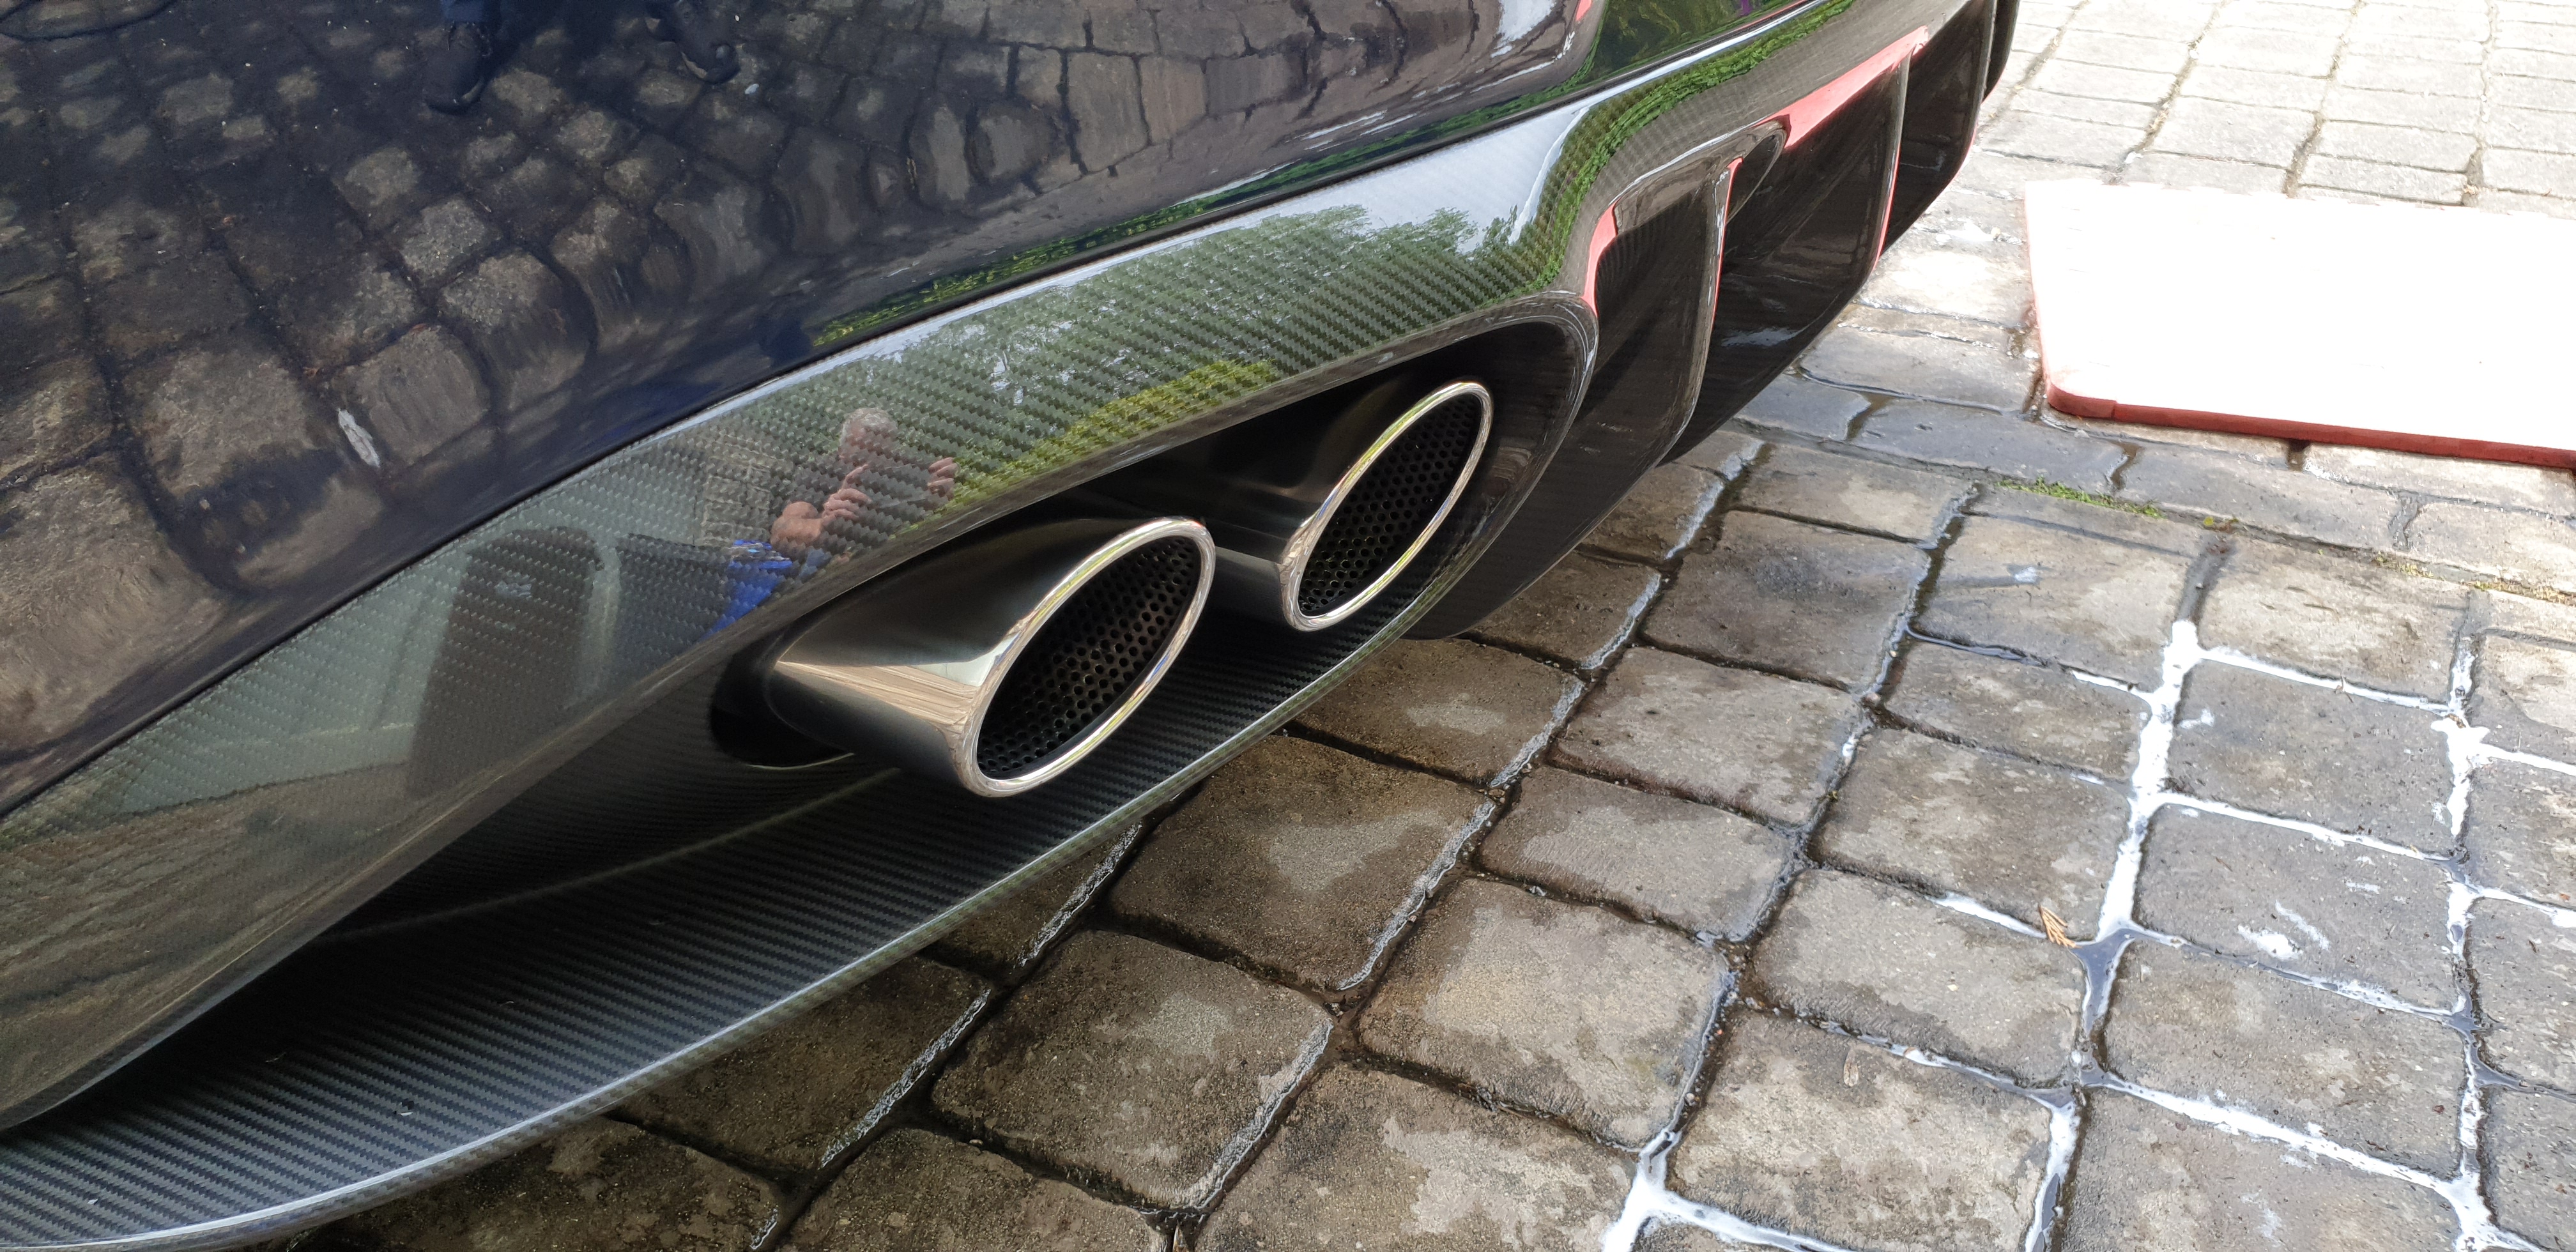
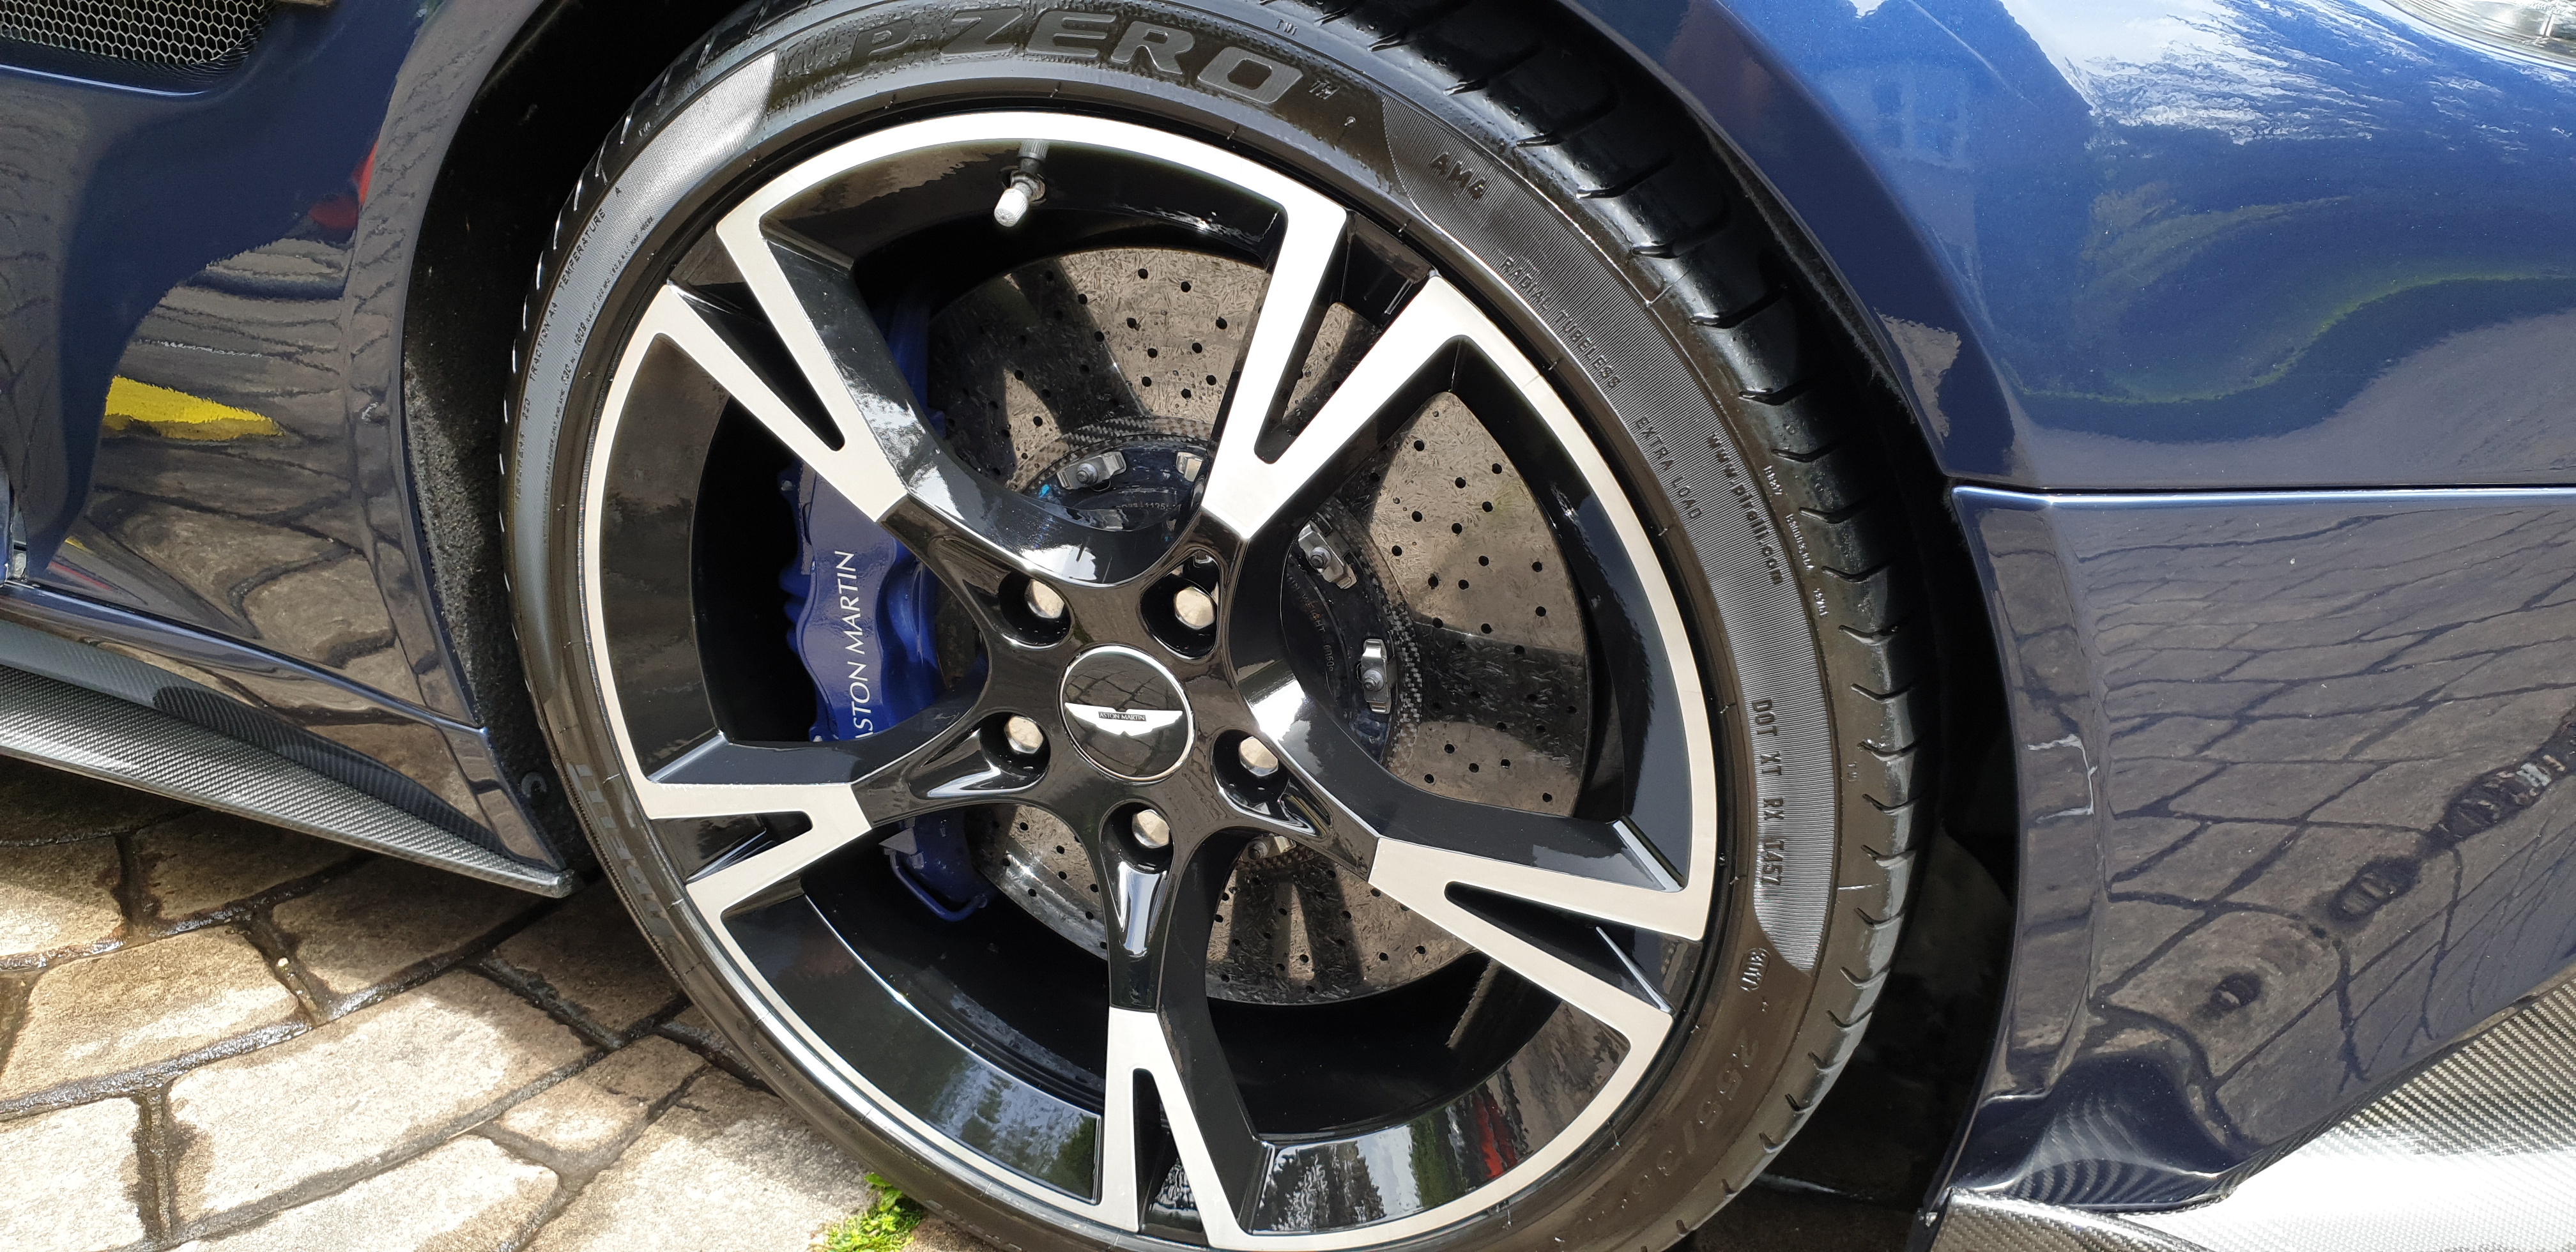
The exhausts were polished with Autosol and the wheels coated with a durable high temp wax.
Aston Martin Vanquish exhaust tips after polishing
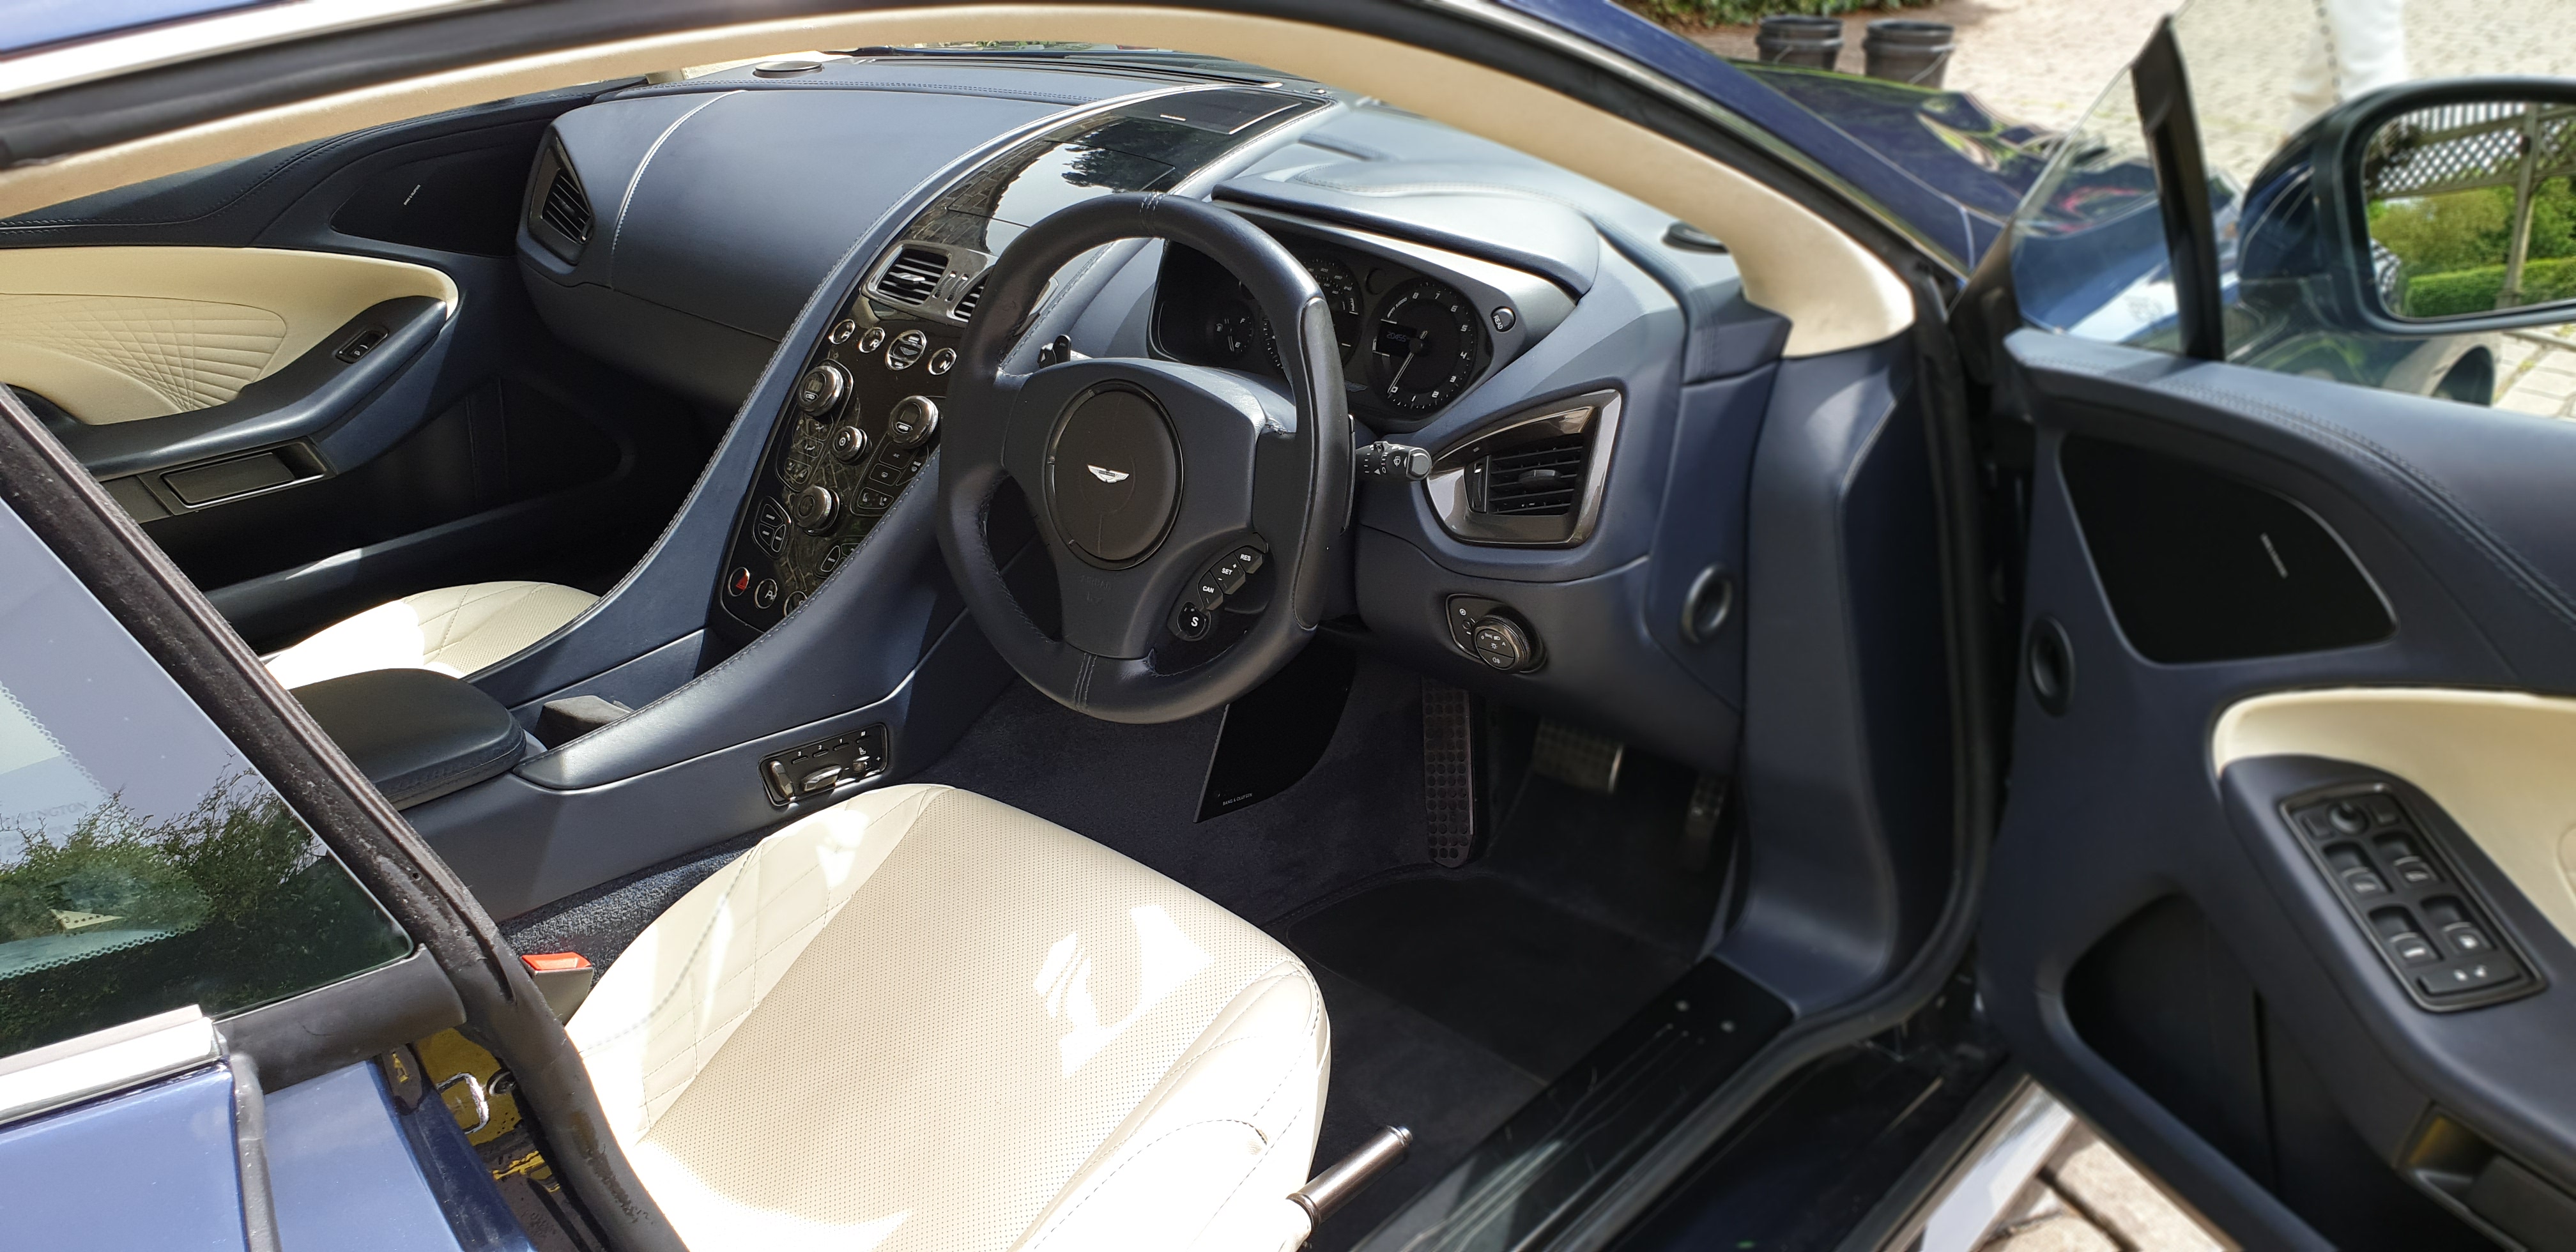
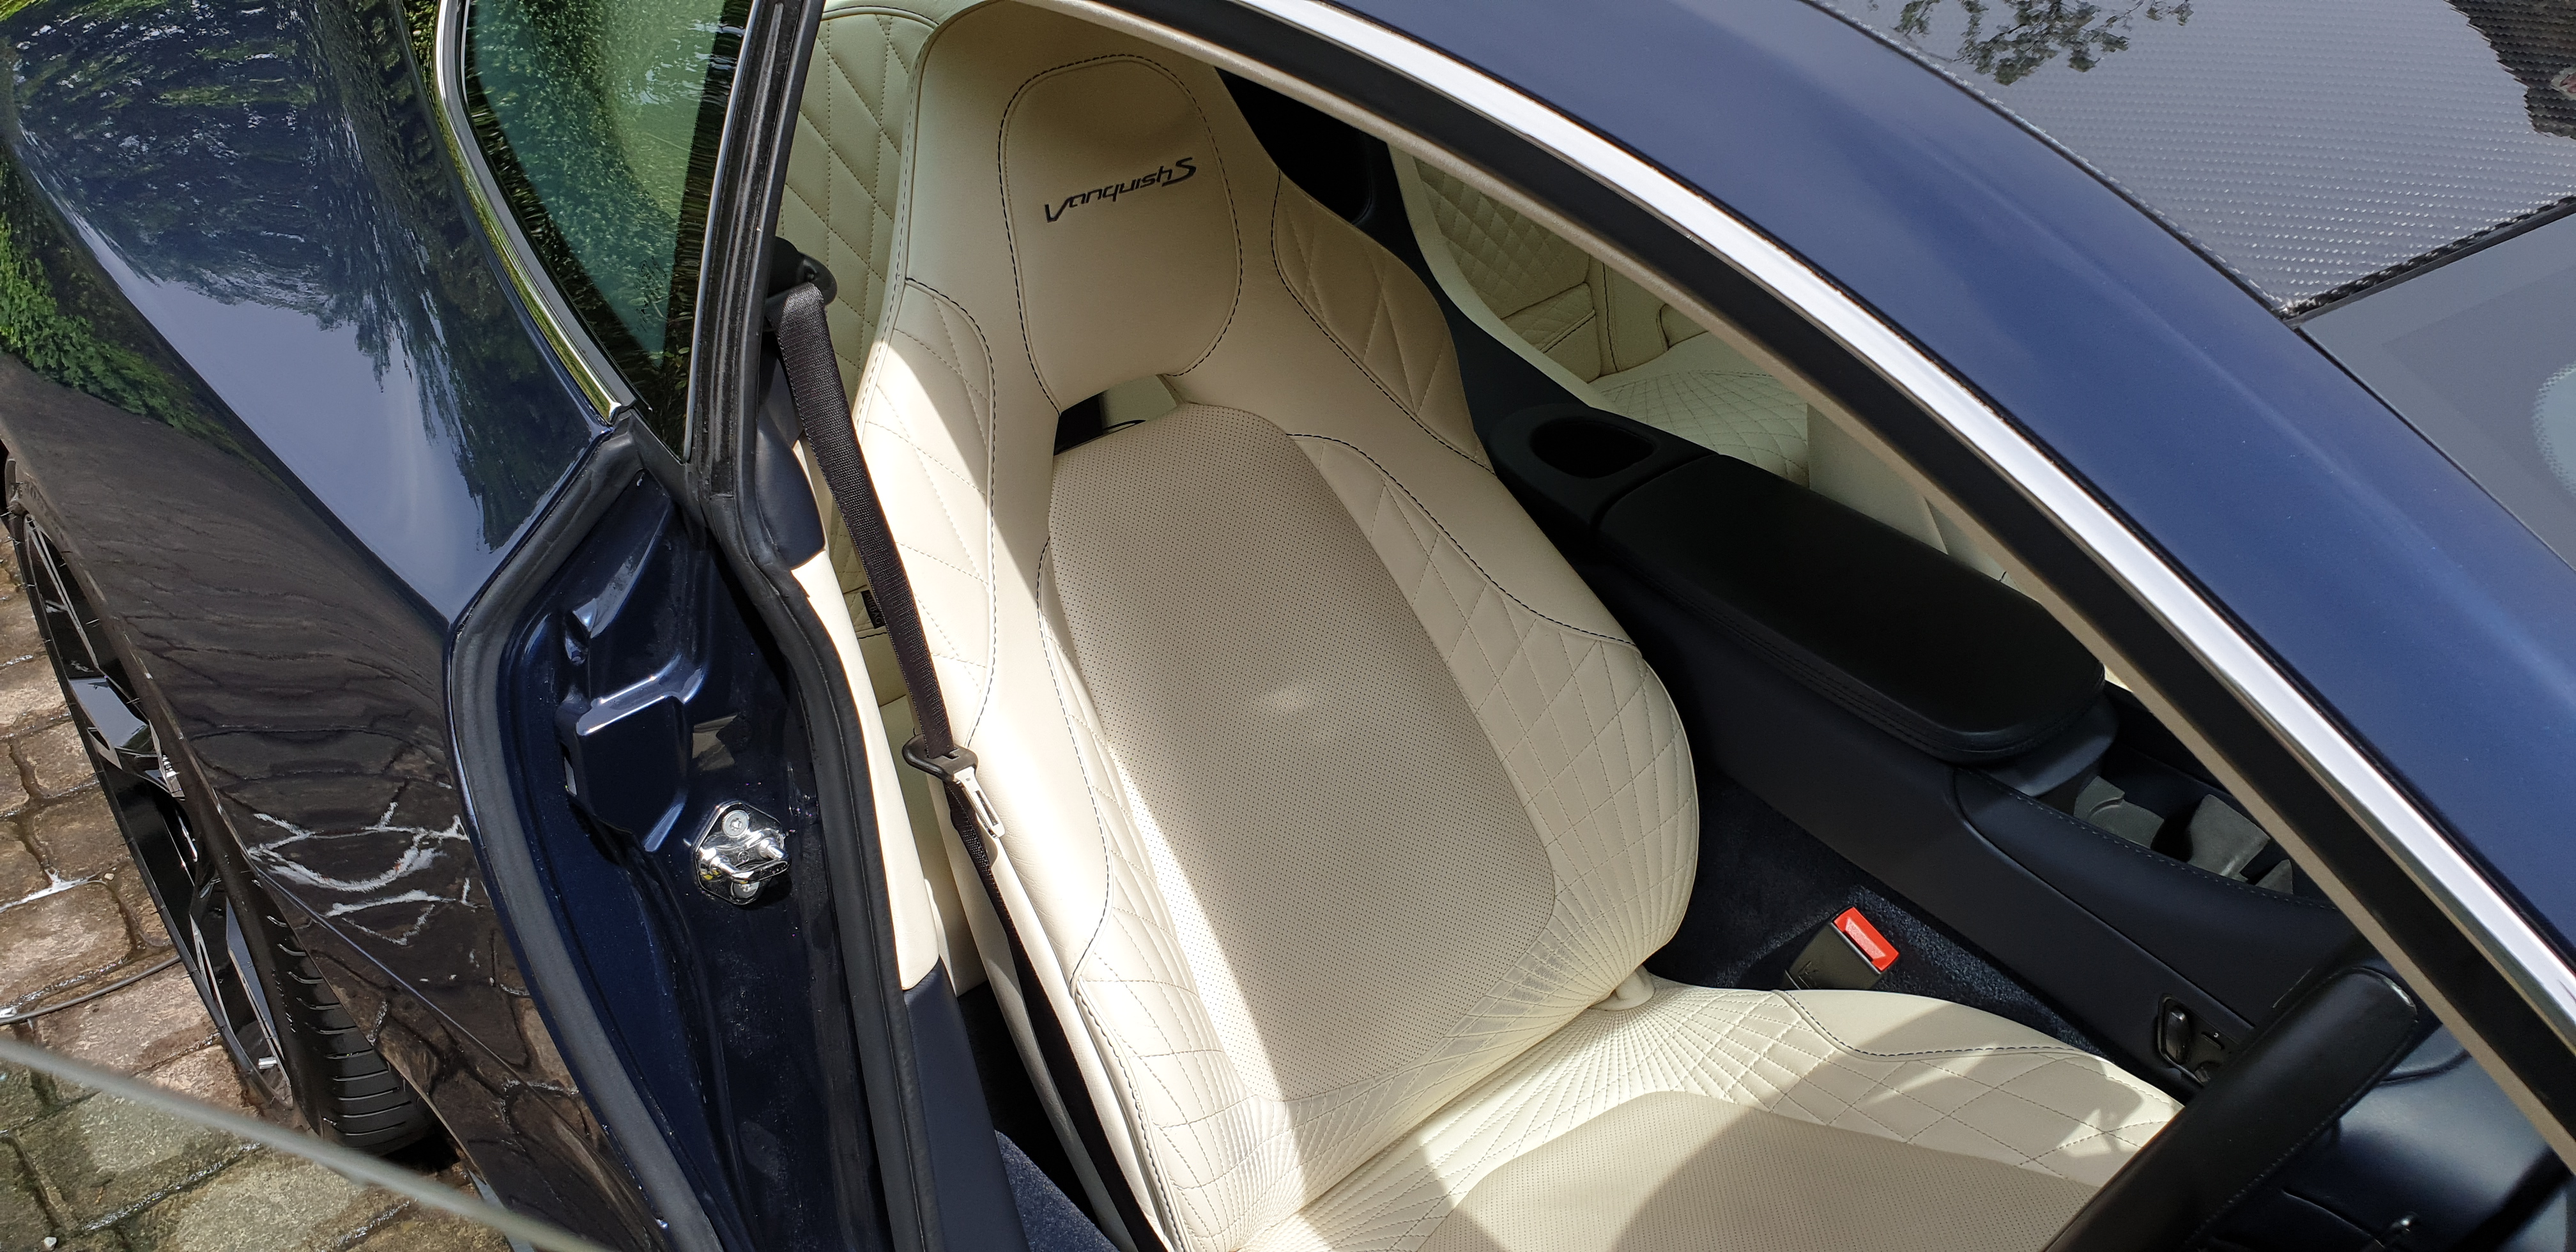
Onto the interior, the carpets were shampooed and then coated with Gtechniq I1 and the luxurious leather was cleaned and conditioned before a coating of Gtechniq L1 was applied.
Finally, a coating of Gtechniq C2V3 sealant was applied.
https://www.reflectivedesire.co.uk/wp-content/uploads/2019/06/20190601_135620-scaled.jpg12442560adminhttps://www.reflectivedesire.co.uk/wp-content/uploads/2024/08/reflective-desire-300x161-2.pngadmin2019-06-15 12:37:092024-08-06 13:43:172017 Aston Martin Vanquish S. 6 stage decontamination plus sealant.
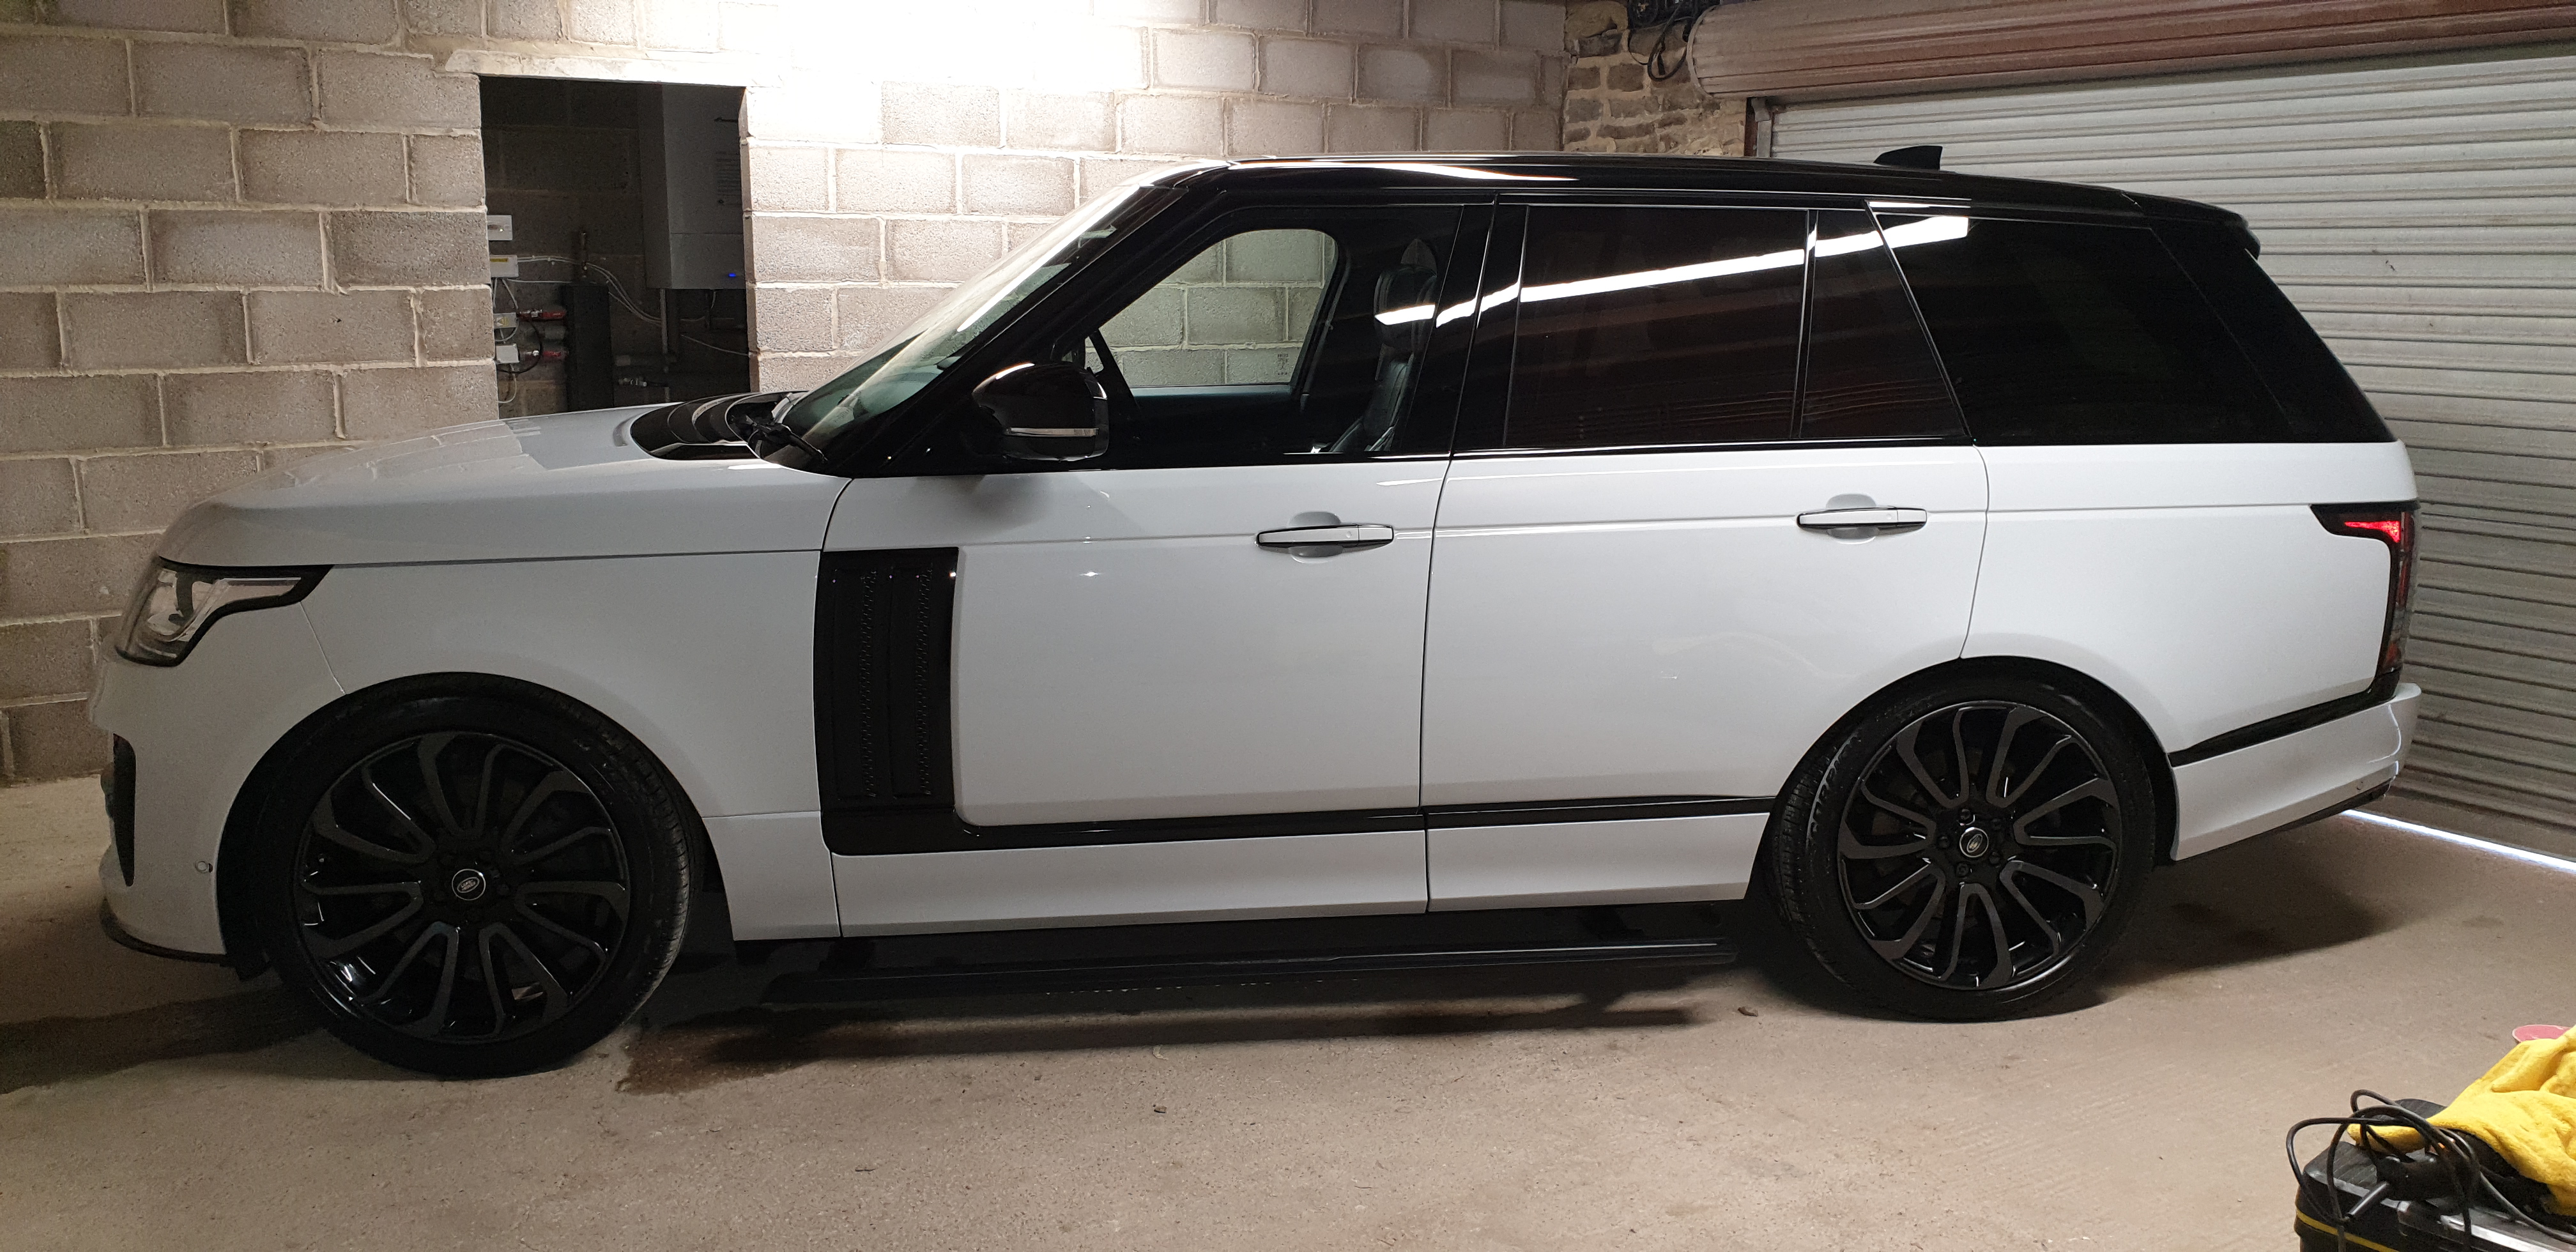
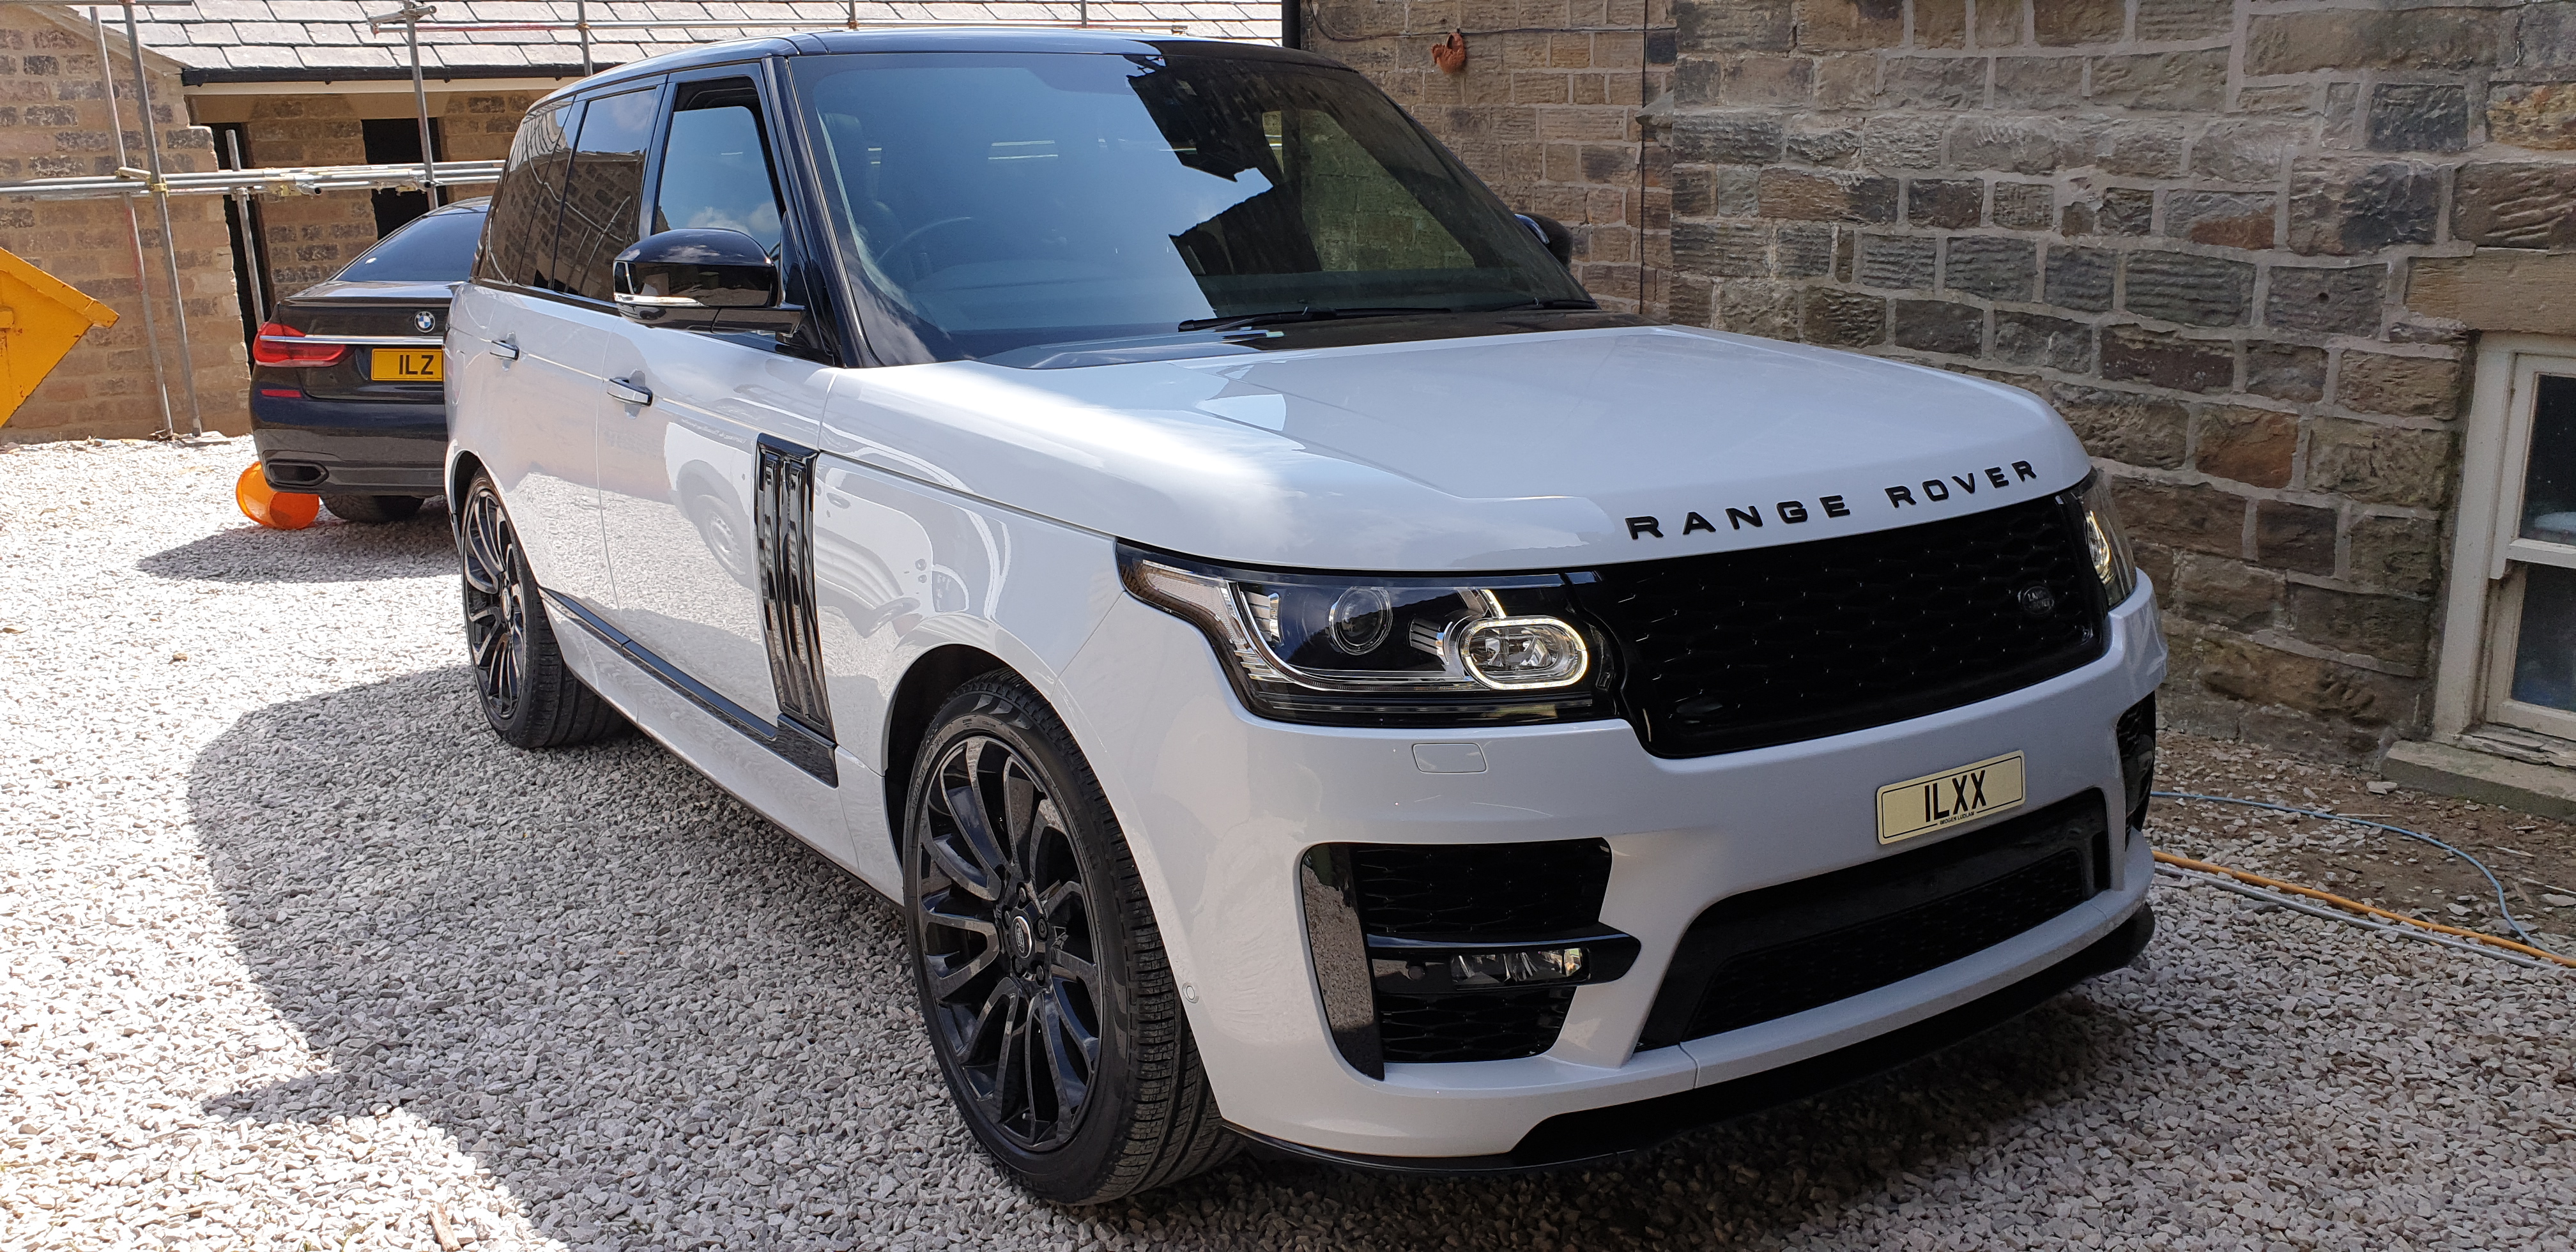
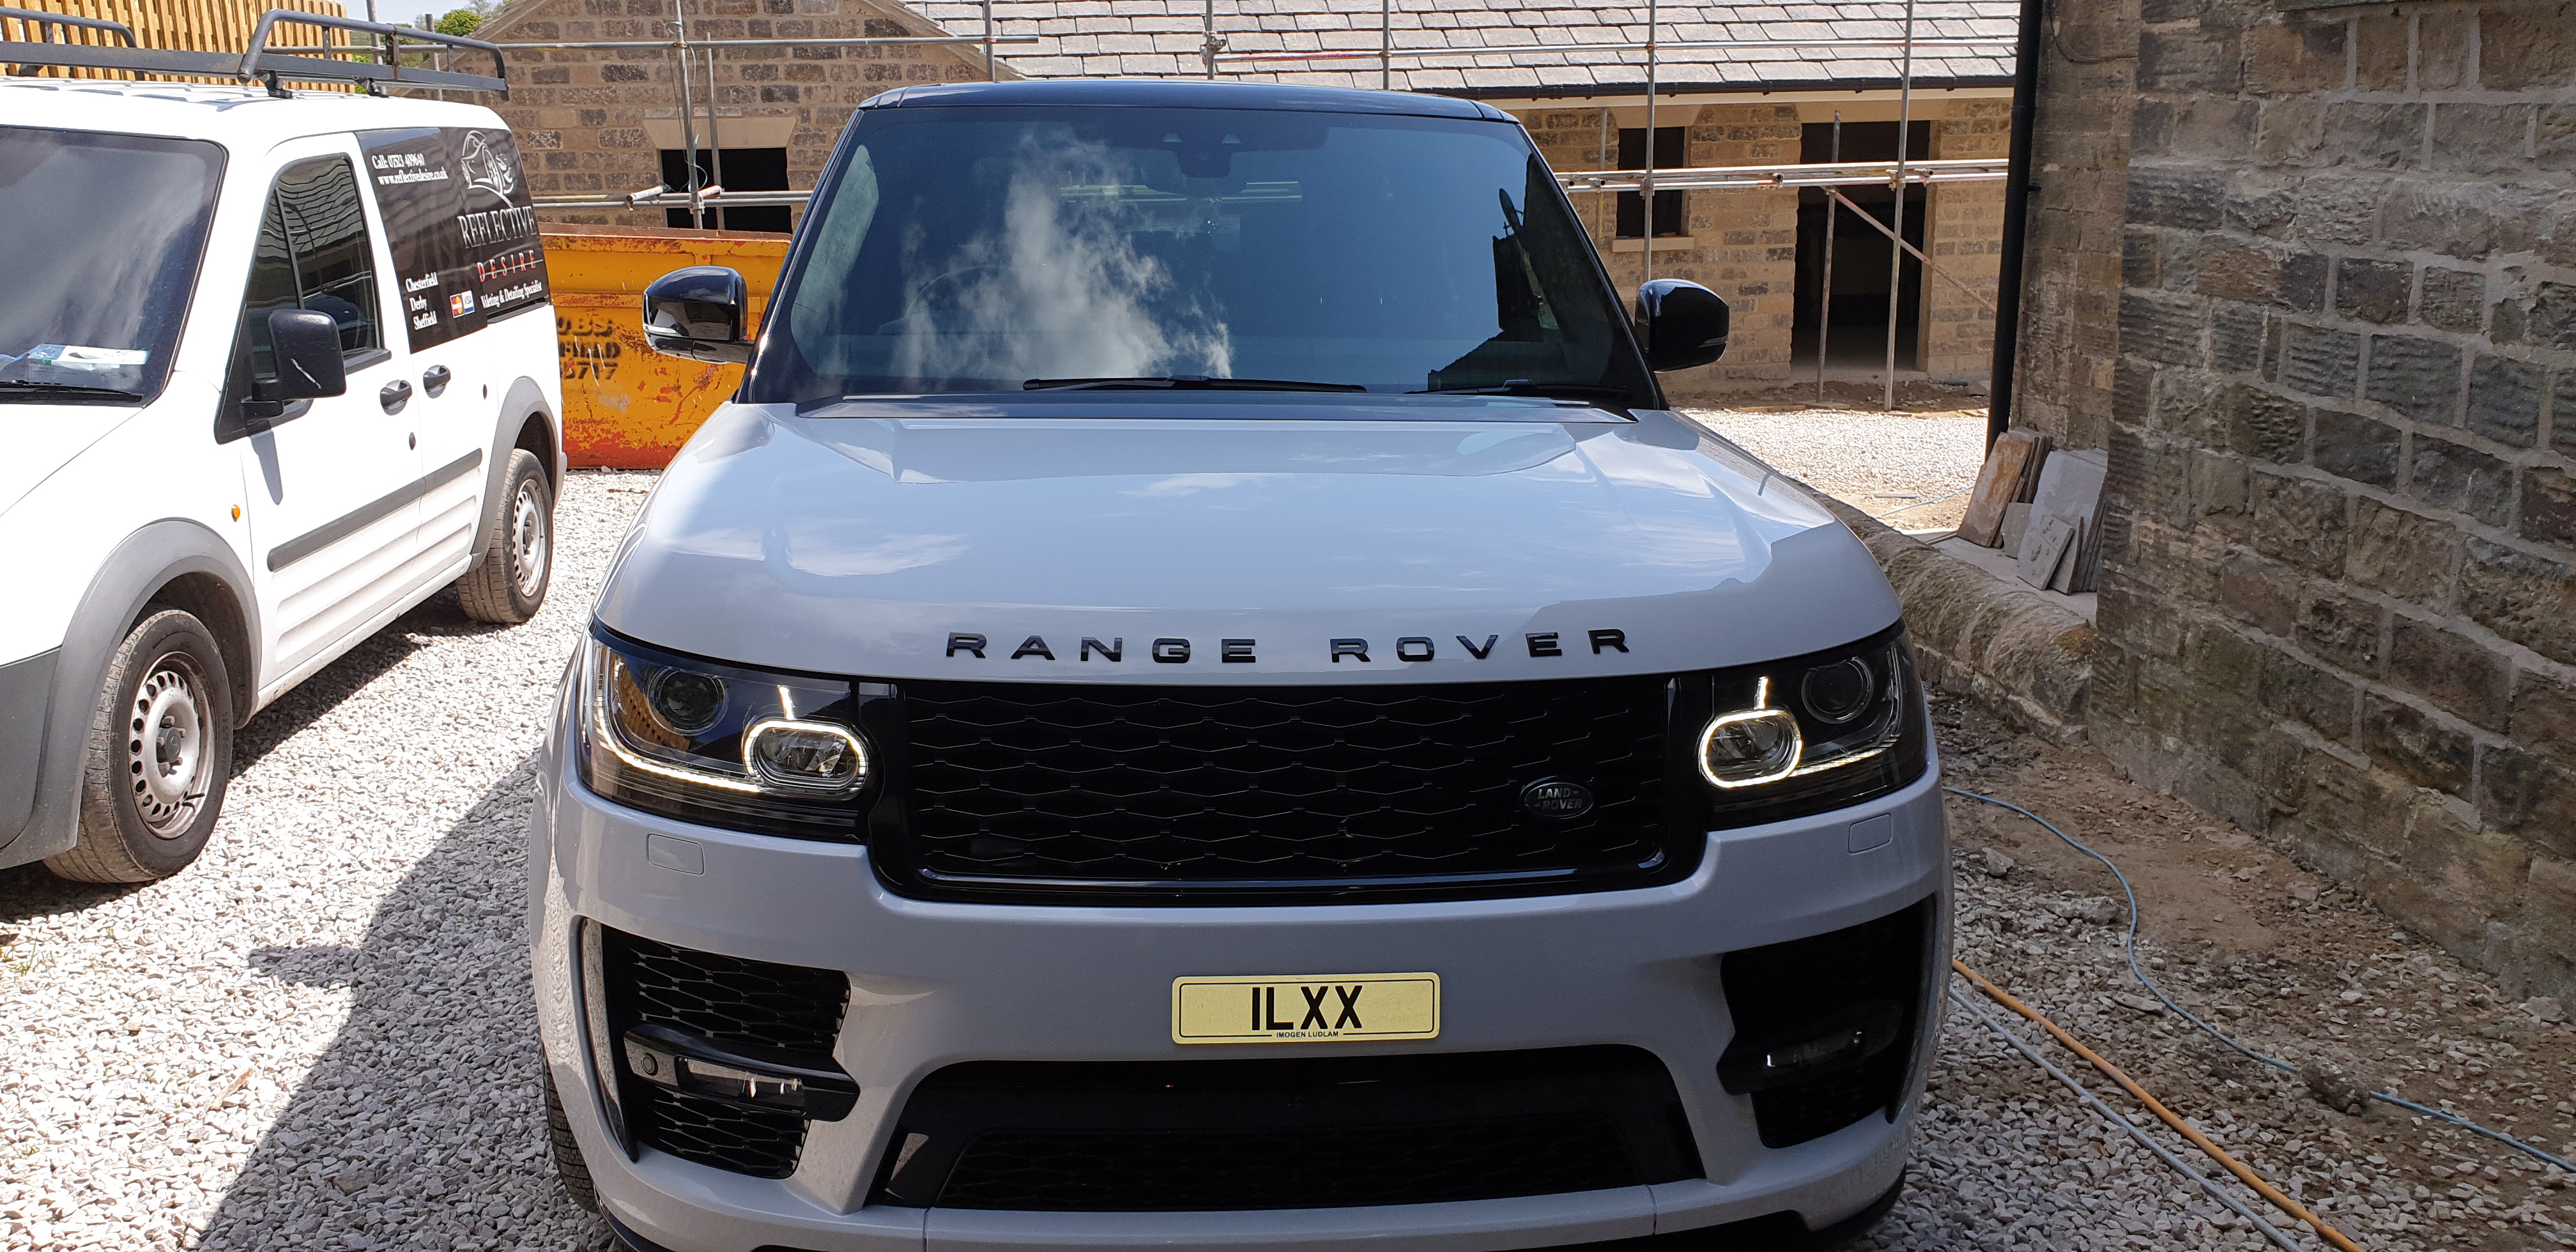
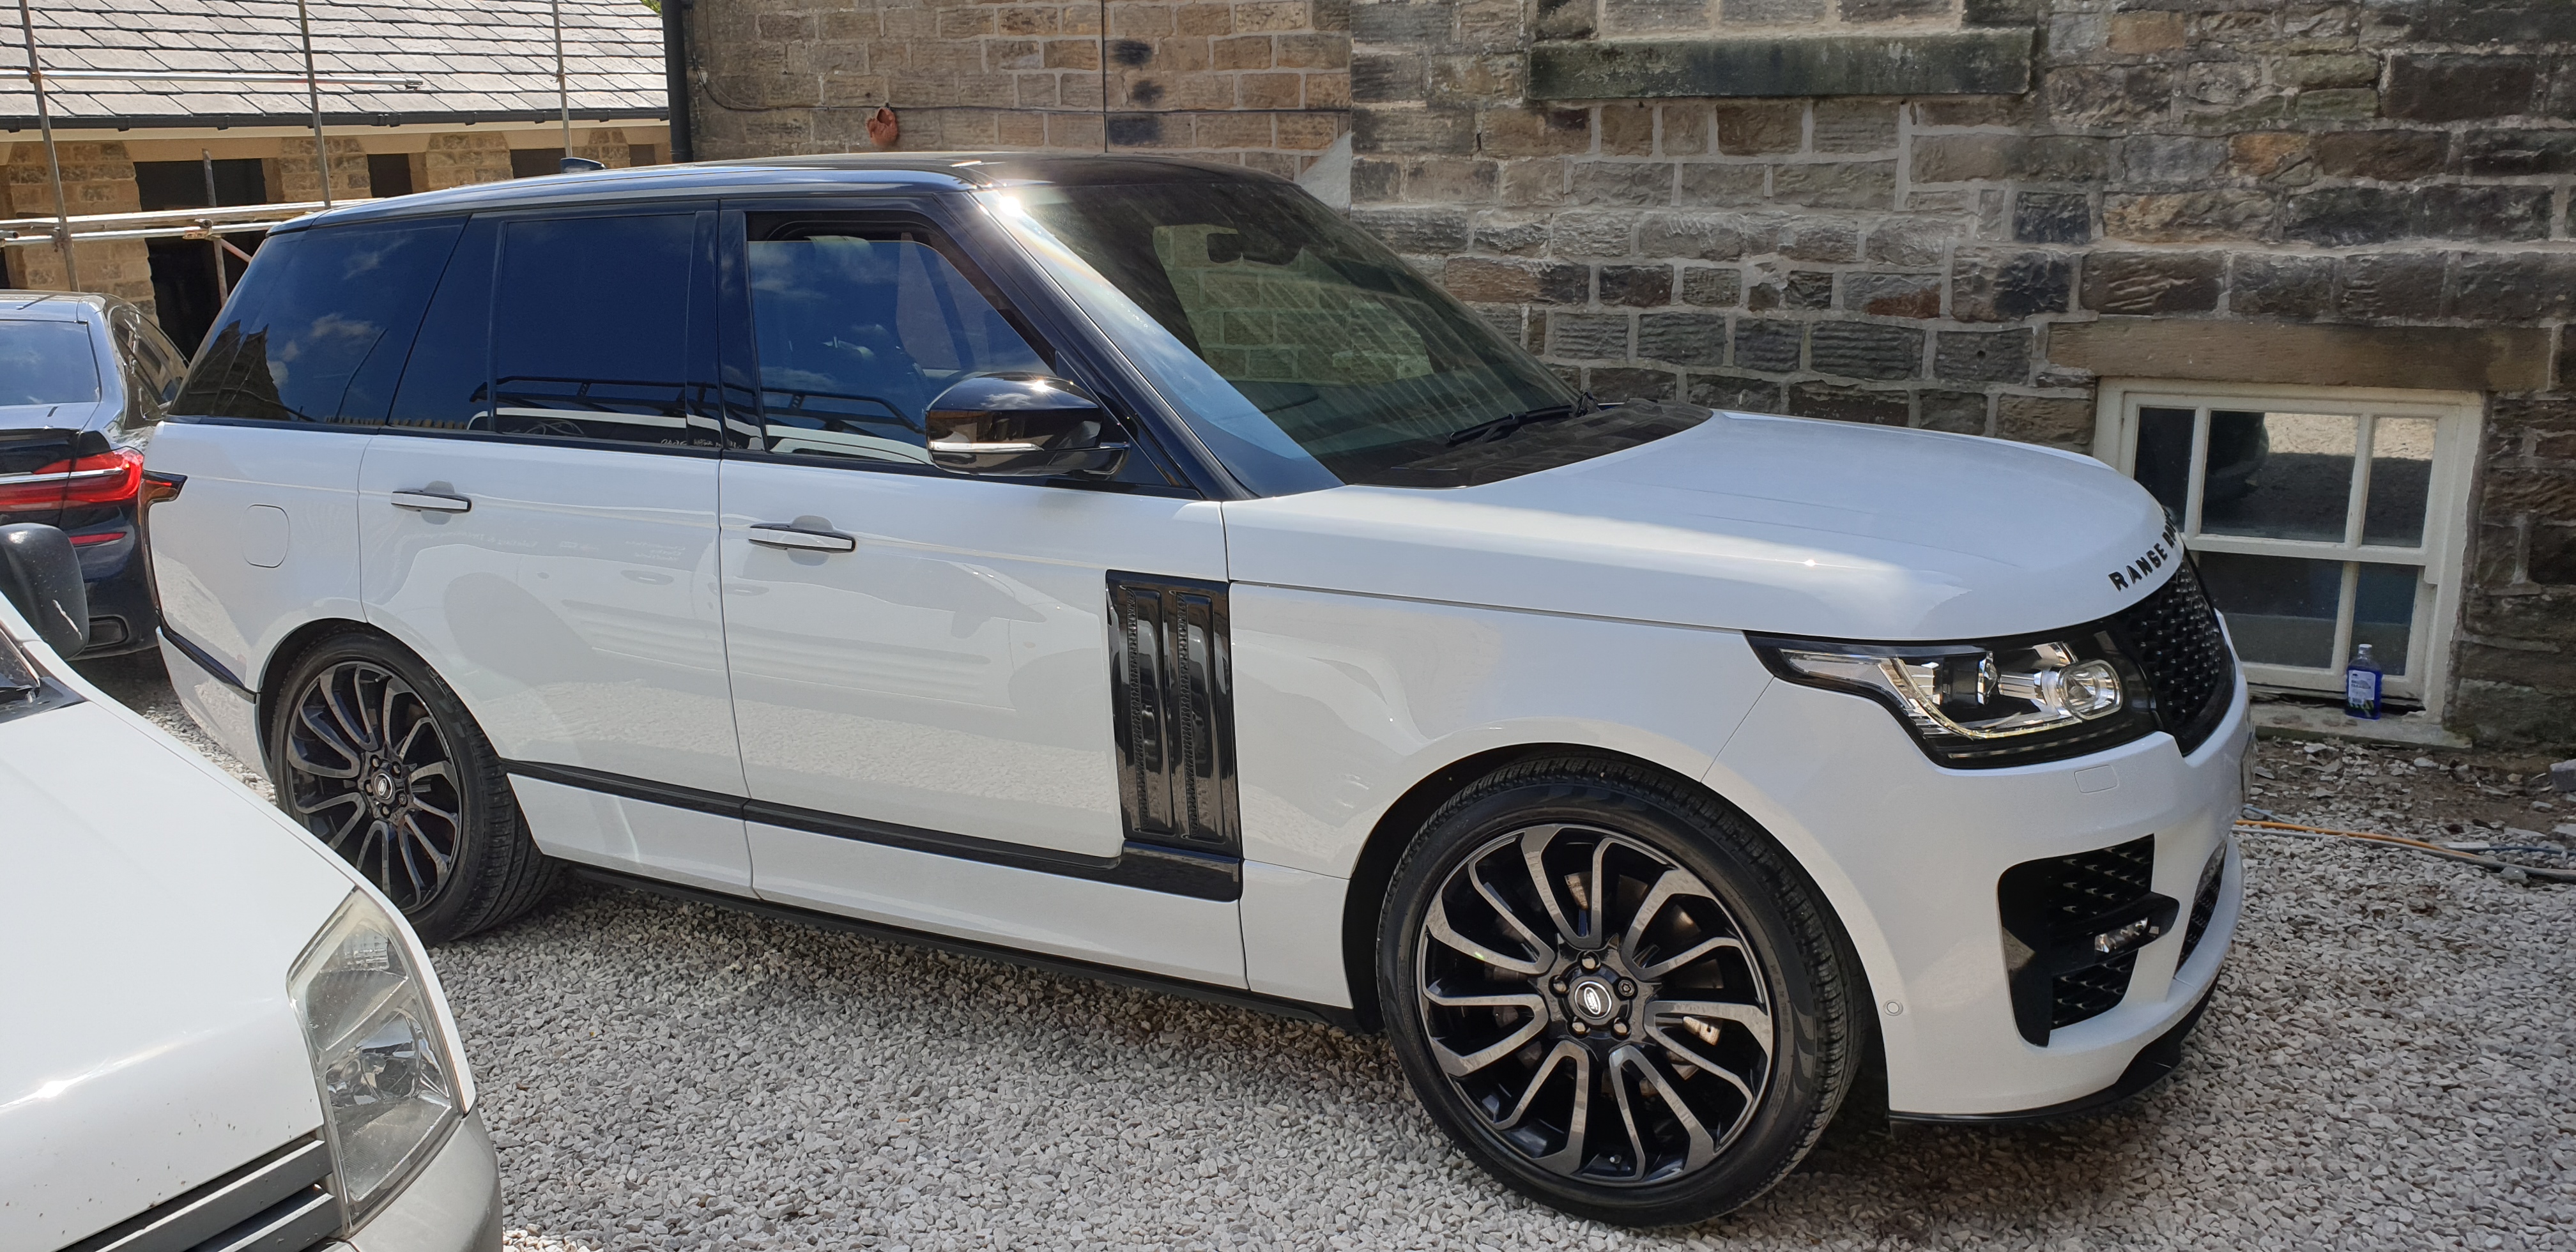
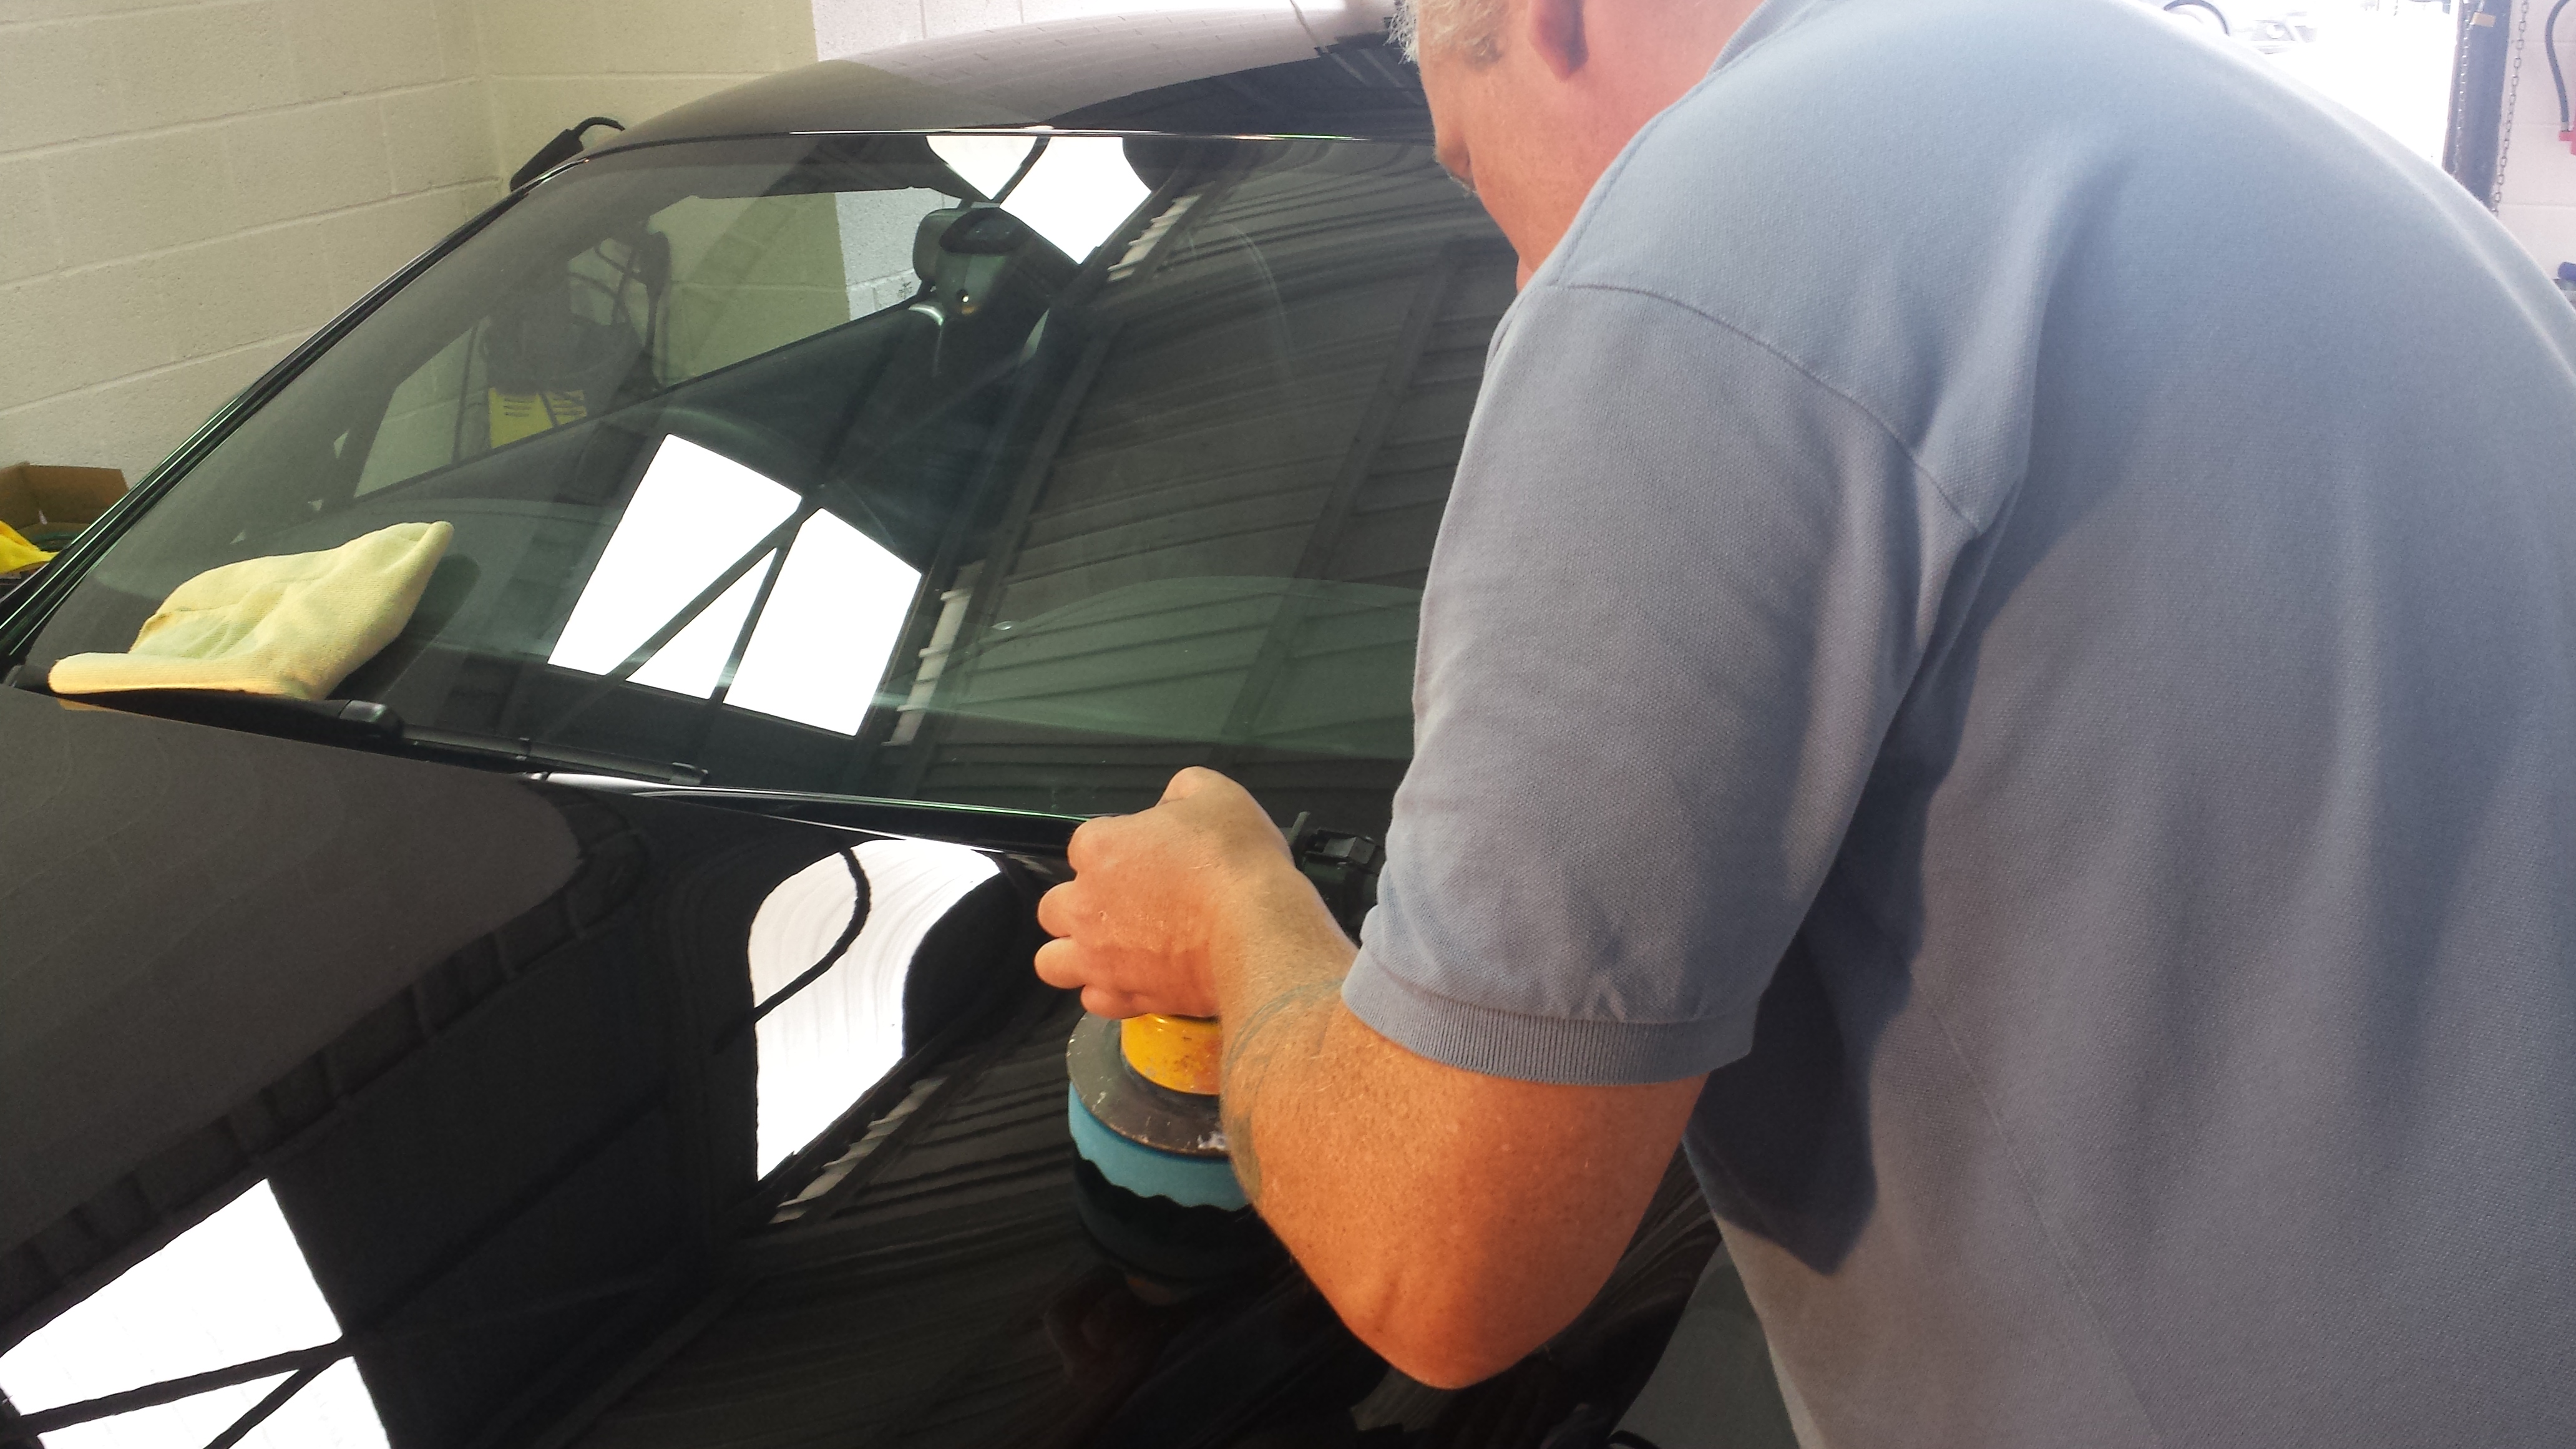
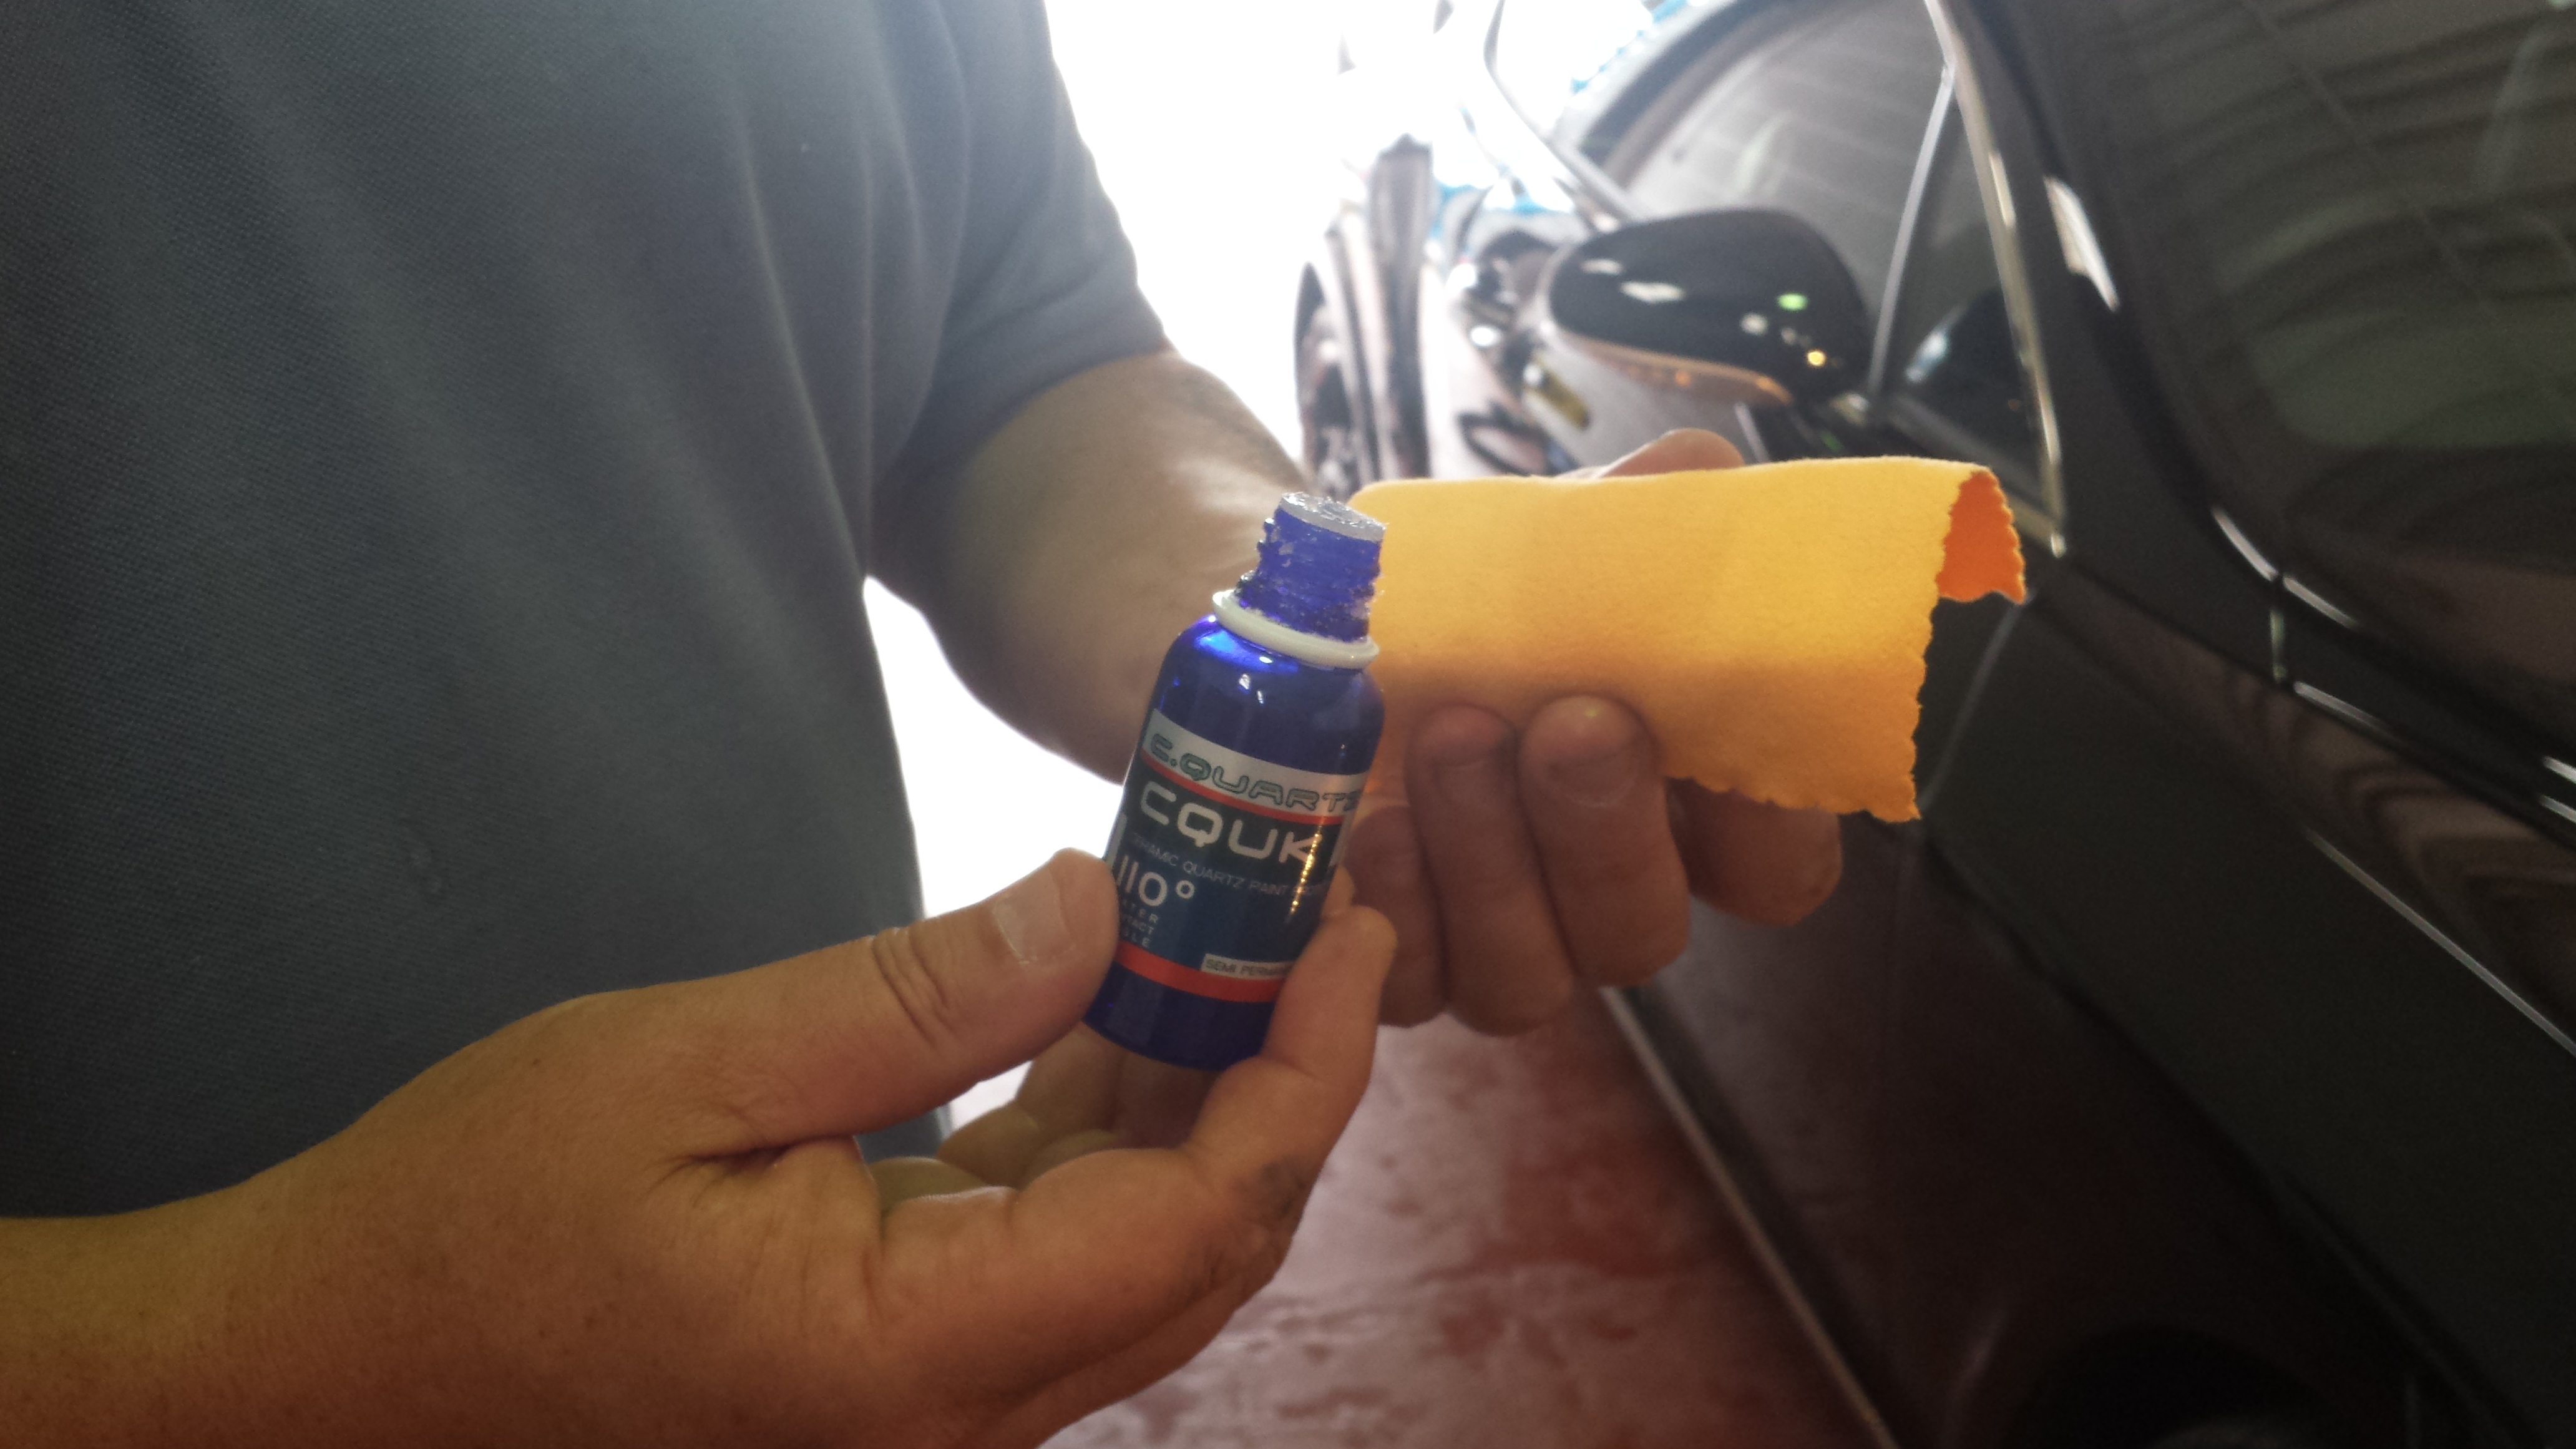
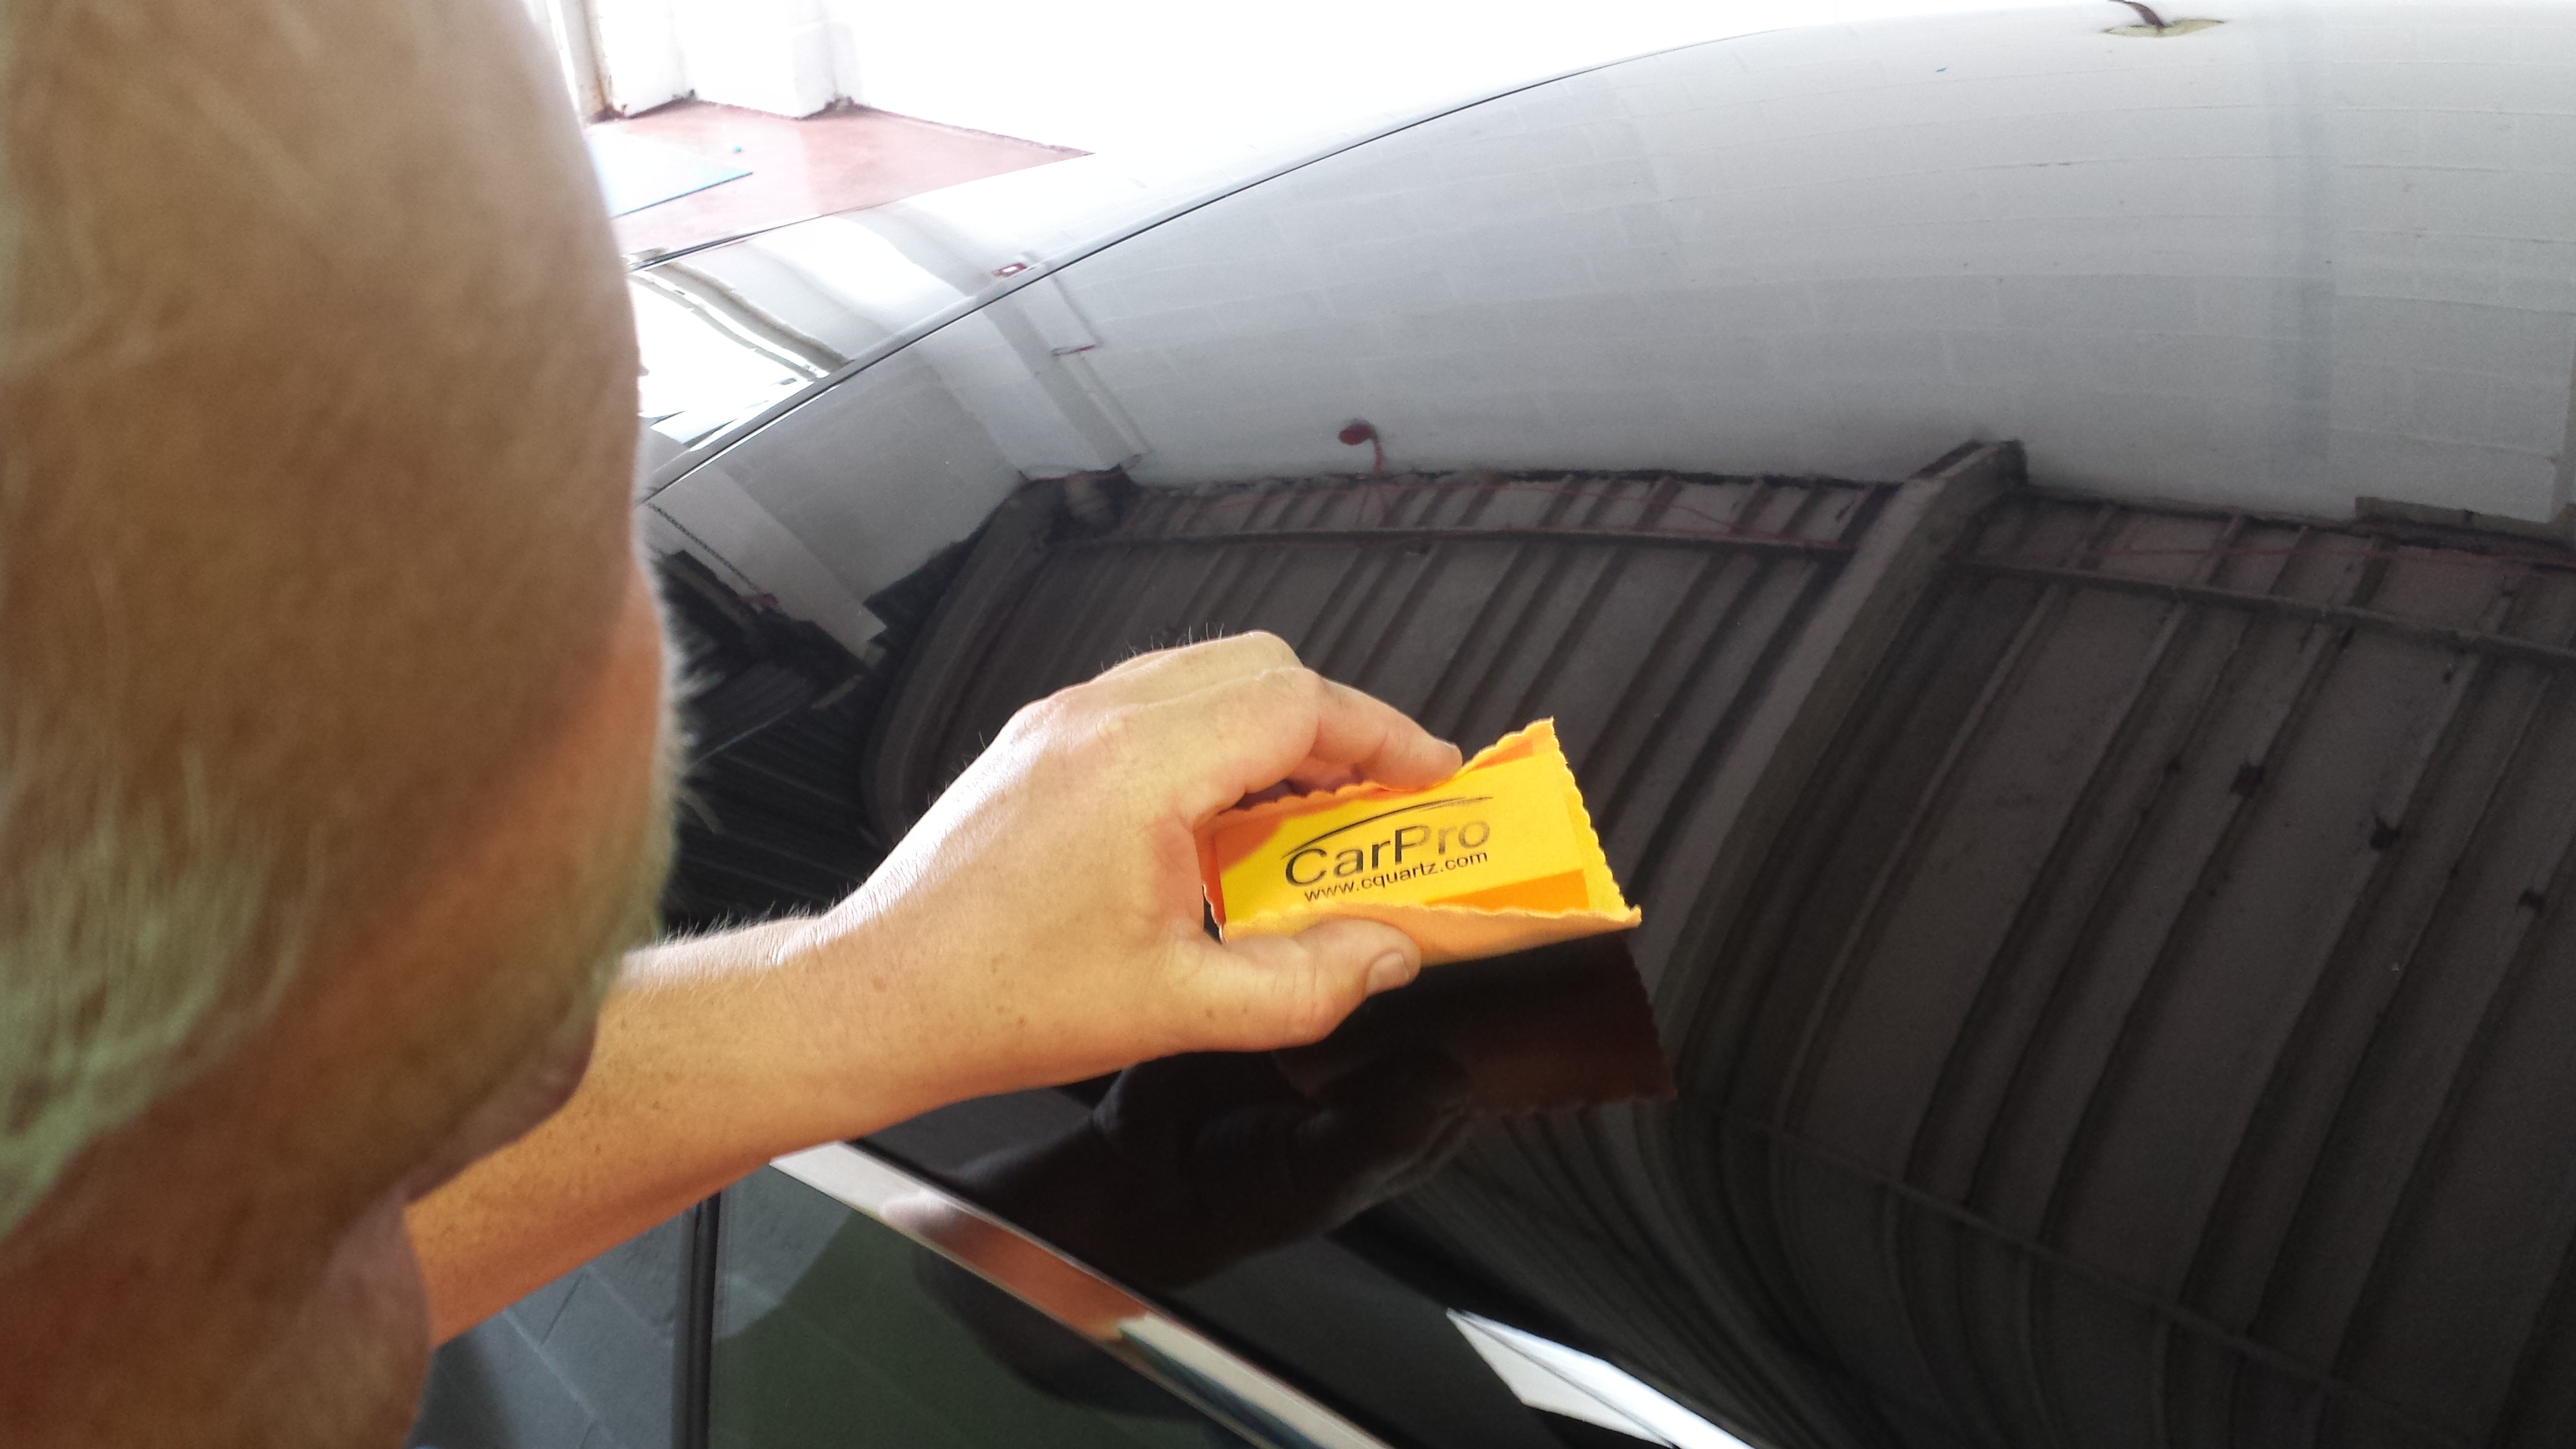
A couple of weeks ago, we were asked if we could add some extra protection to this lovely looking SV Autobiography. We discussed various options as to what was available out there and finally agreed on the Cquartz 3.0 Uk ceramic coating for the paintwork, Gyeon Q2rim for the wheels and Gyeon Q2trim for the plastics. We had 3 days of work ahead of us, so we arrived at the clients house at 8am to make a start.
Snow foaming of the Autobiography.
The vehicle was first put through a rigorous 6 stage decontamination process which included a pre soak with a citrus based cleaner, this was used to remove any traffic film which had adhered to the vehicle. Next, a snow foam was used, this dwells on the paintwork for 10 minutes and helps break up any muck and dirt making it safer for the 2 bucket handwash which was next. For the final stages of decontamination, the clay bar was used to remove any bonded contaminants and then a de-tar and iron x treatment was used to remove any tar build up and any industrial metal fallout.
Iron X Treatment
De-tarring of the vehicle
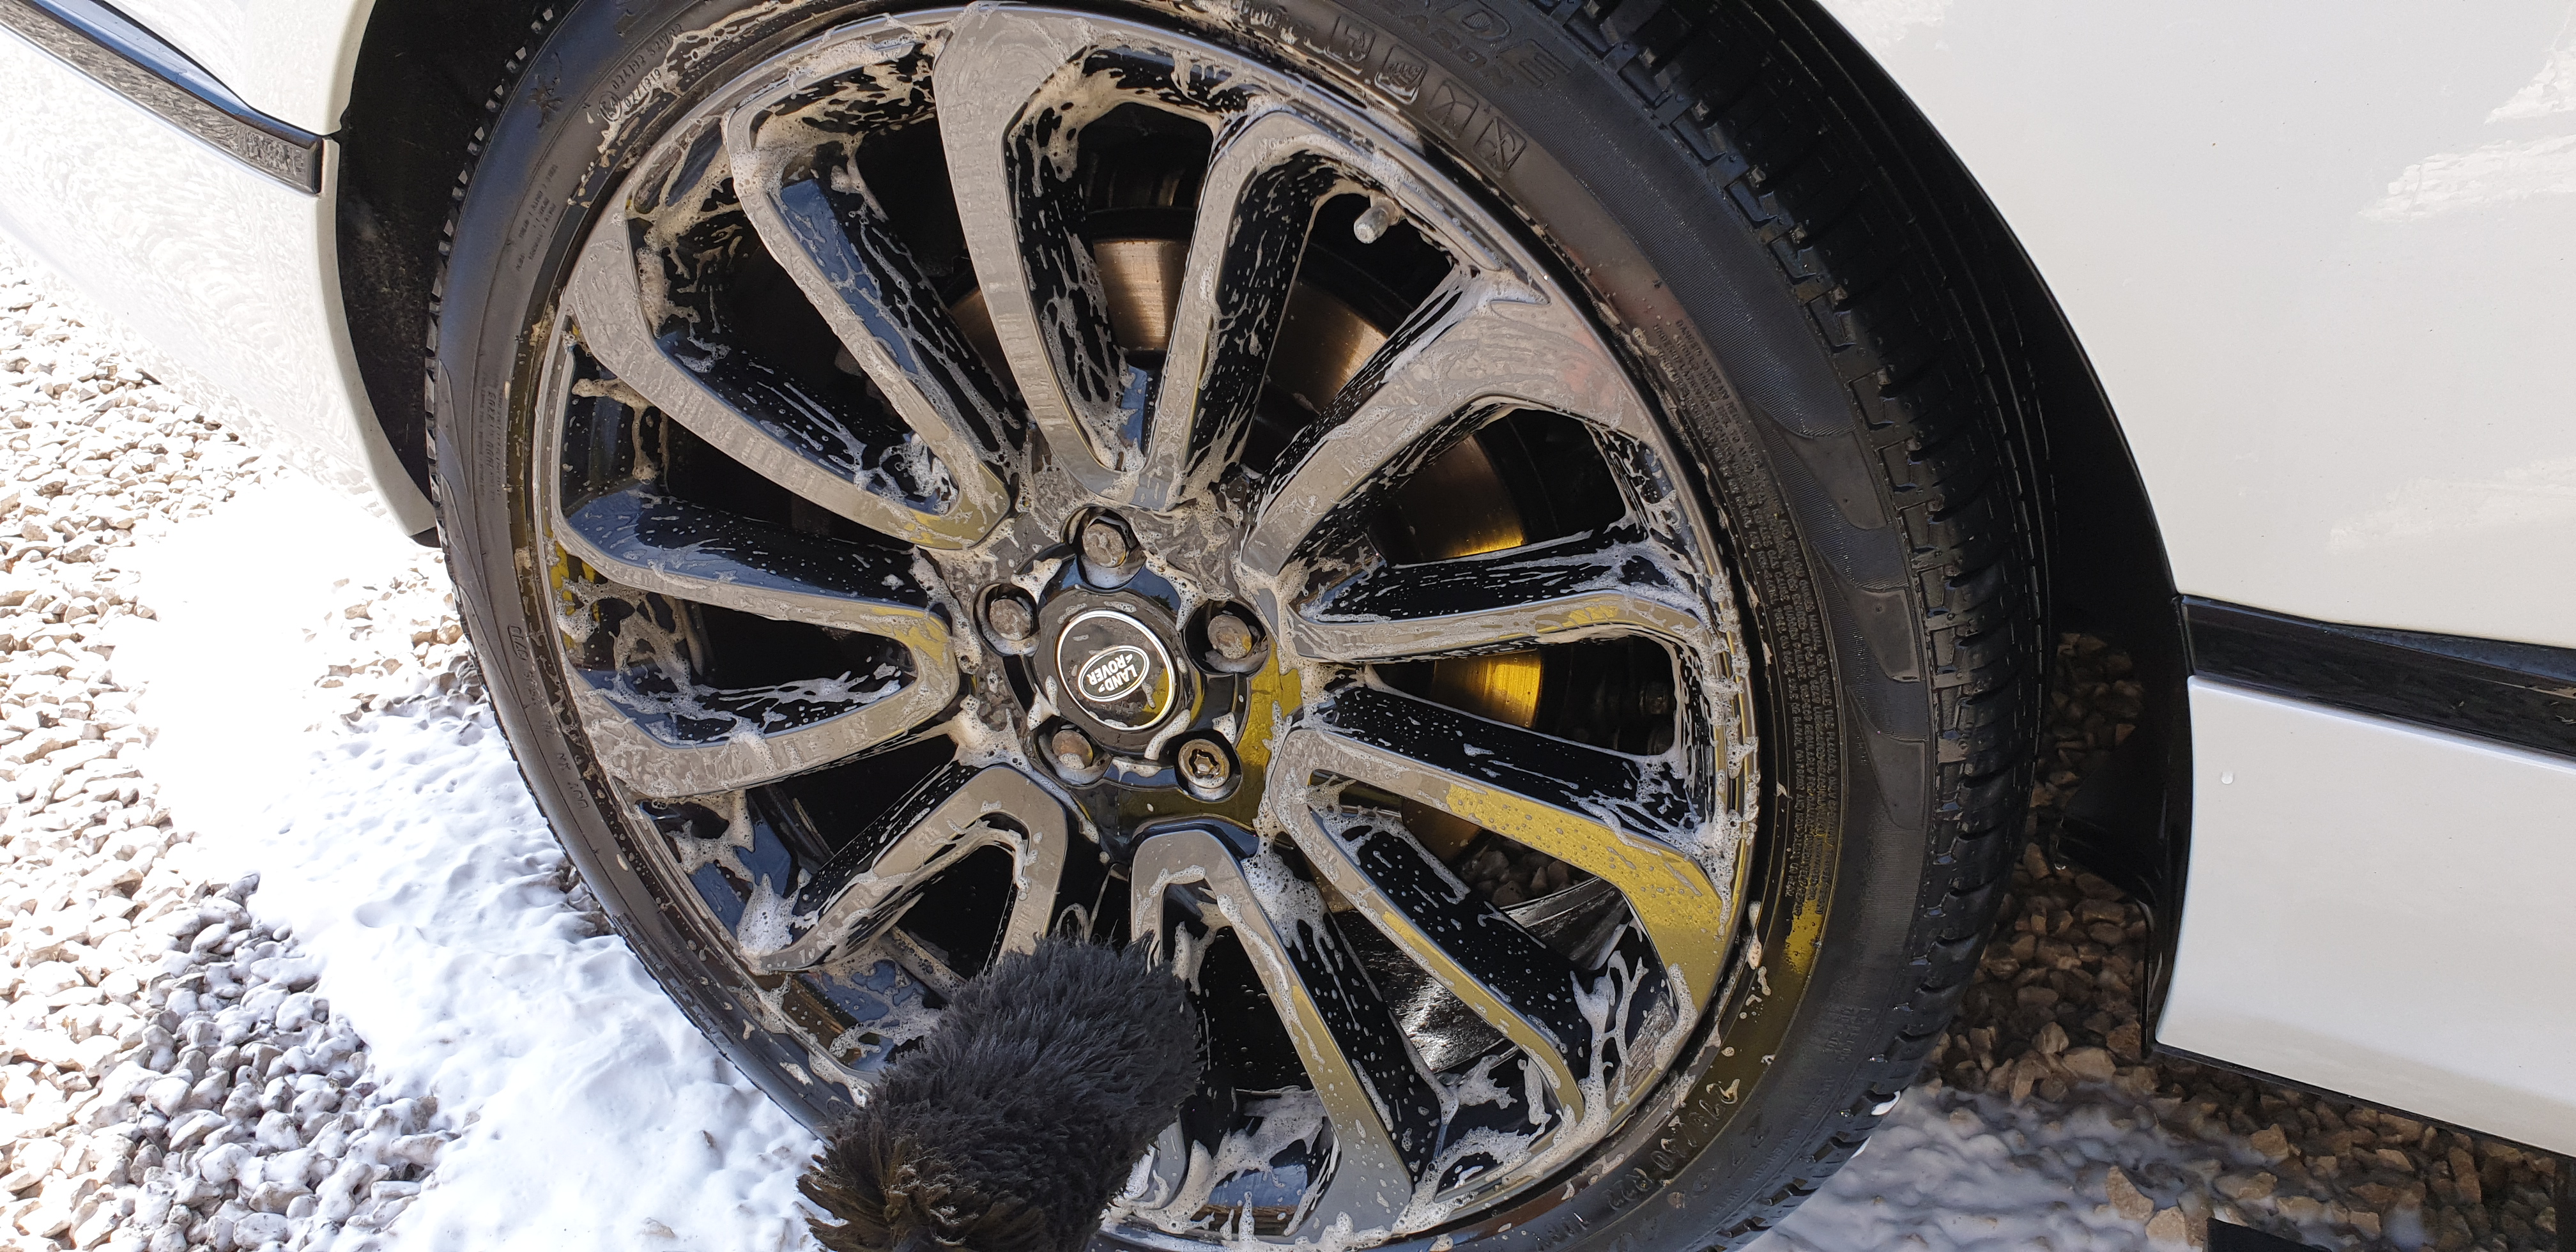
Next up, the wheels were tackled, firstly with a ph neutral wheel cleaner and then a de-tar afterwards.
Wheel cleaning.
A final wipe down with IPA panel wipe and it was ready to get some paint readings and also inspect the level of correction which was required.
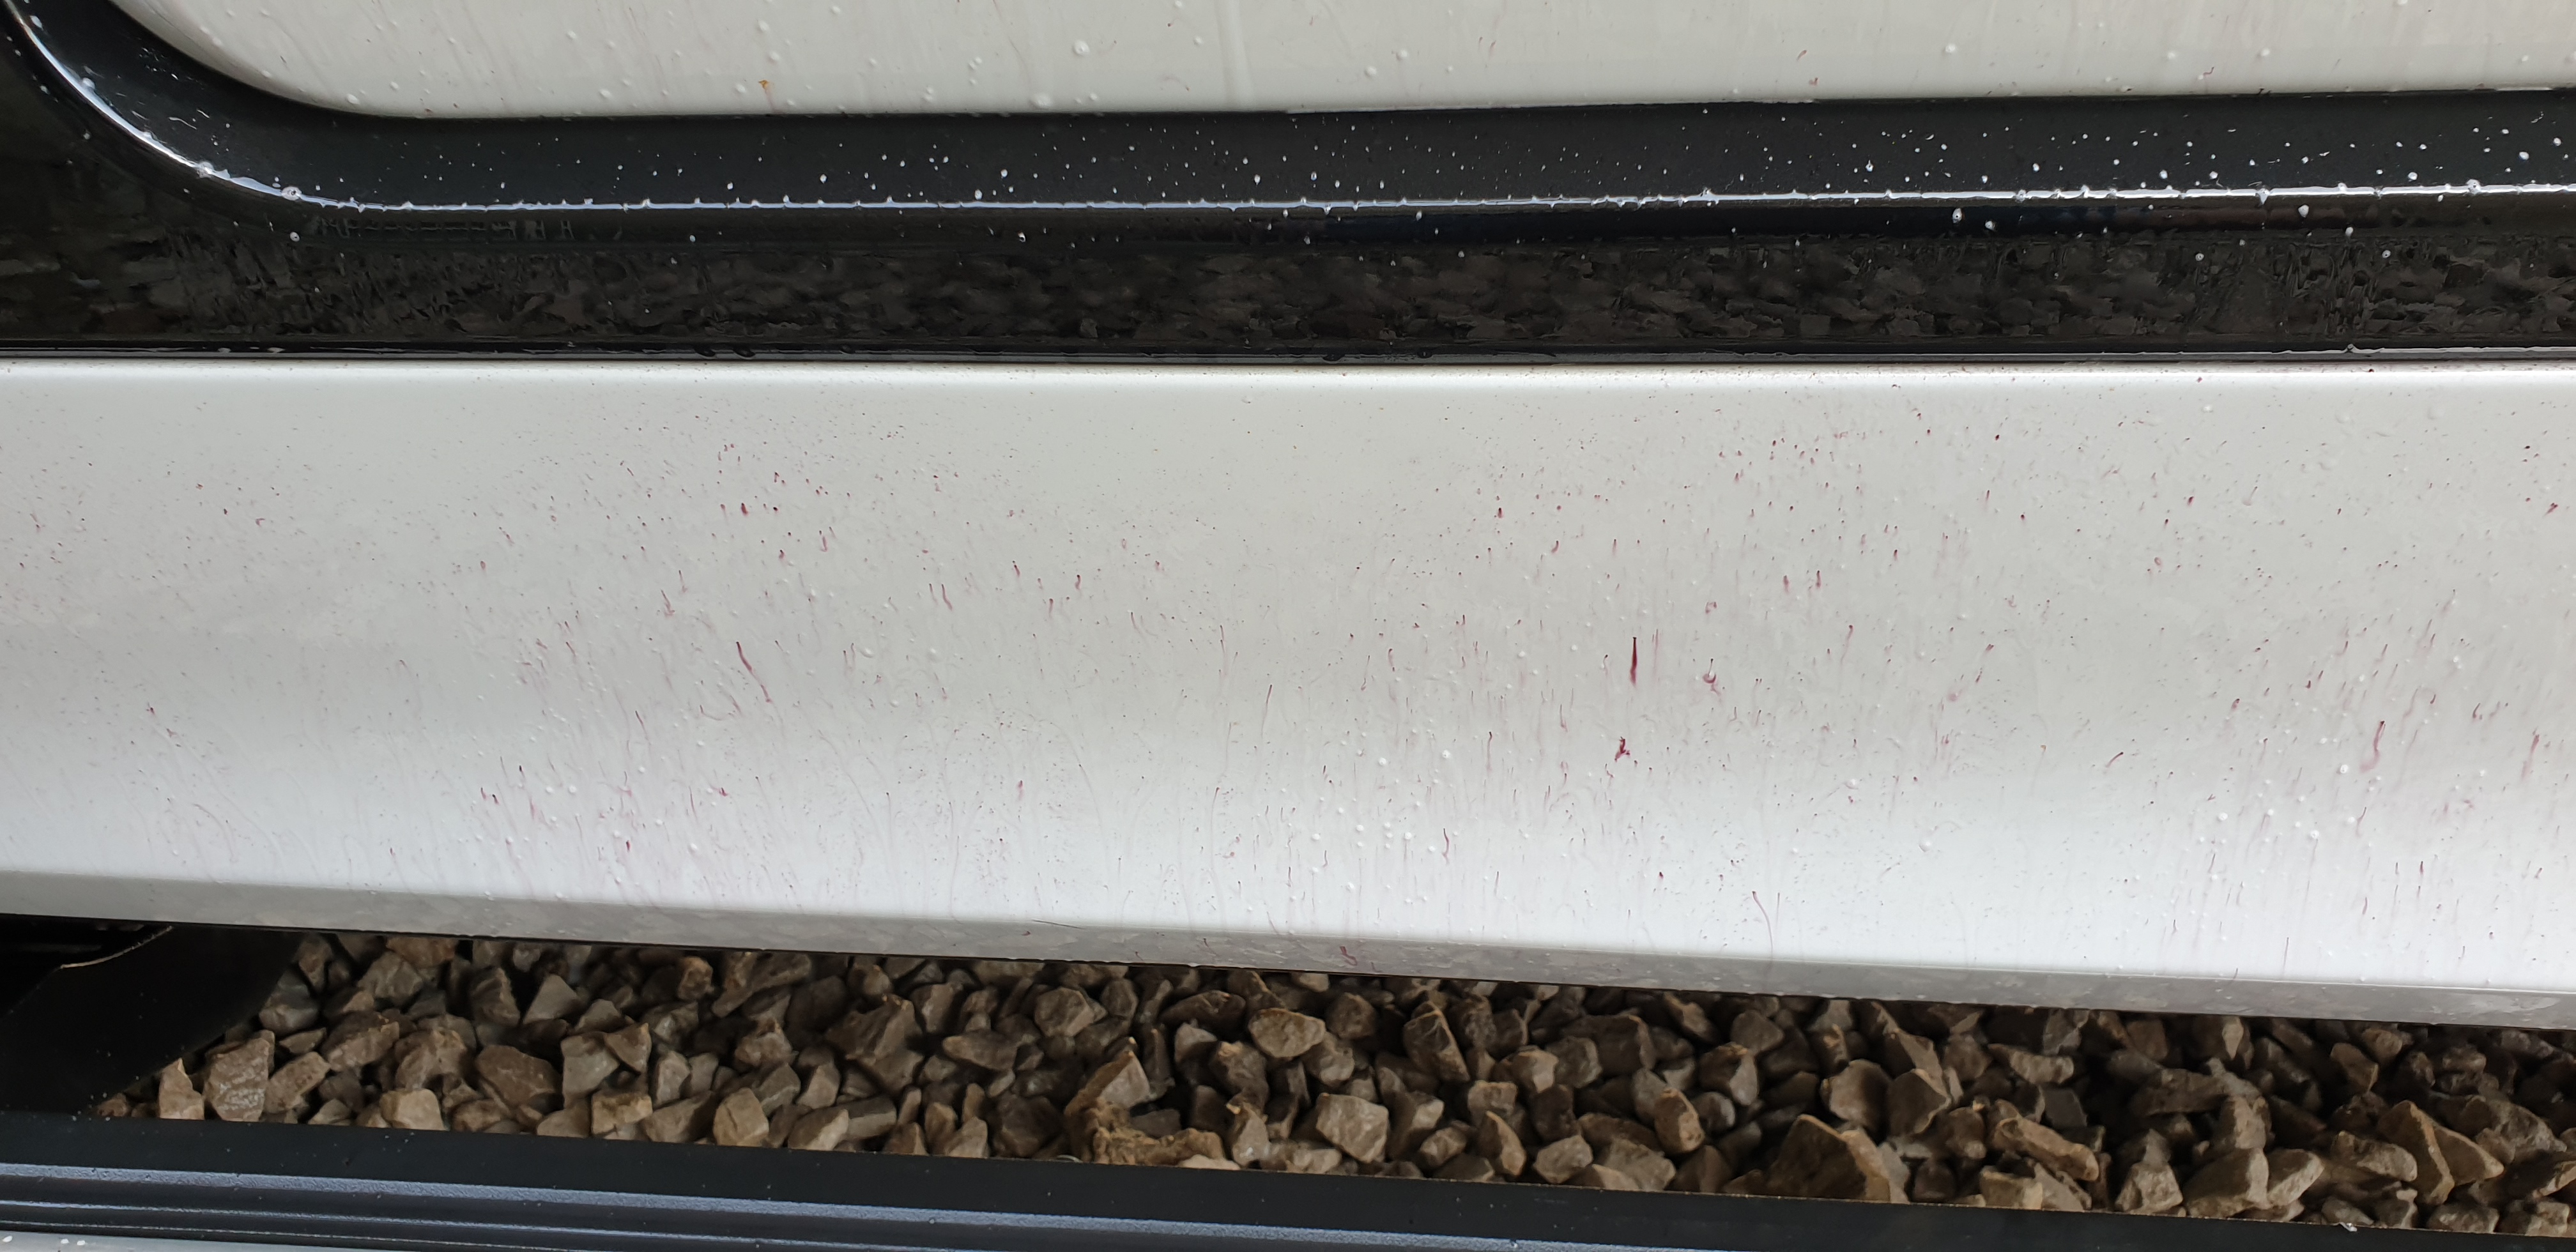
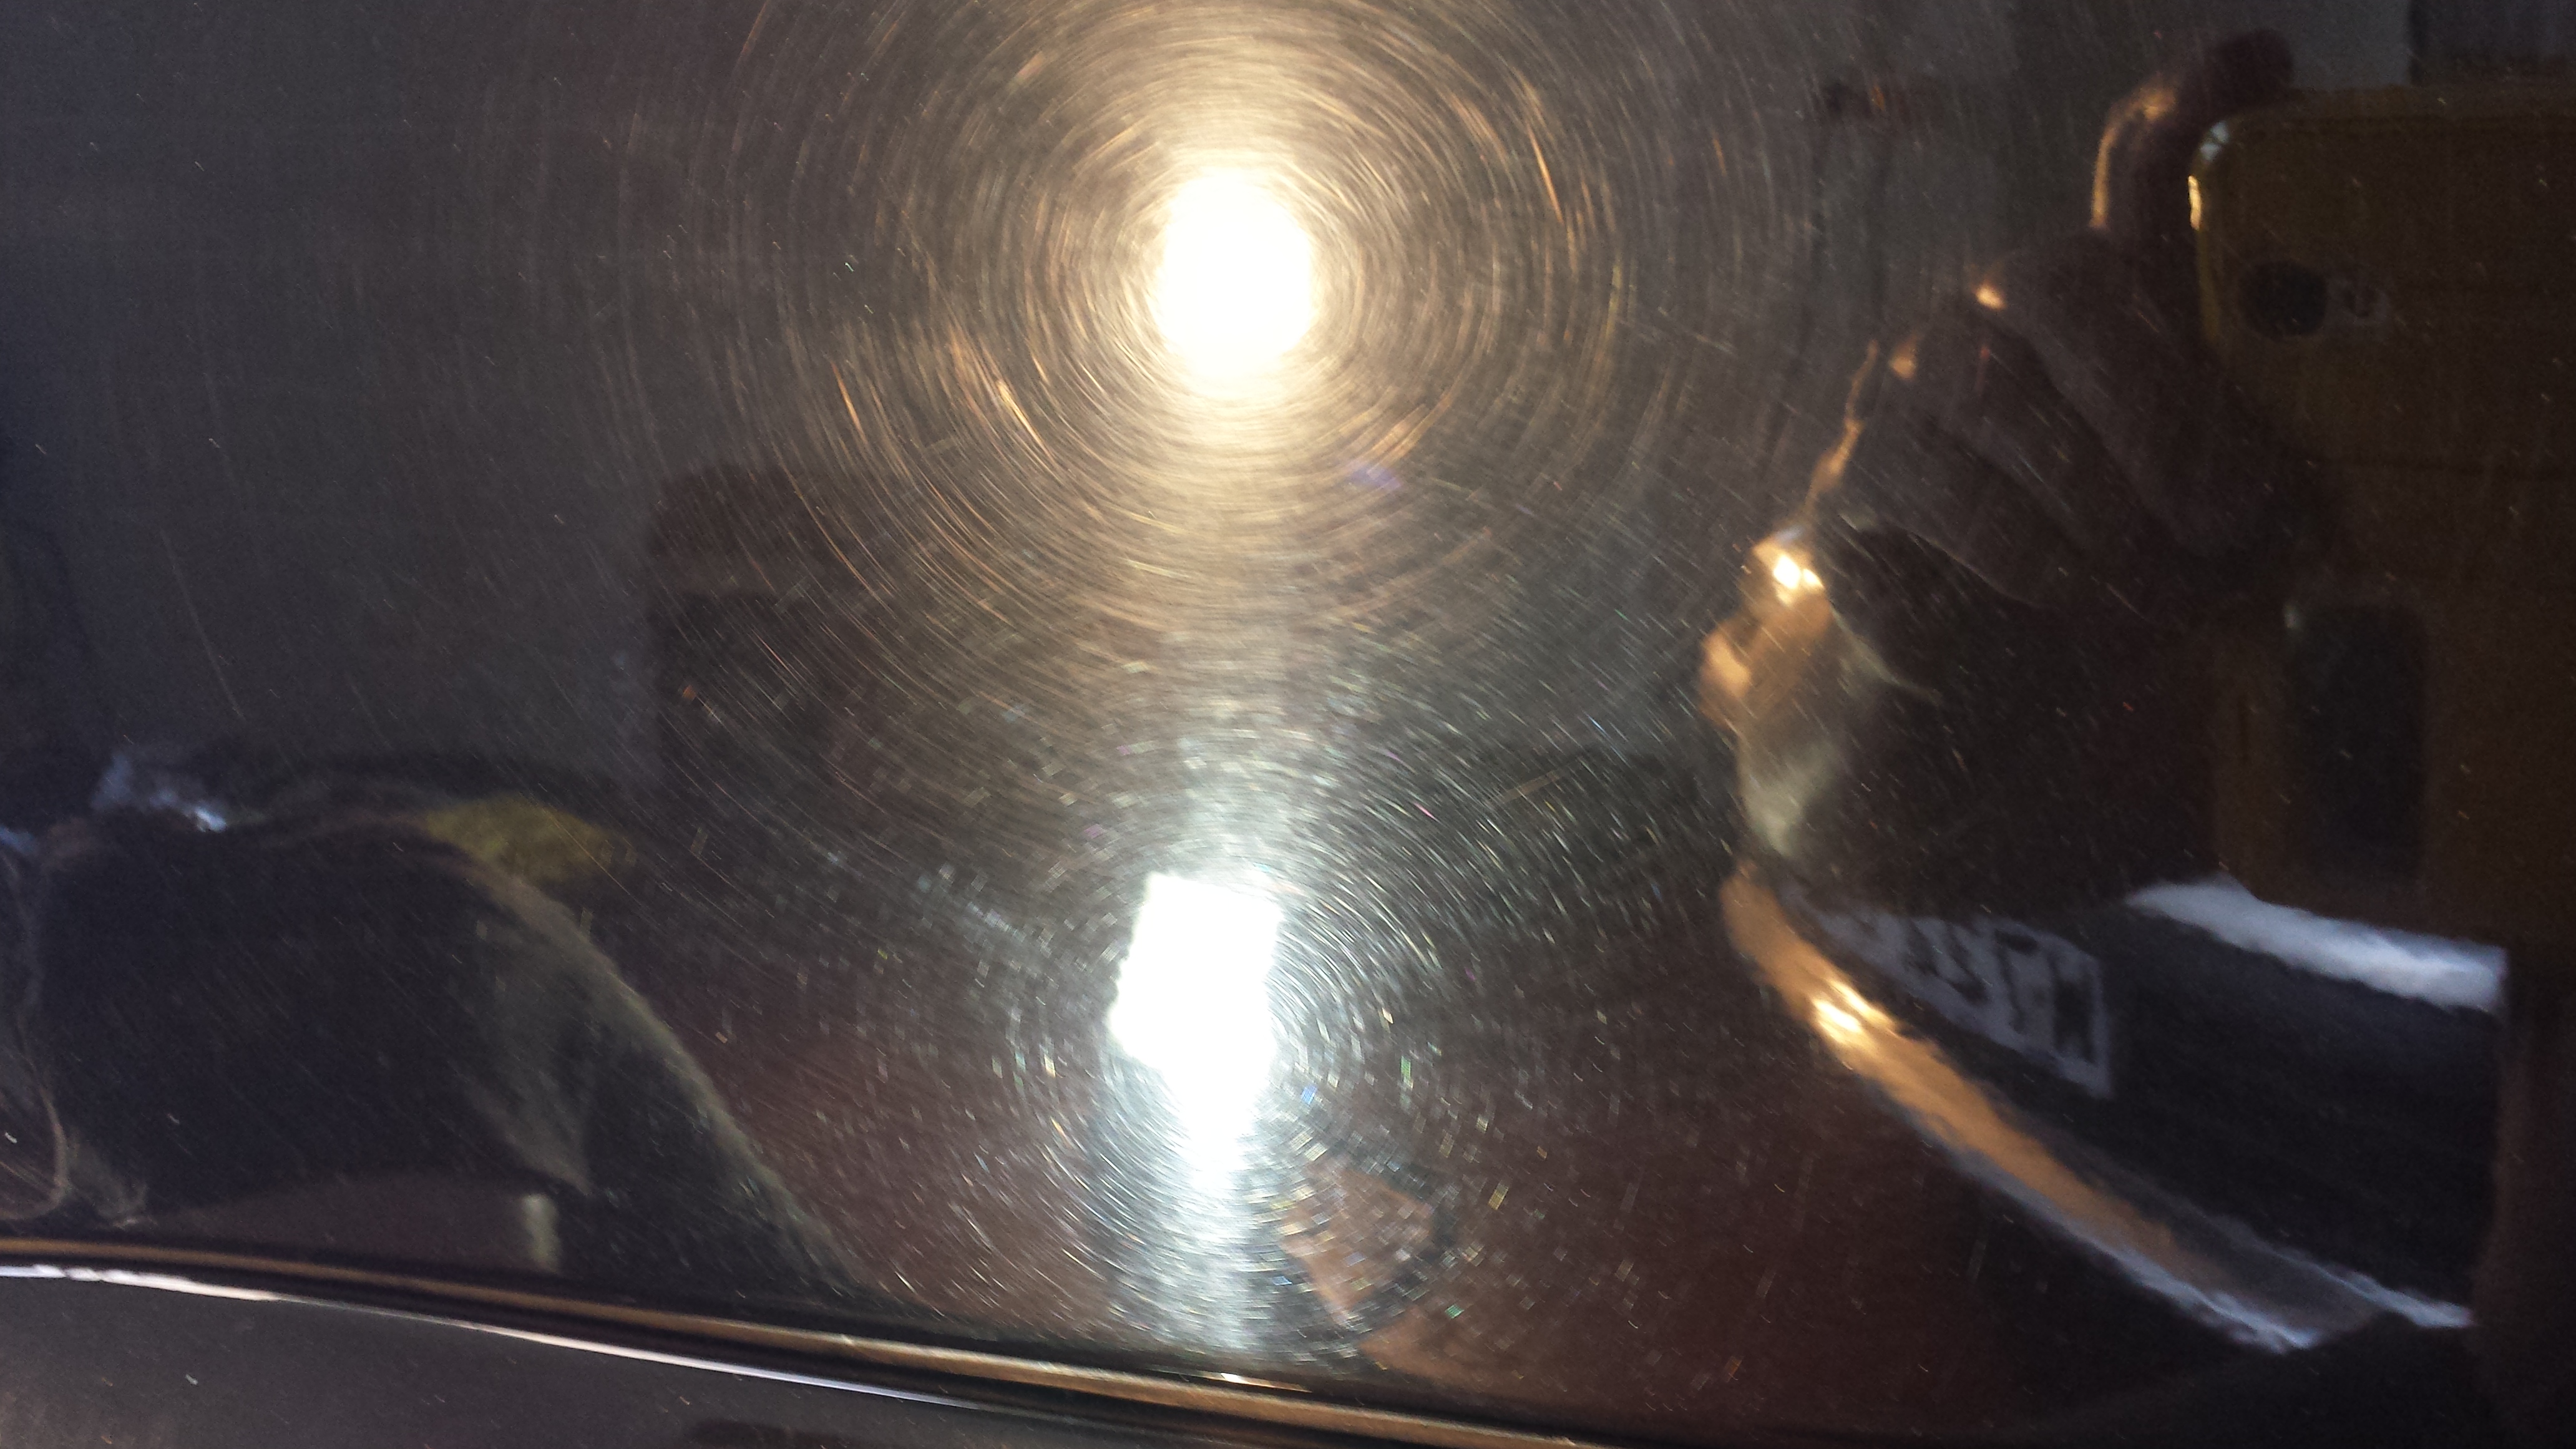
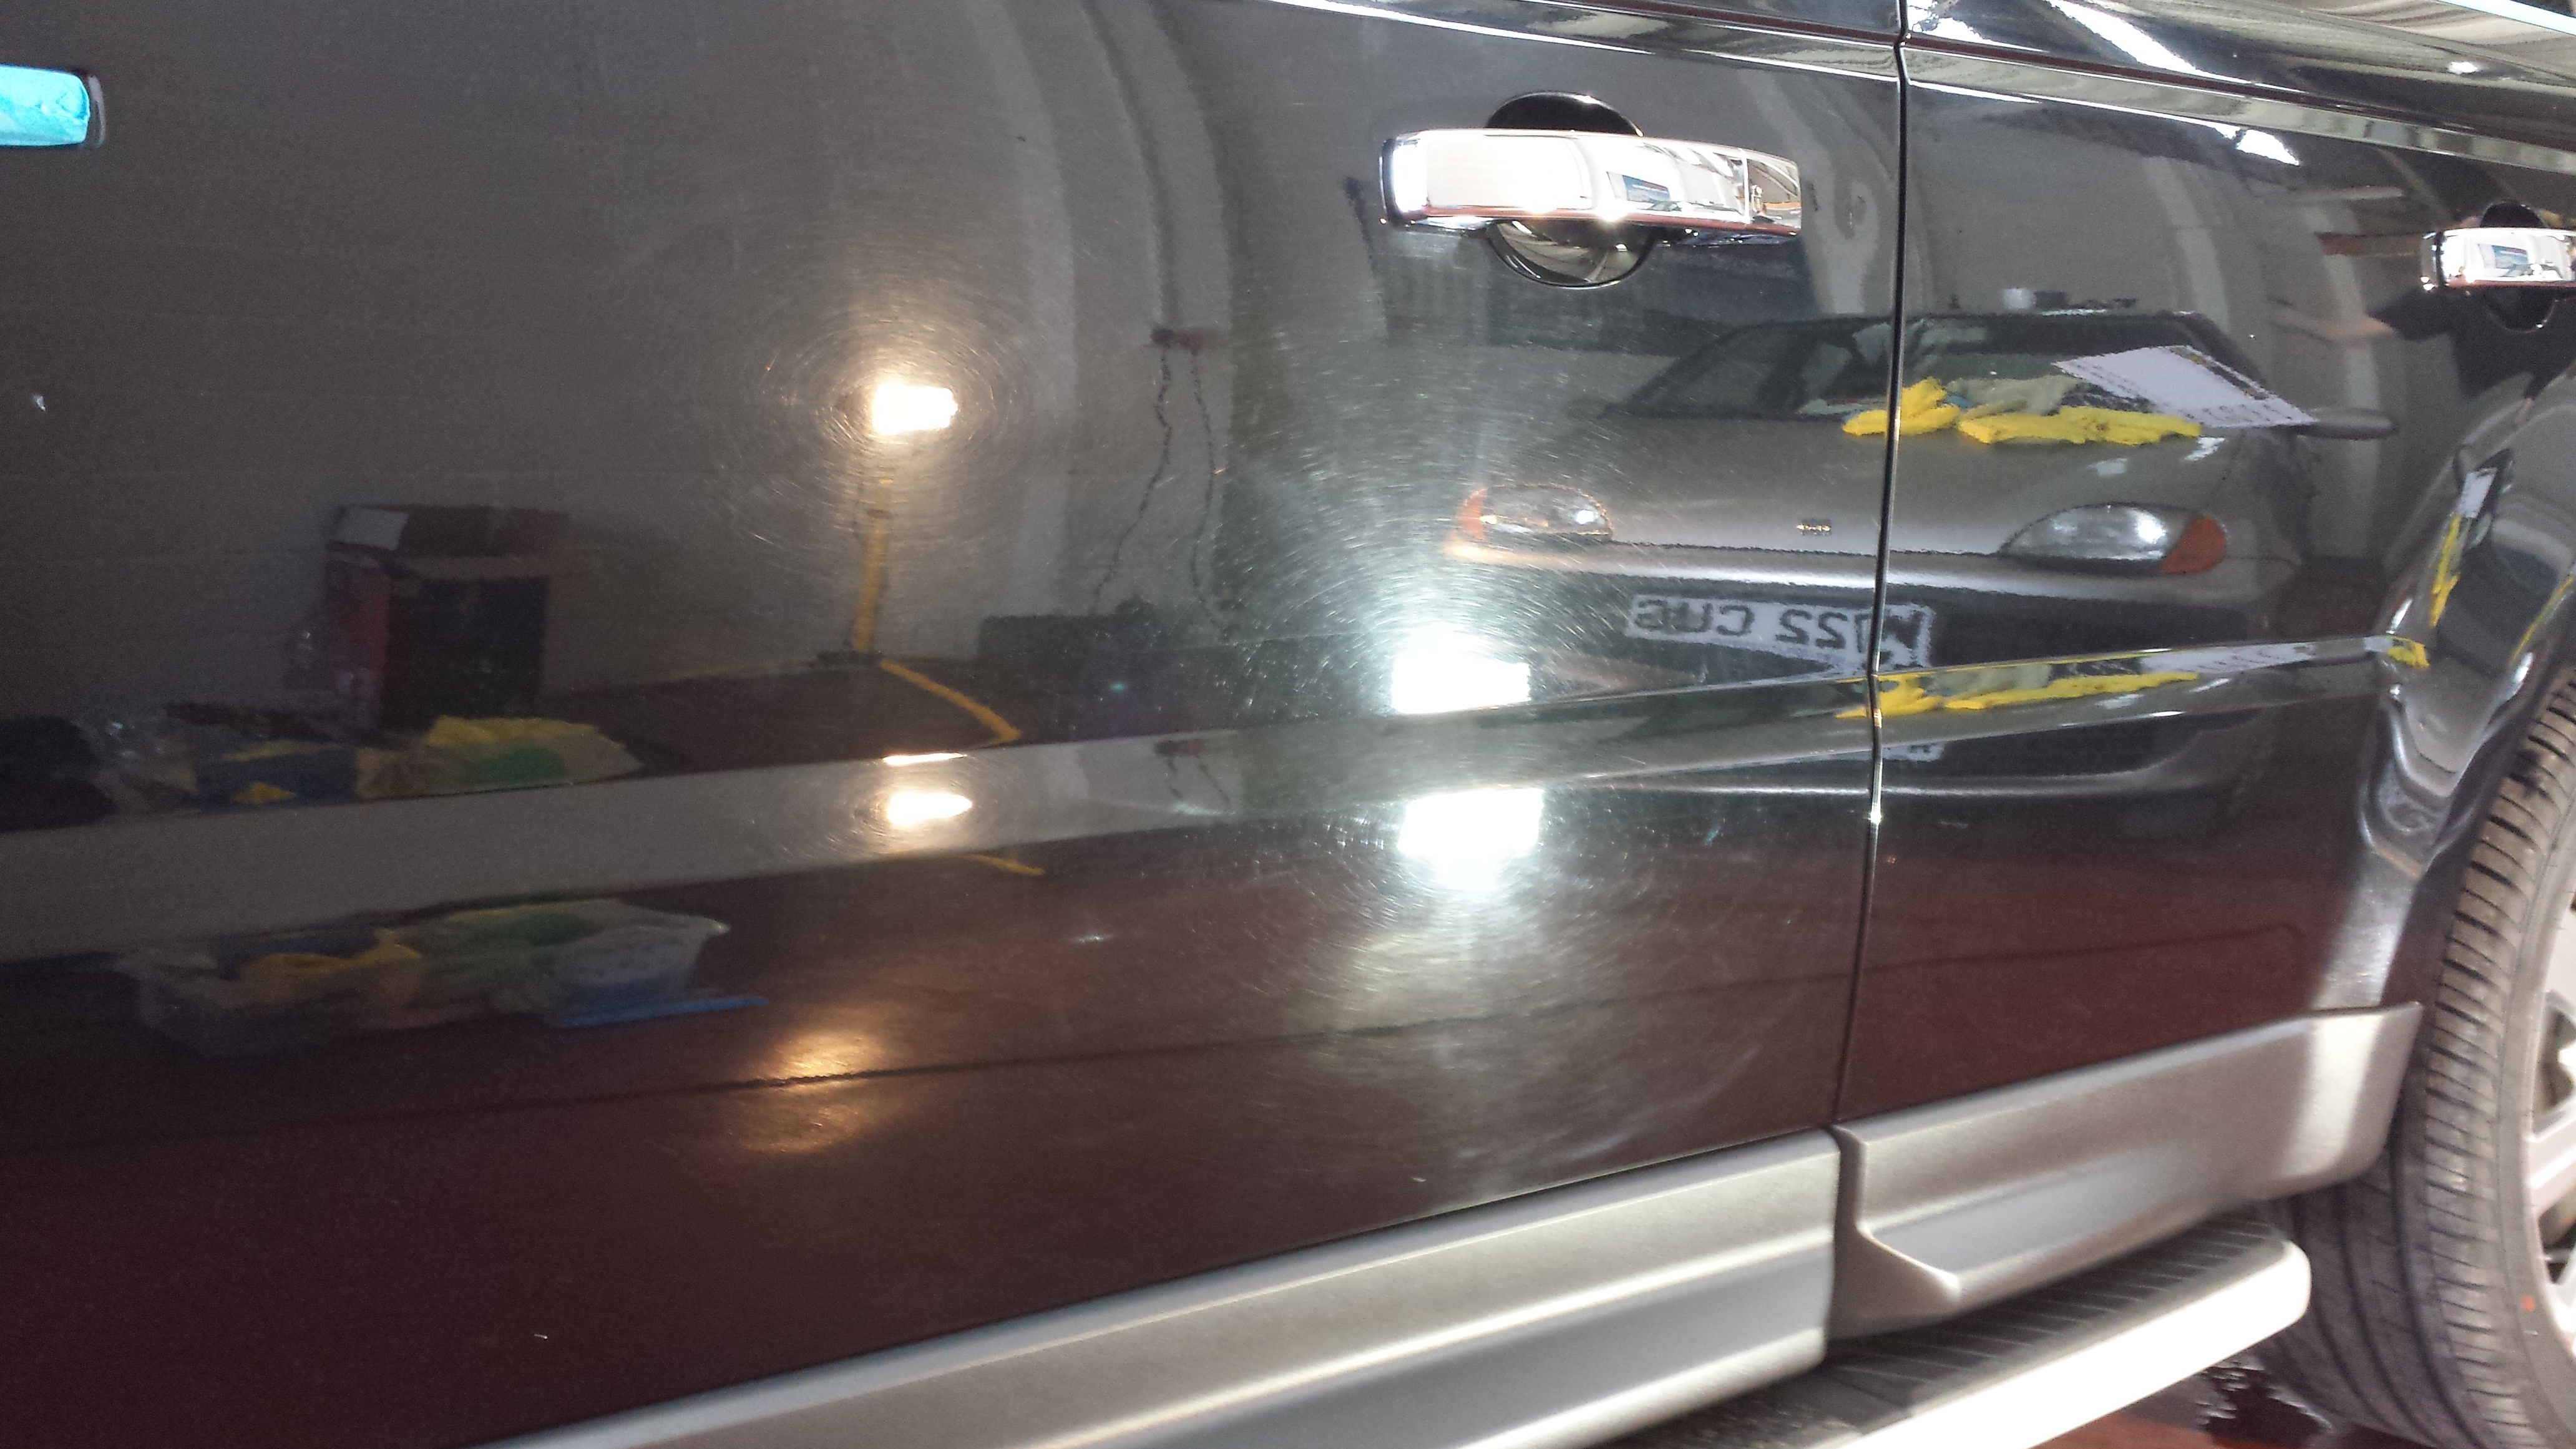
Swirl marks on the Range Rover.
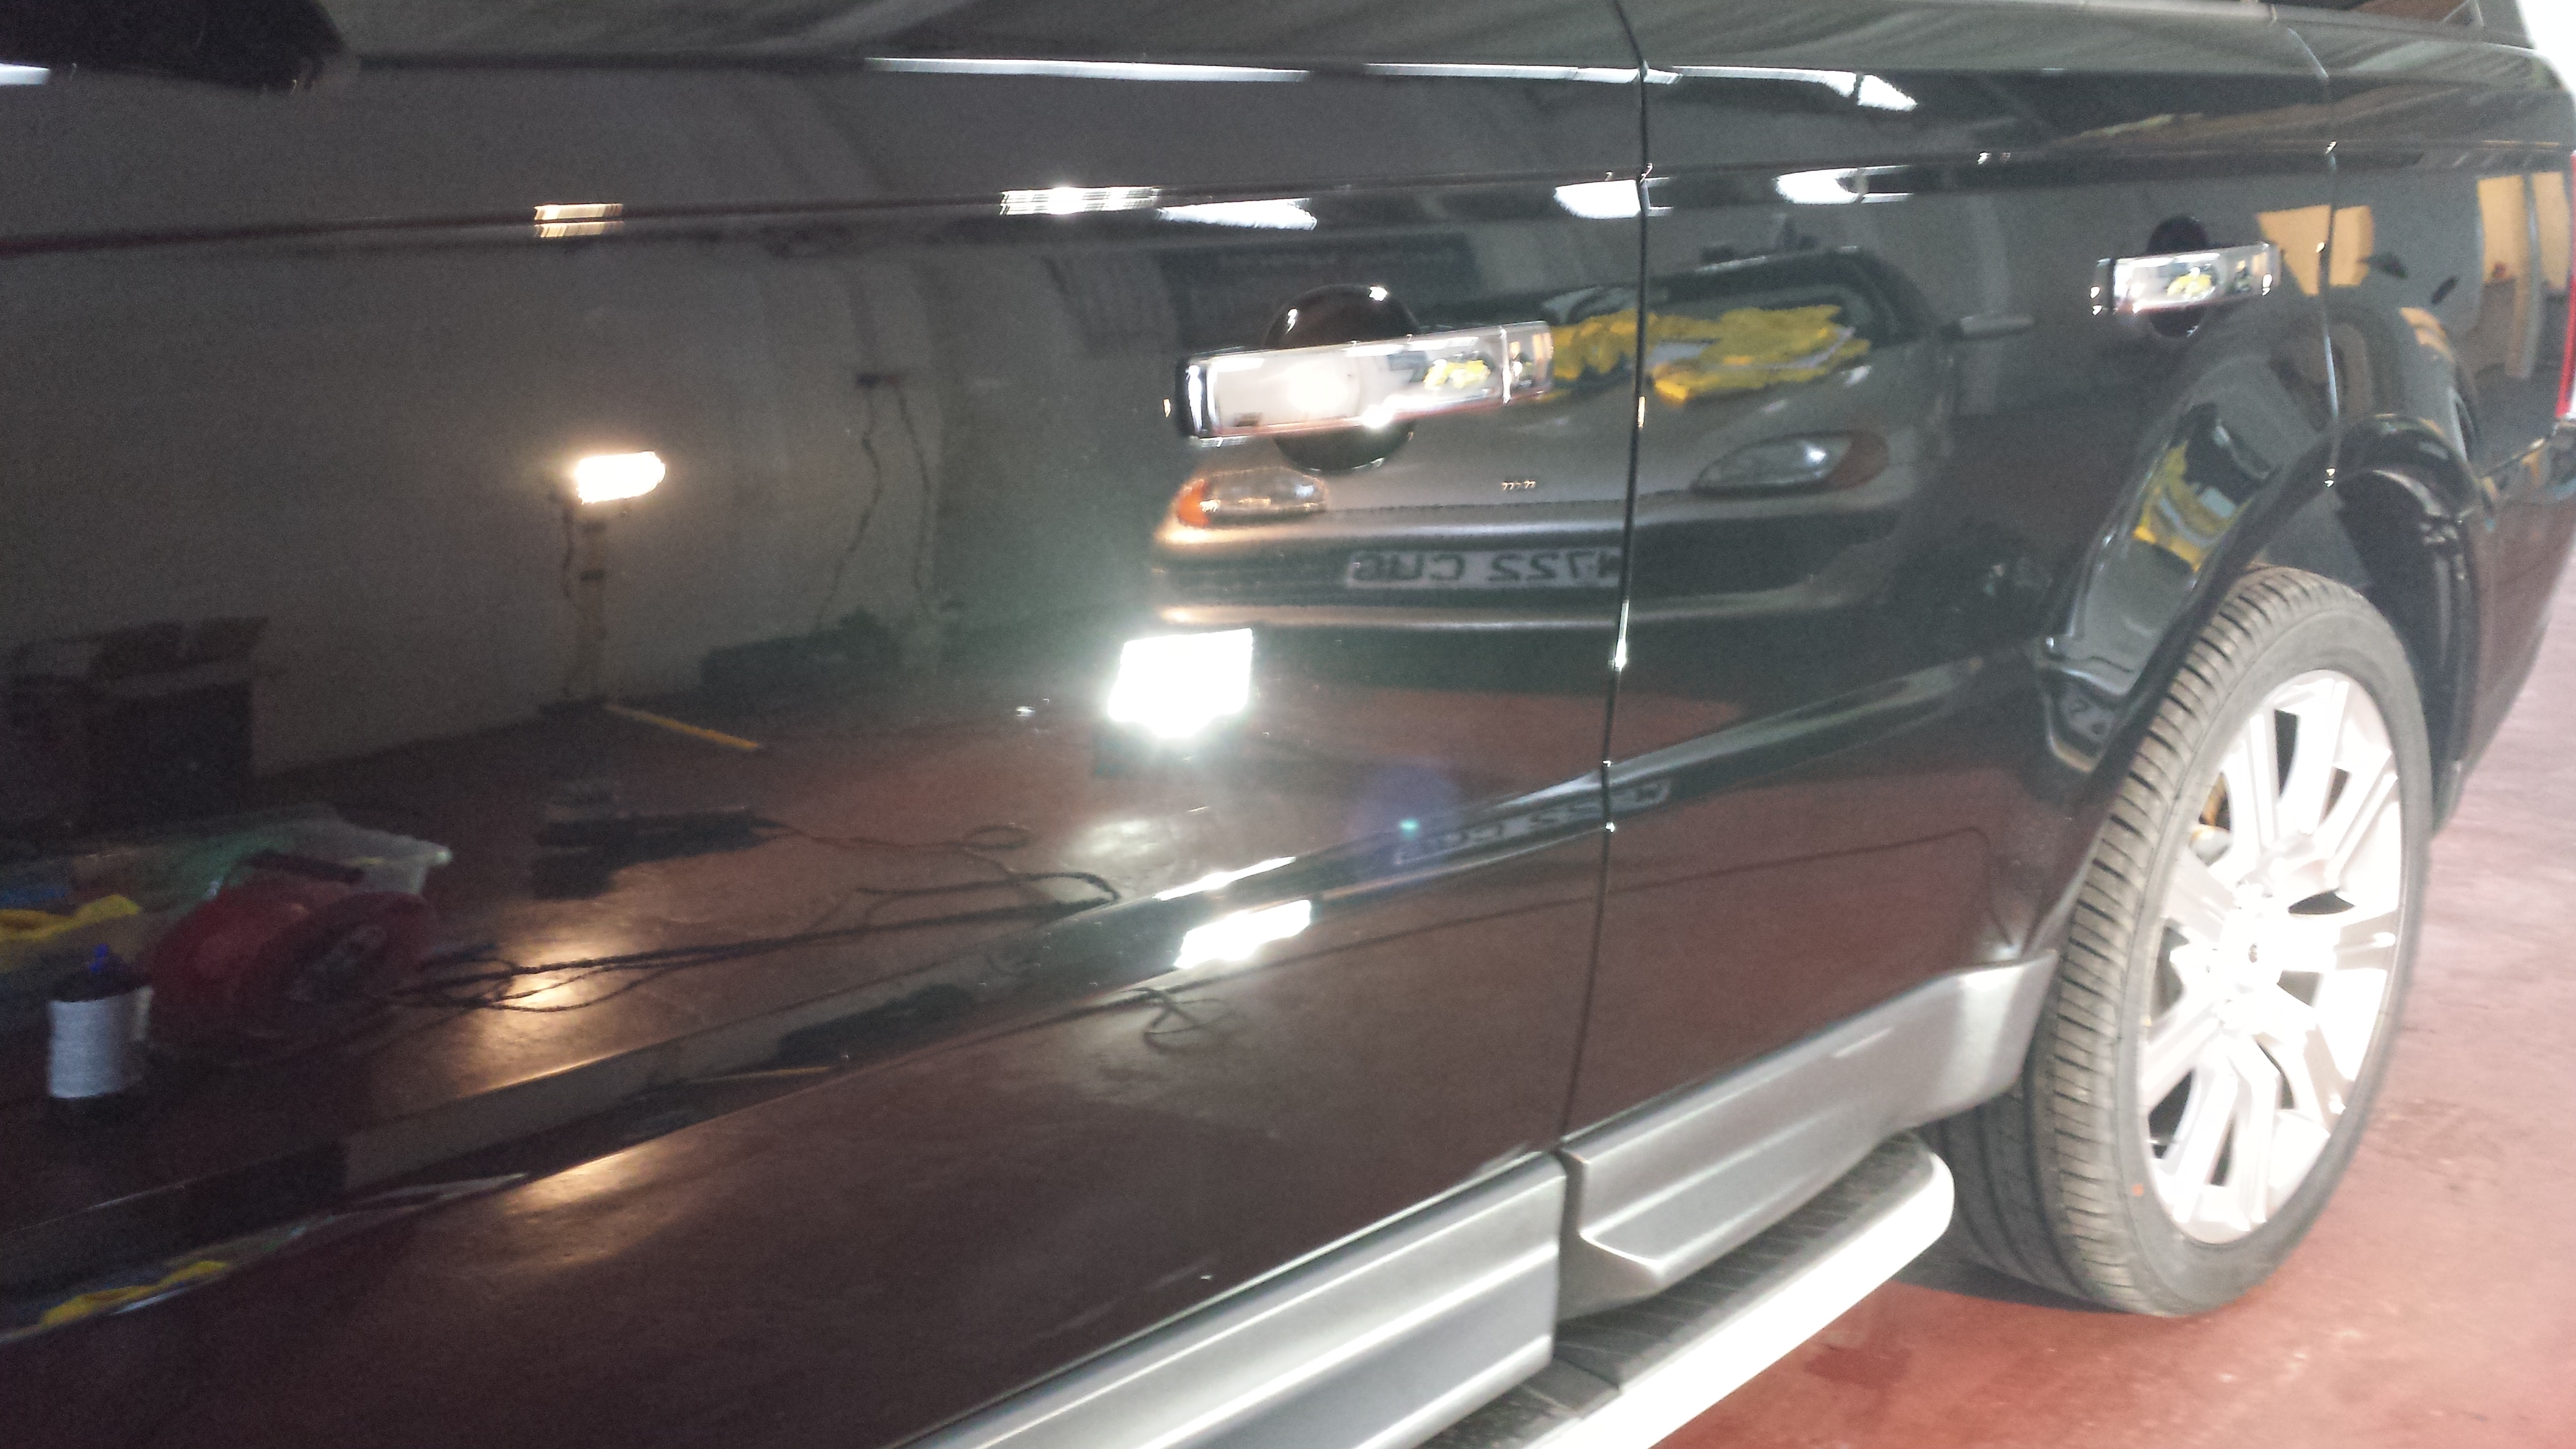
I decided to go with the medium cutting pad first, then a finishing pad to get these results..
A flawless finish.
The correction stage of the job was completed after the second day and it was put away for the evening.
Stored away for the night.
The 3rd day comprised mainly of correcting the gloss black pillars and roof sections, before moving to the inside where it was in need of a good clean and a coating of Gtechniq I1 for the carpets and Gtechniq L1 for the leather work.
Late afternoon, the coatings were applied to the wheels, glasswork, plastic exterior trim and finally the paintwork, before it was put back away into the garage for the night.
The following morning, we were back up there to ispect everything and also tackle the clients other car..a BMW 7 series.
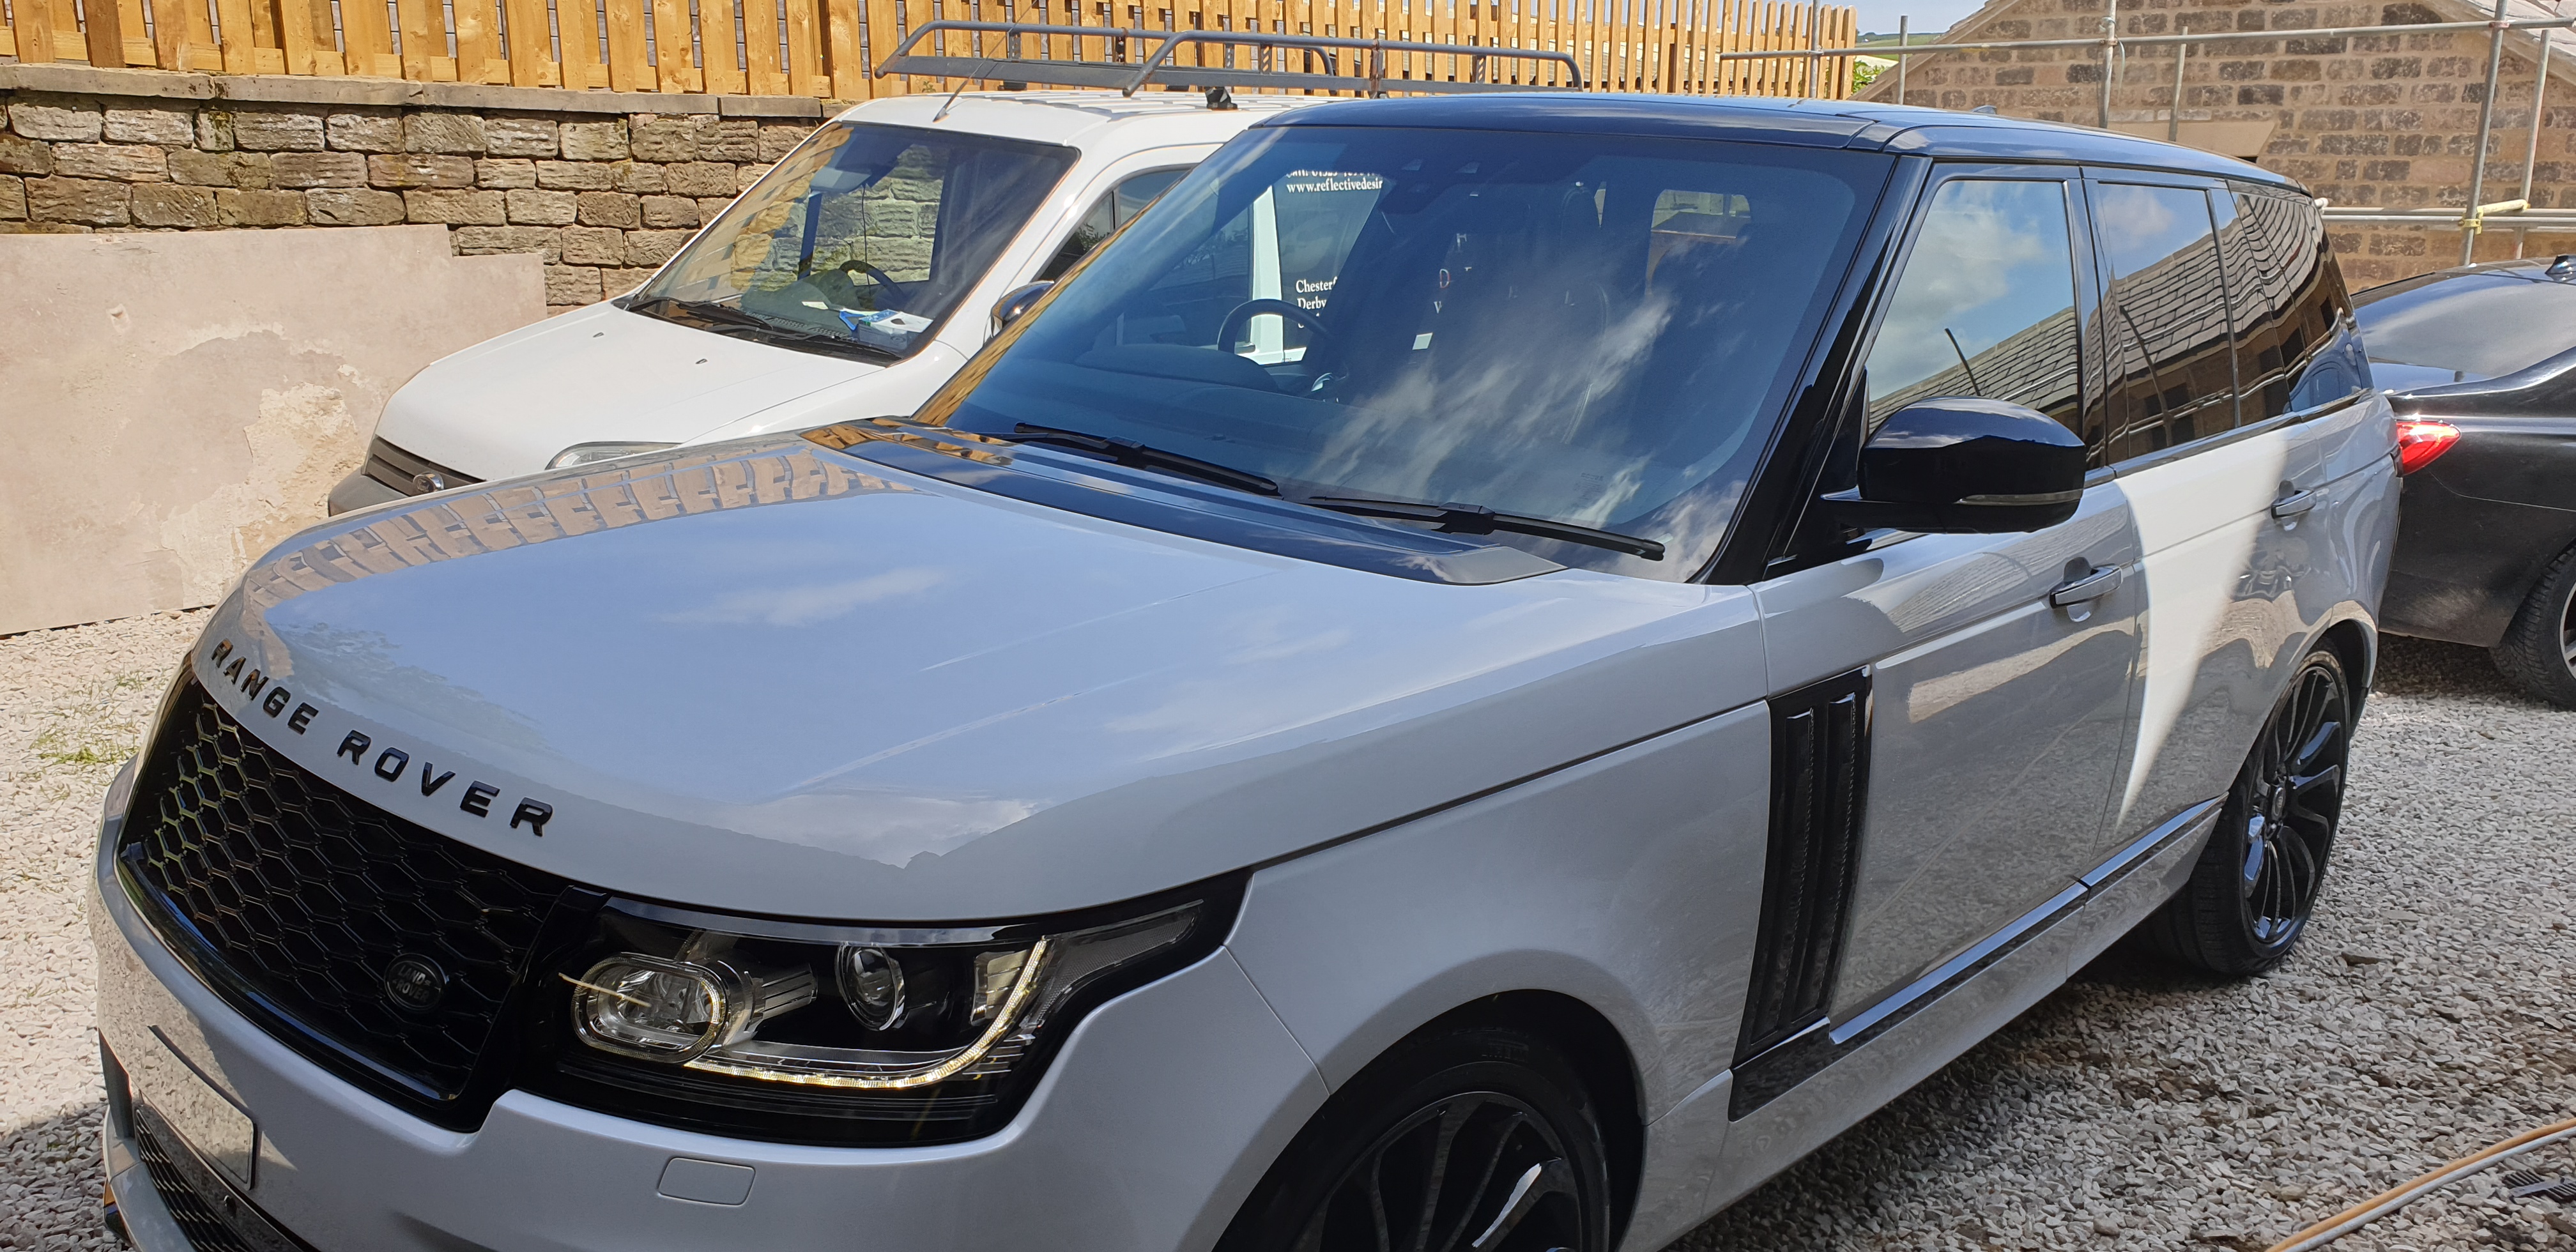
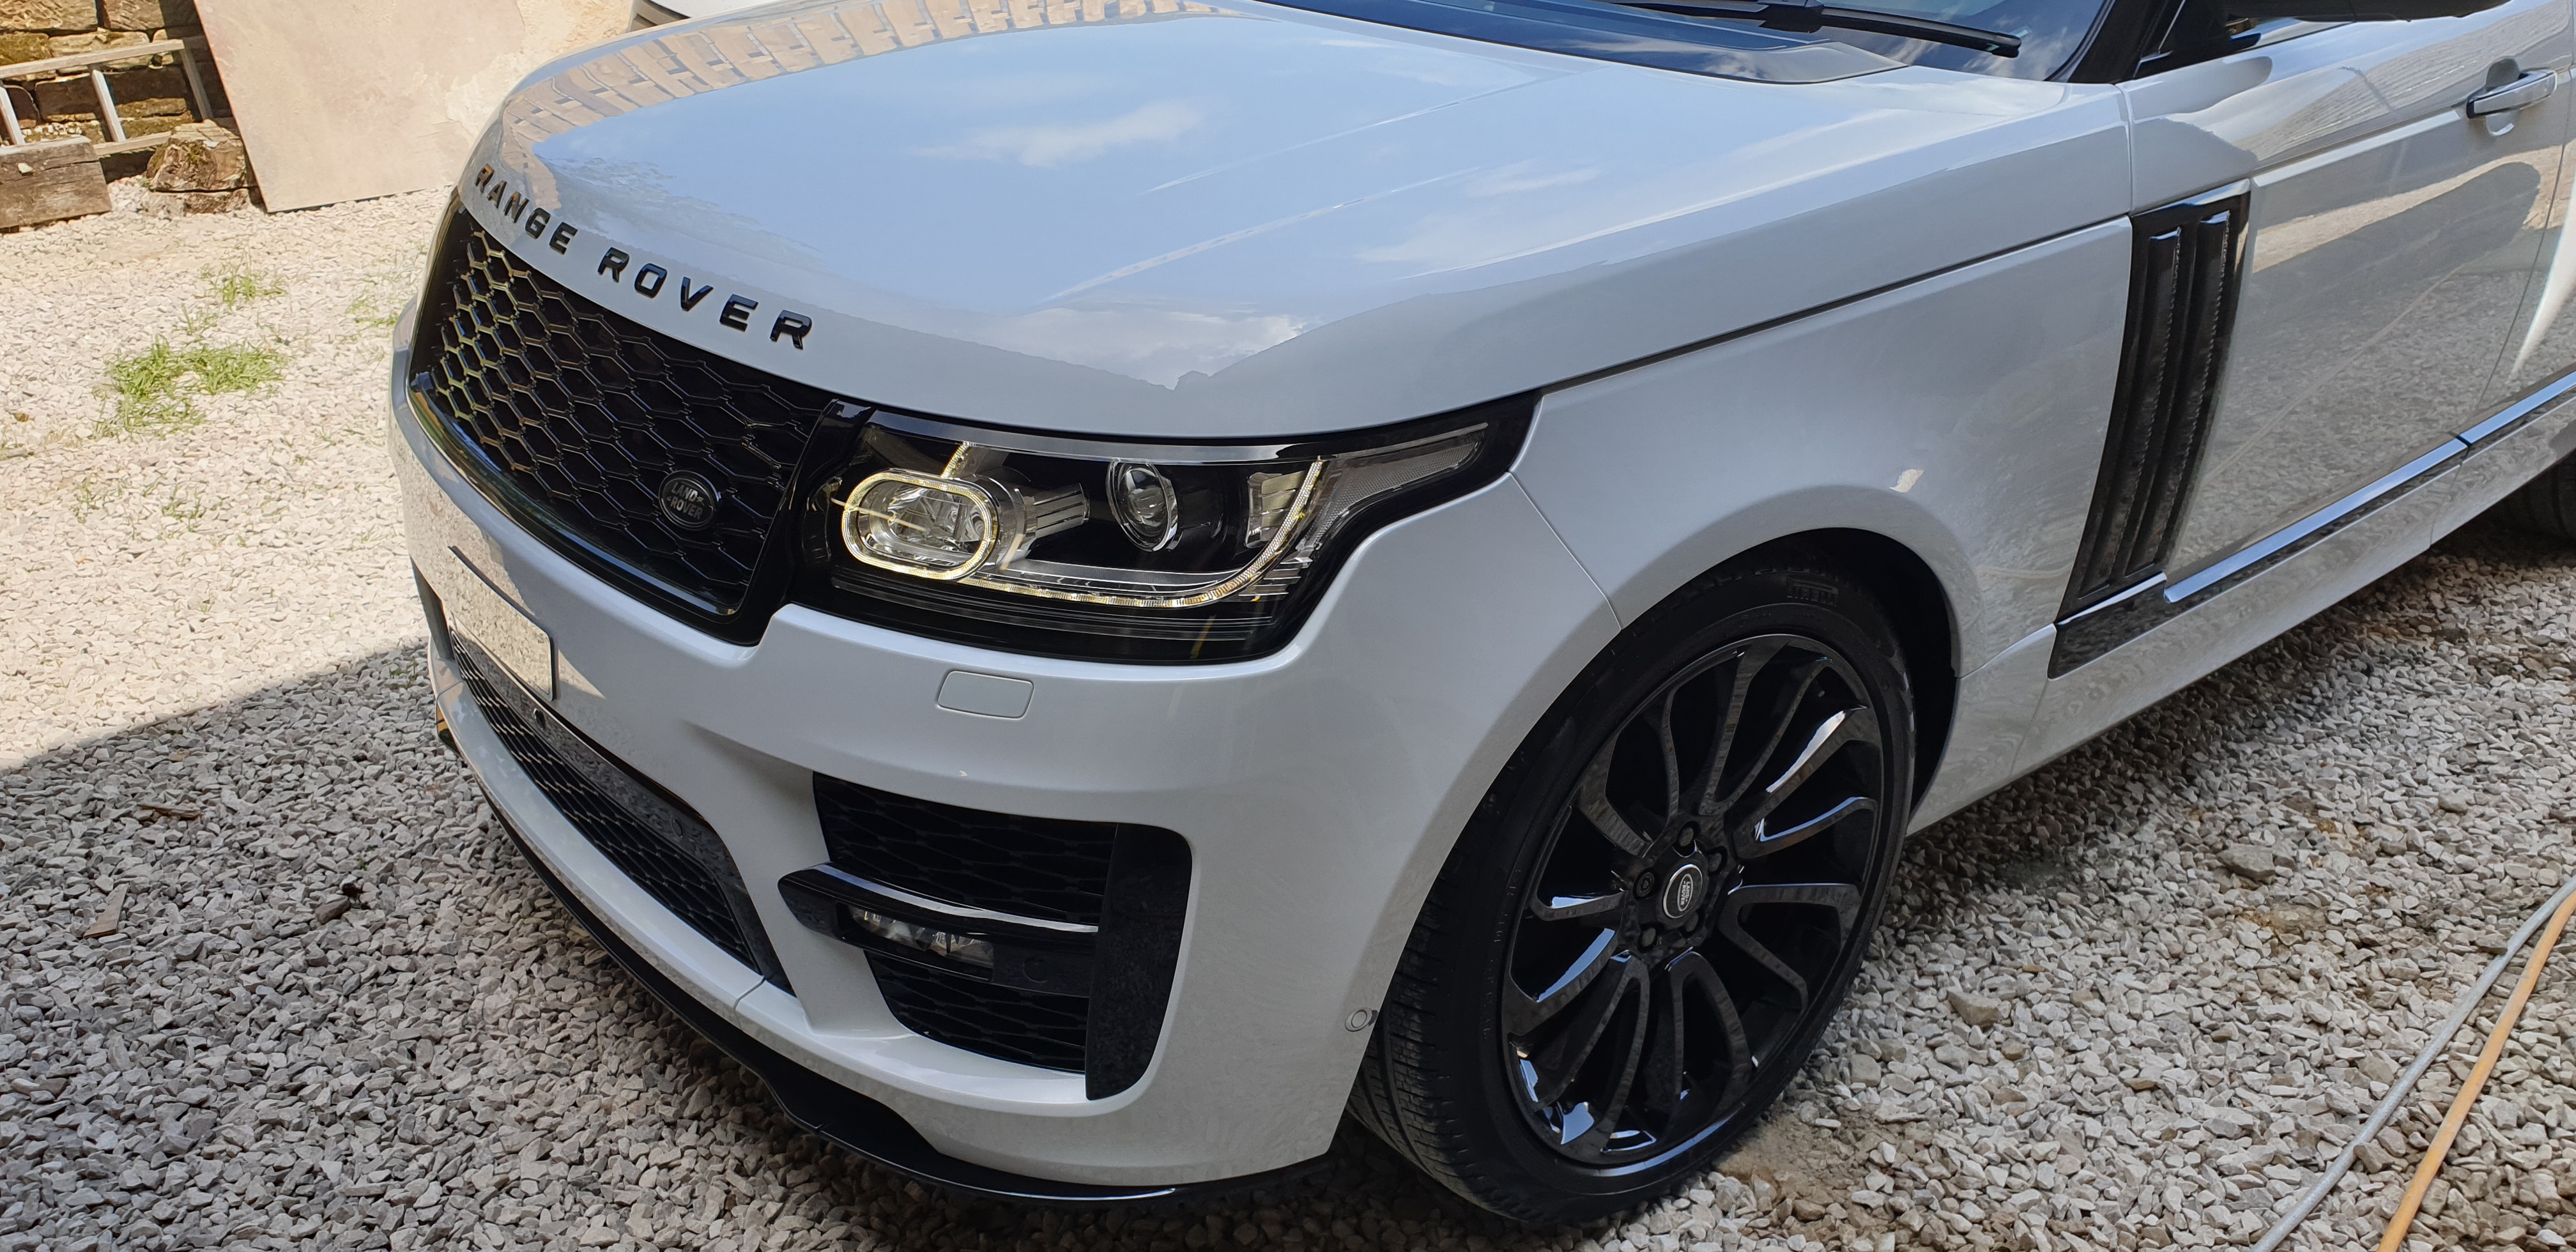
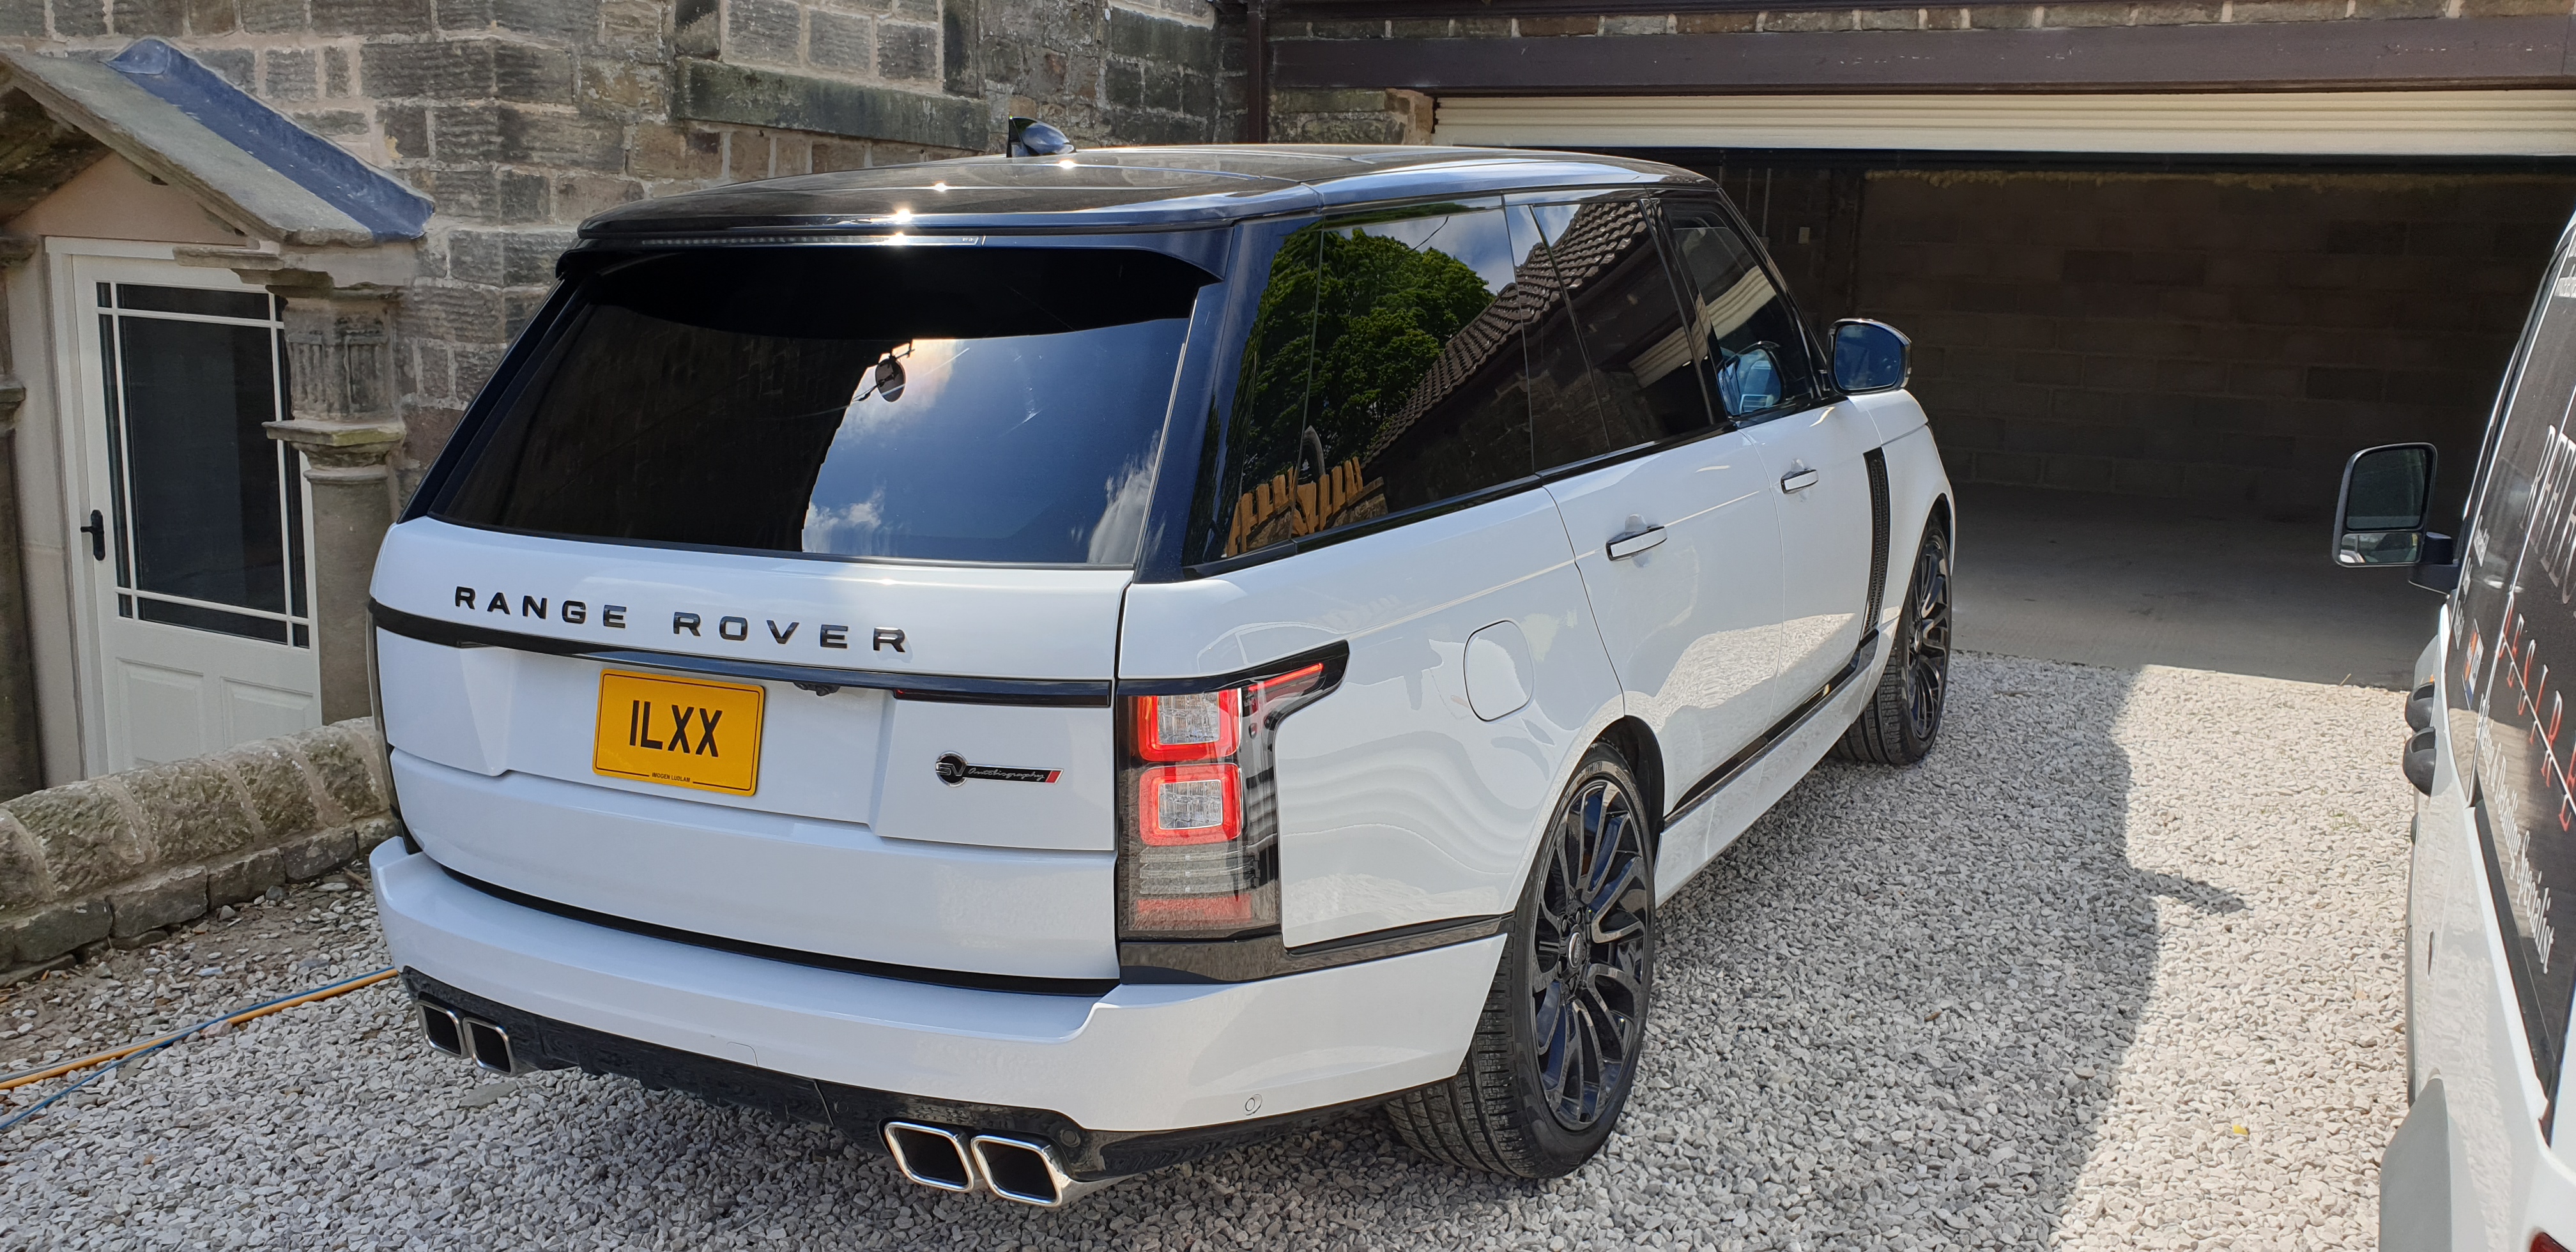
Range Rover SV Autobiography after coating with Cquartz UK3.0
https://www.reflectivedesire.co.uk/wp-content/uploads/2019/06/Range-Rover-SV-Autobiography-9-scaled.jpg12442560adminhttps://www.reflectivedesire.co.uk/wp-content/uploads/2024/08/reflective-desire-300x161-2.pngadmin2019-06-15 10:37:002019-06-15 10:37:00Range Rover SV Autobiography. Full paint correction and ceramic coating.
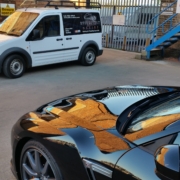
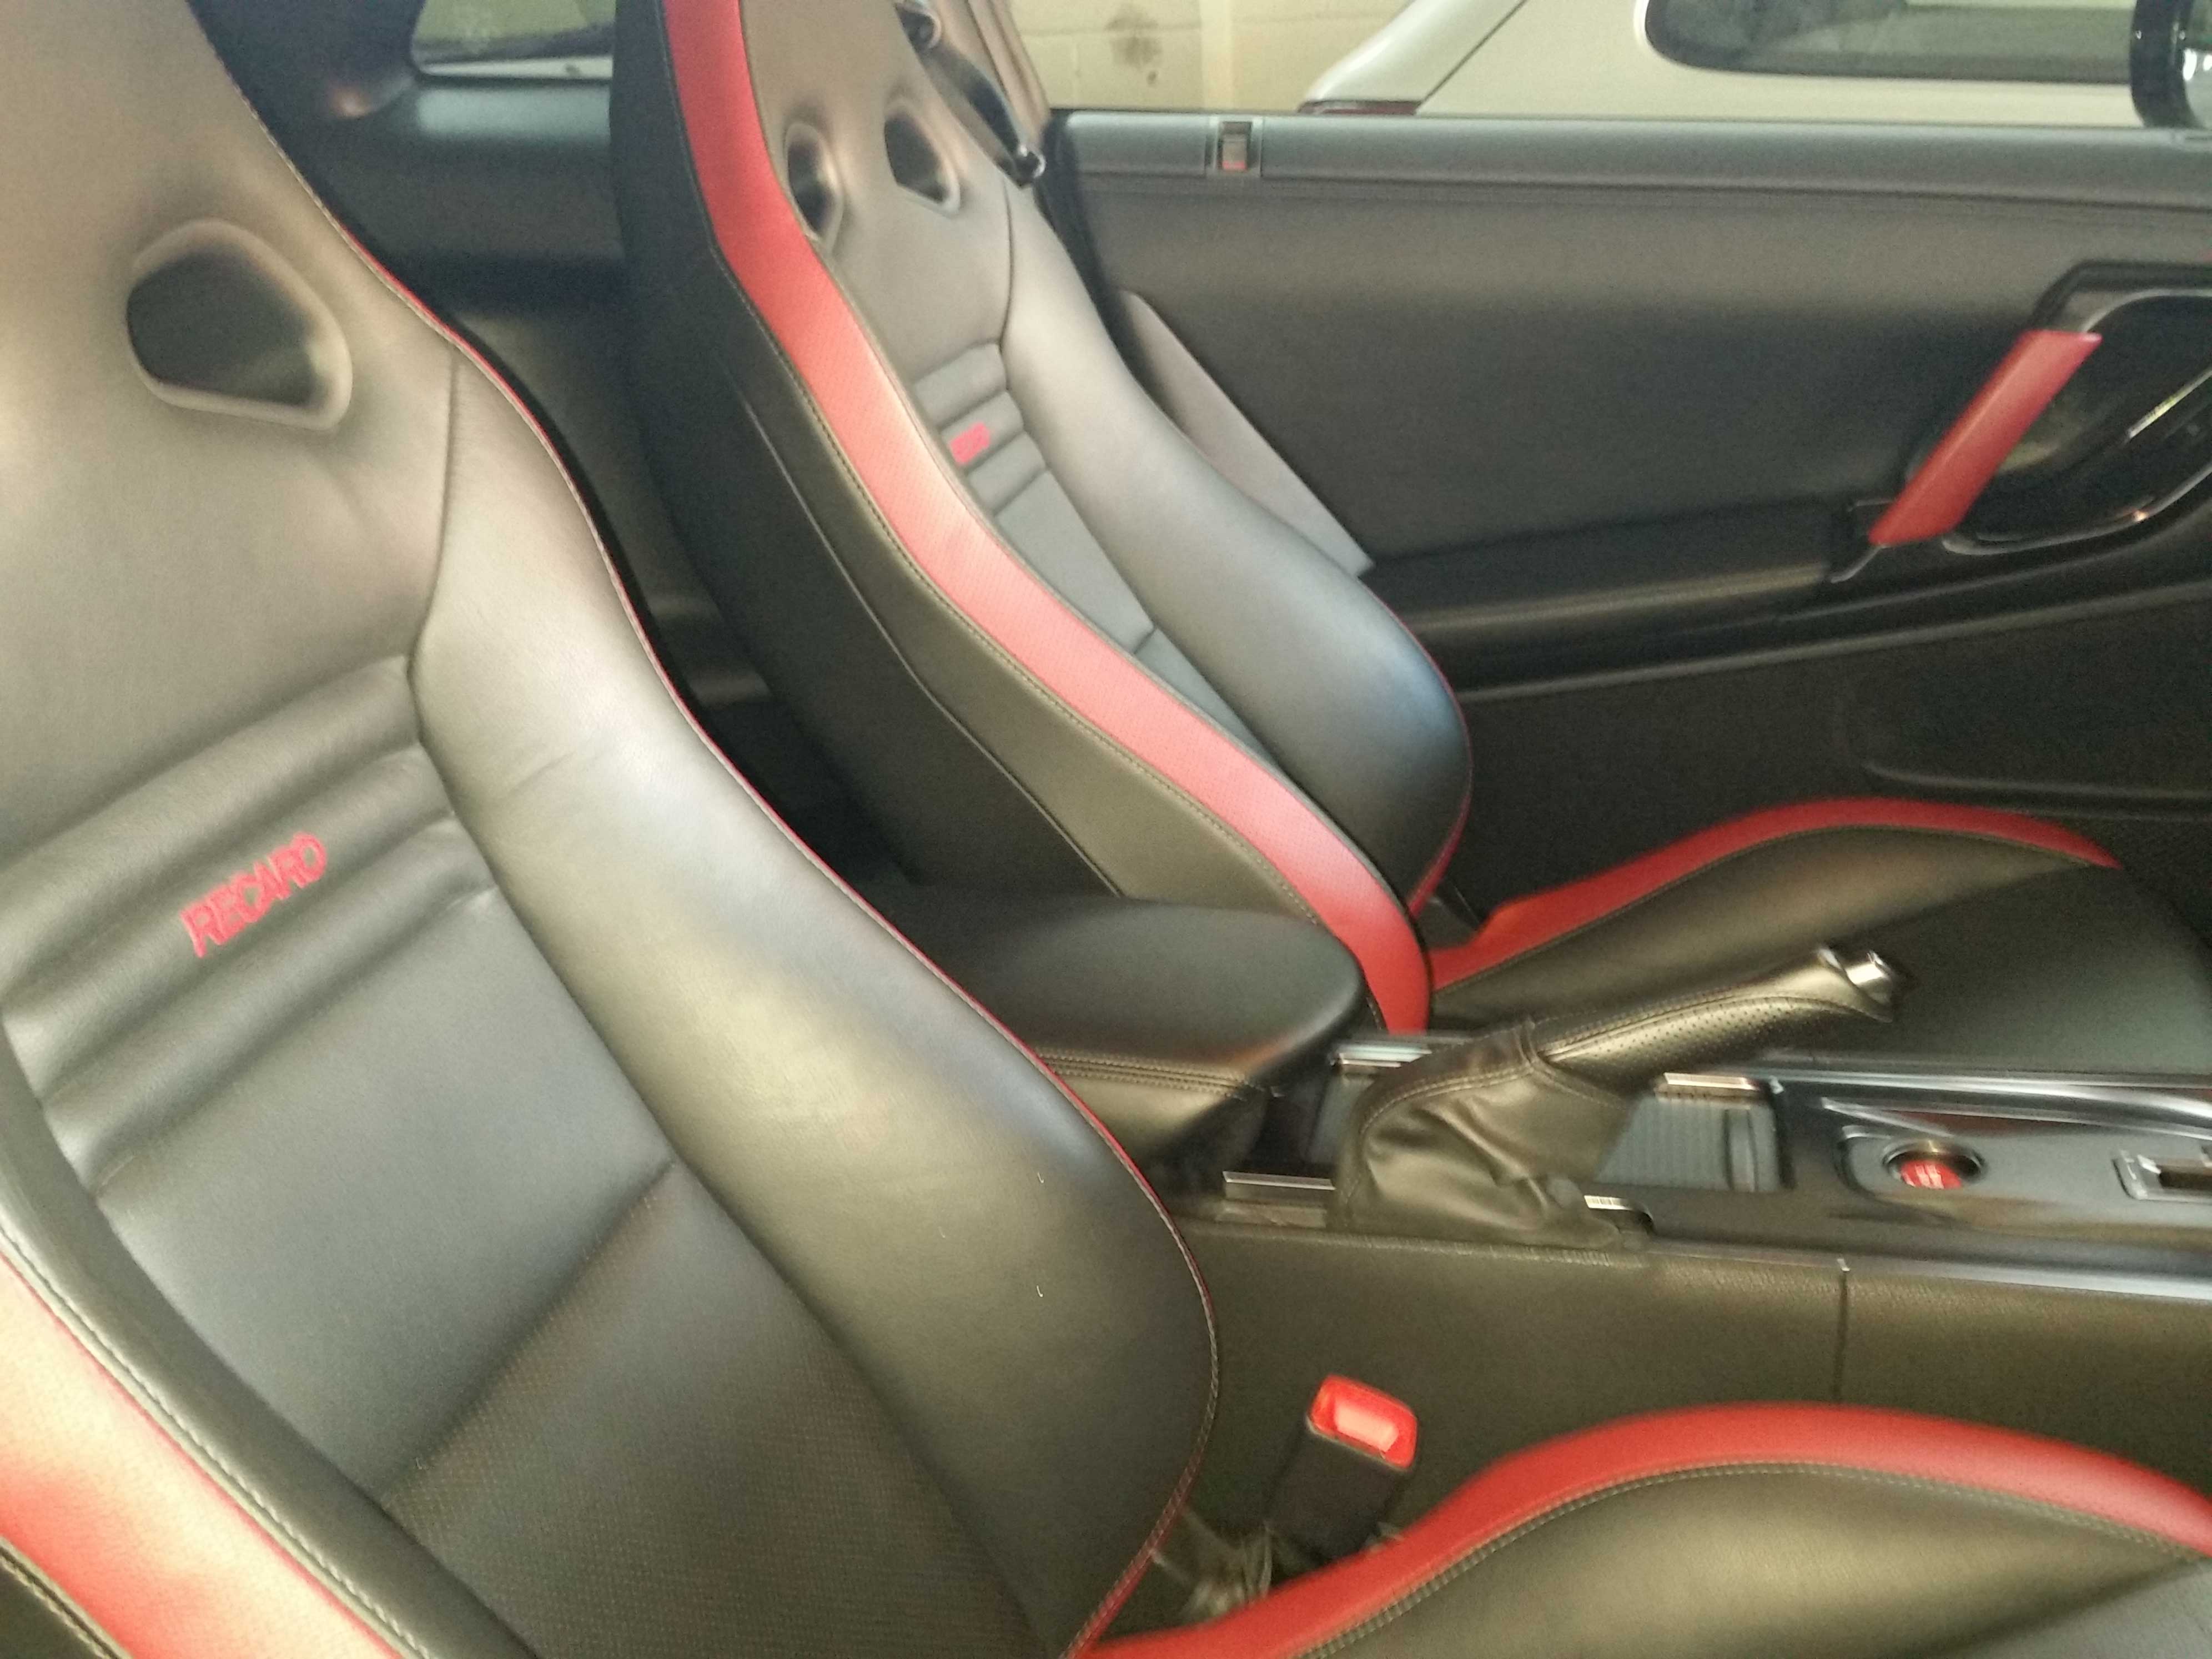
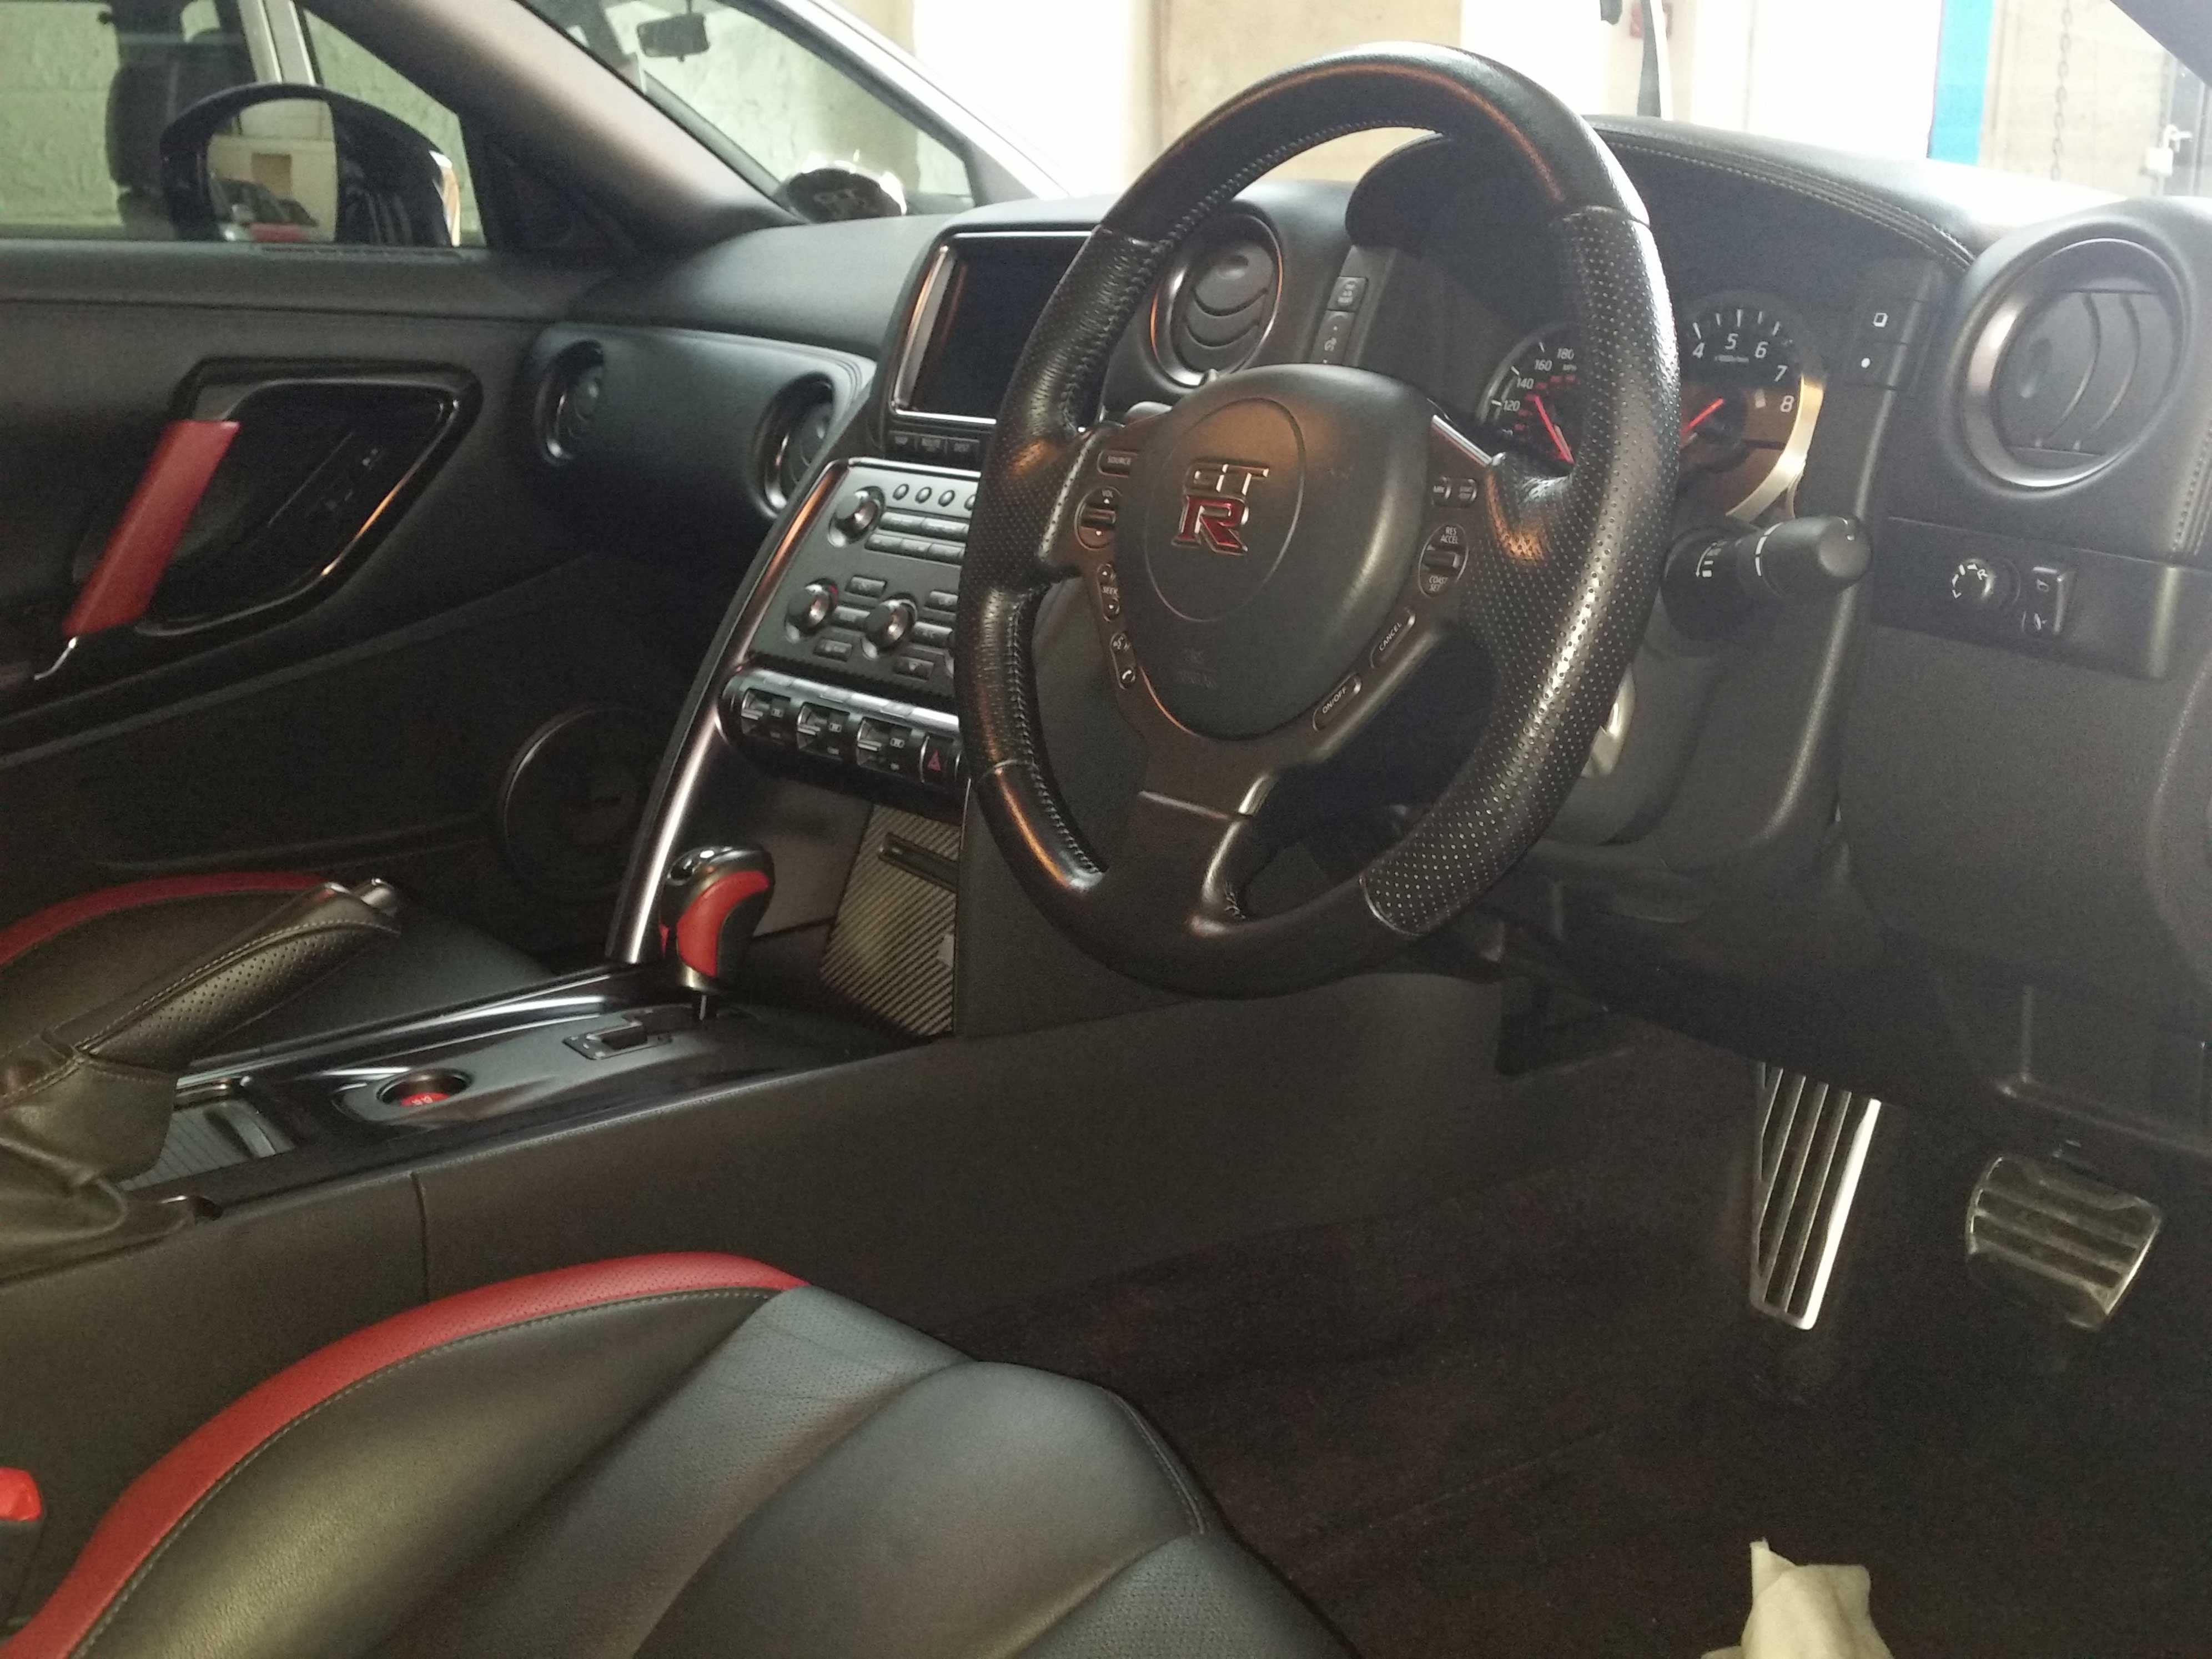
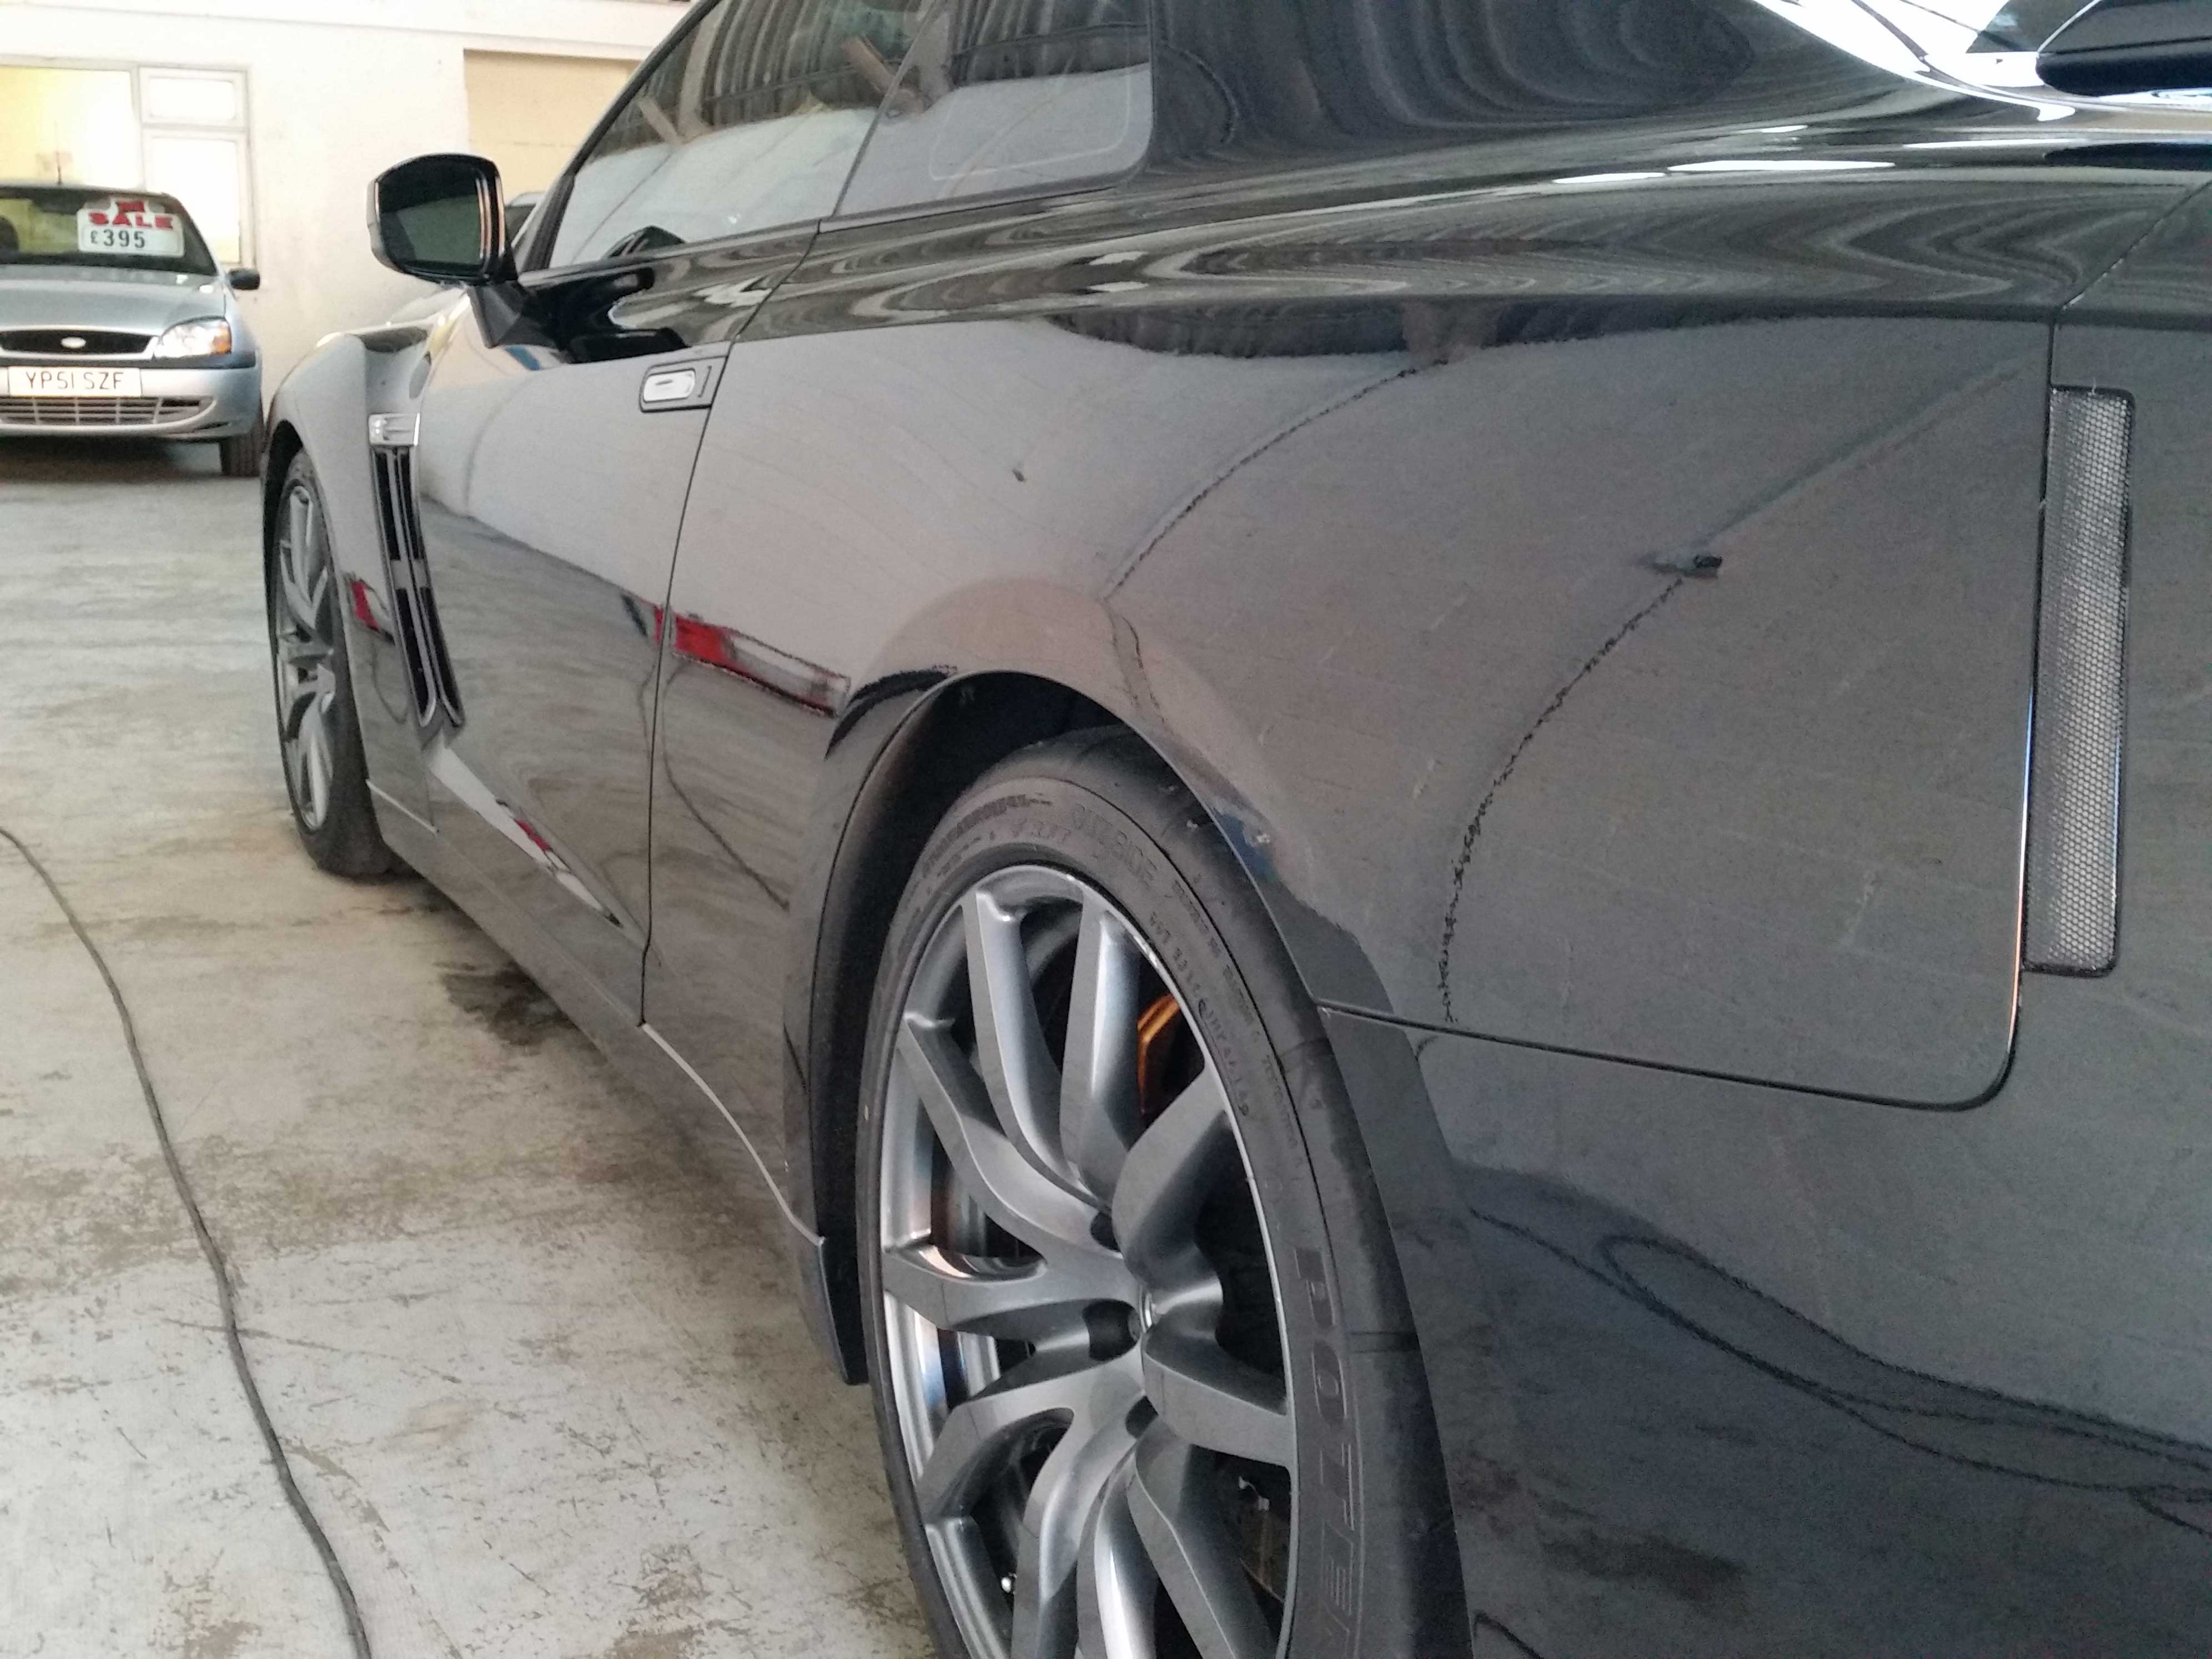
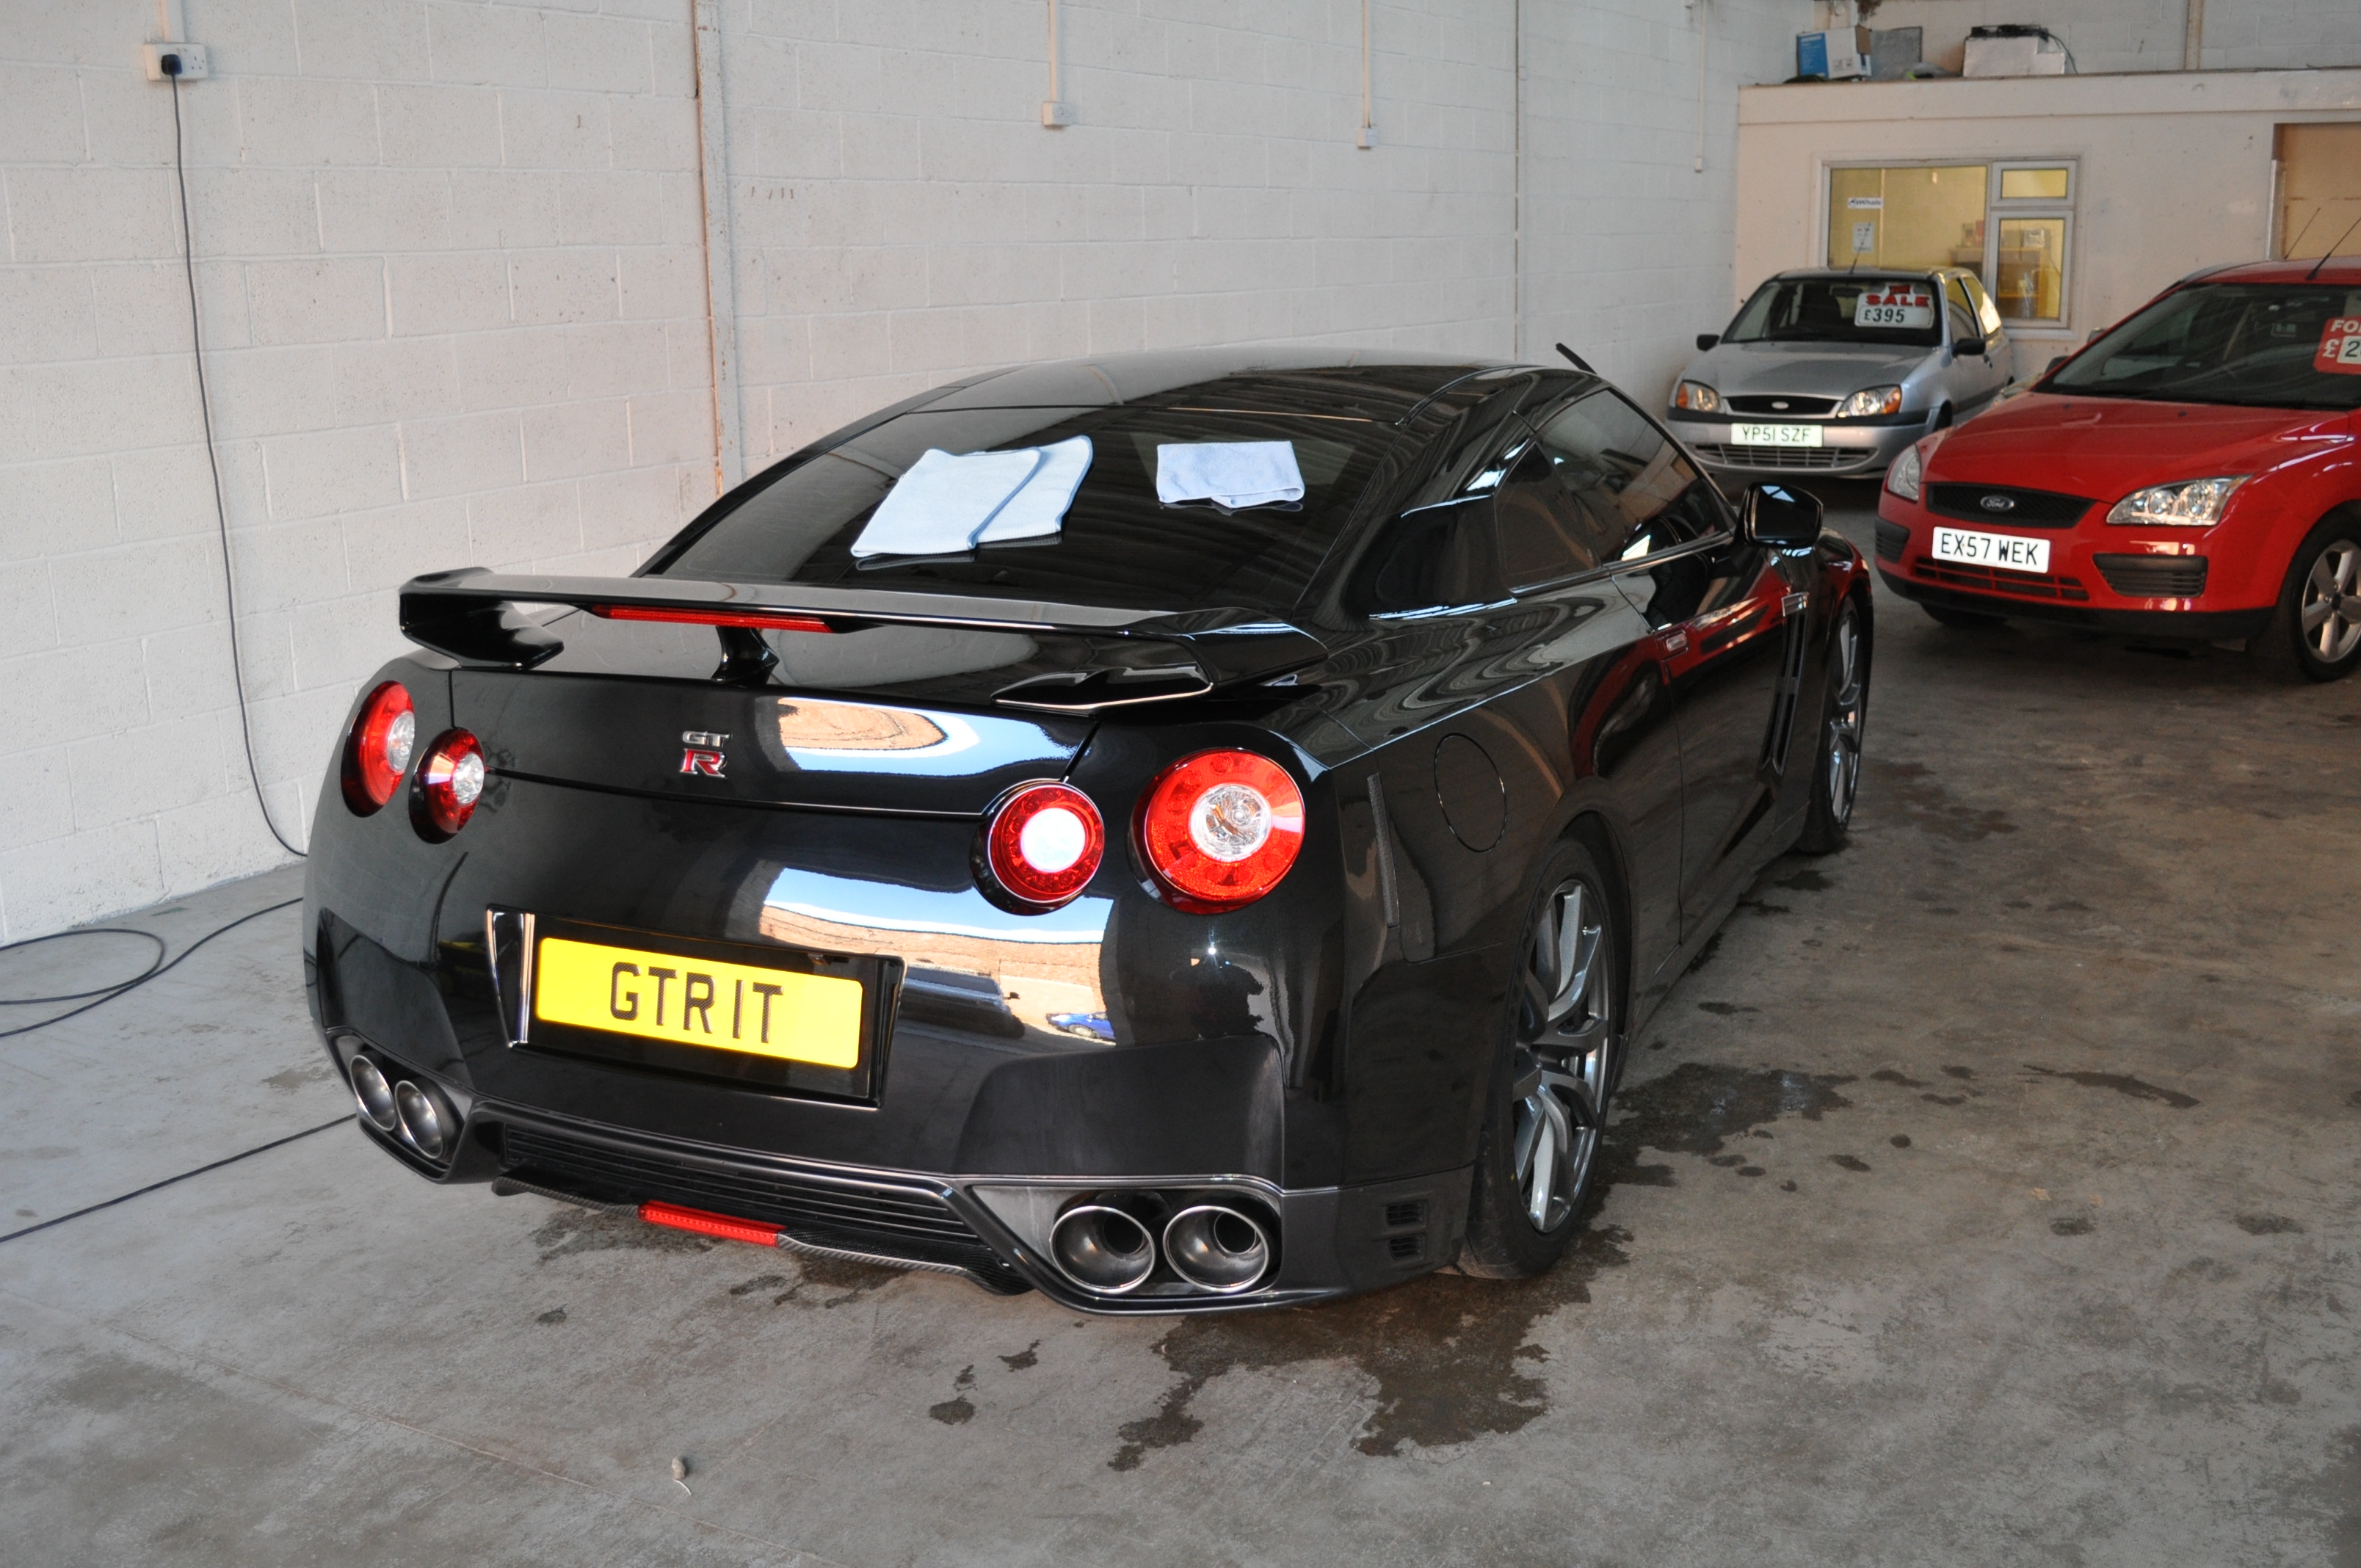
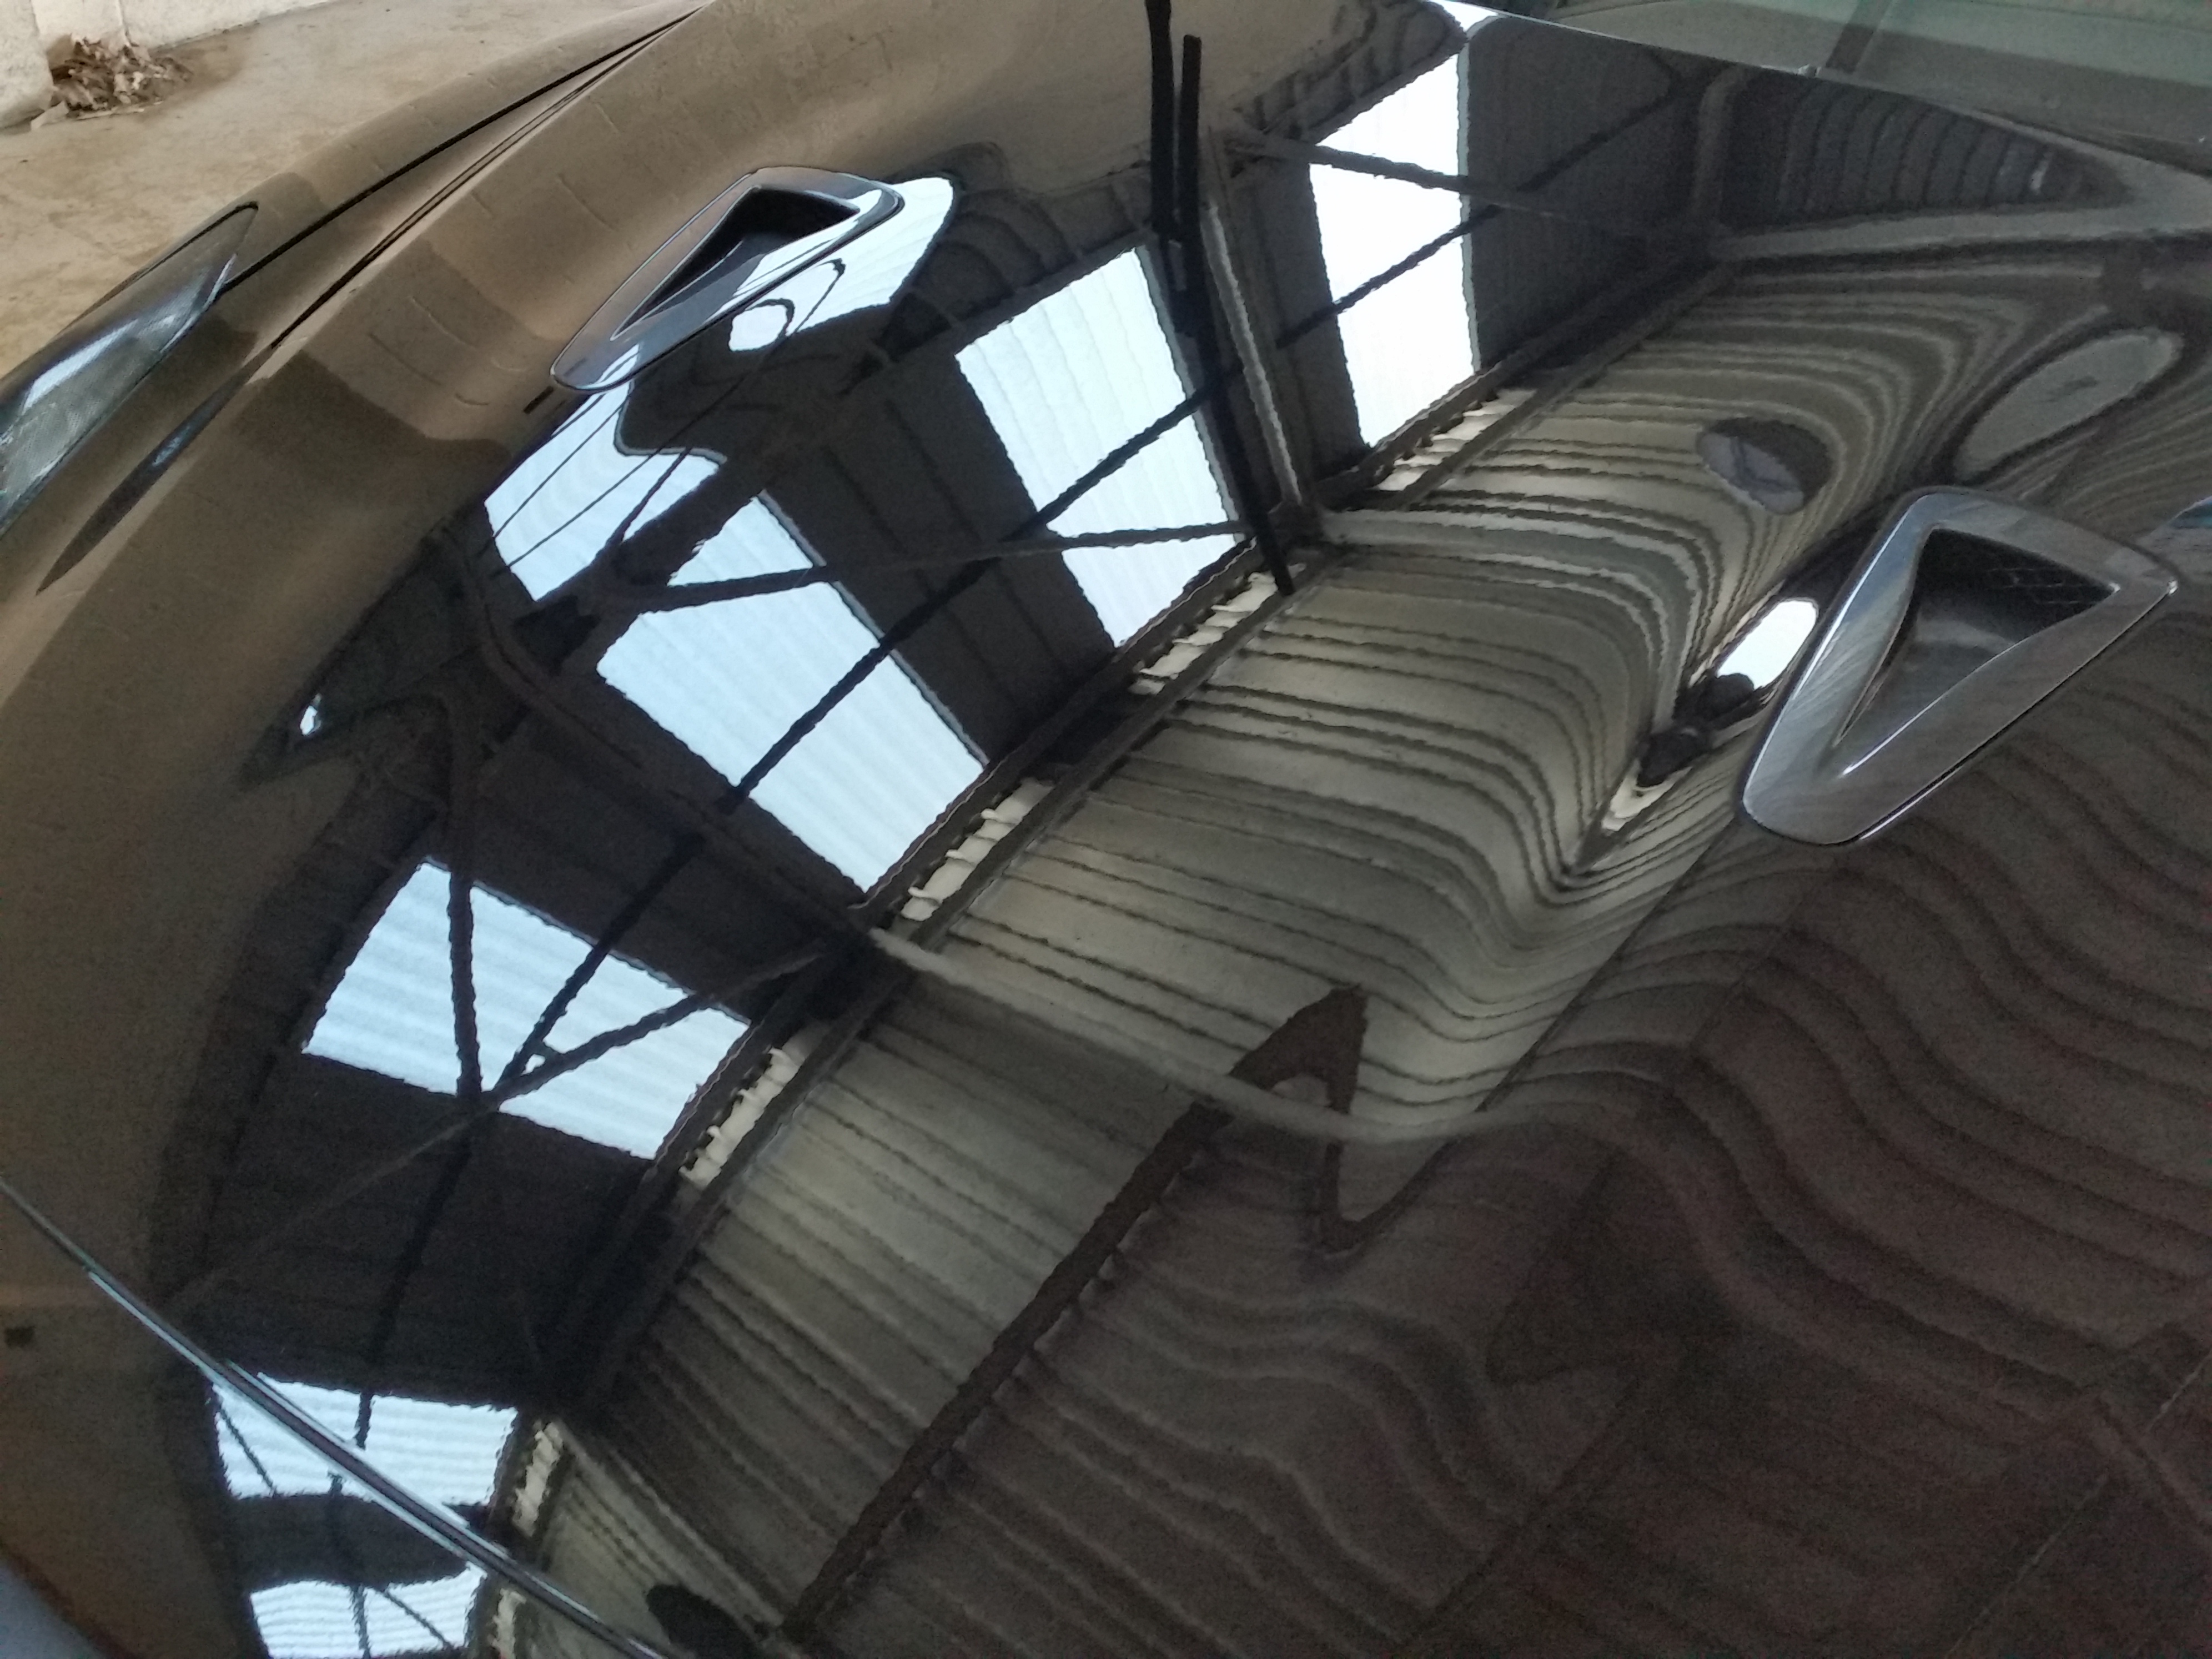
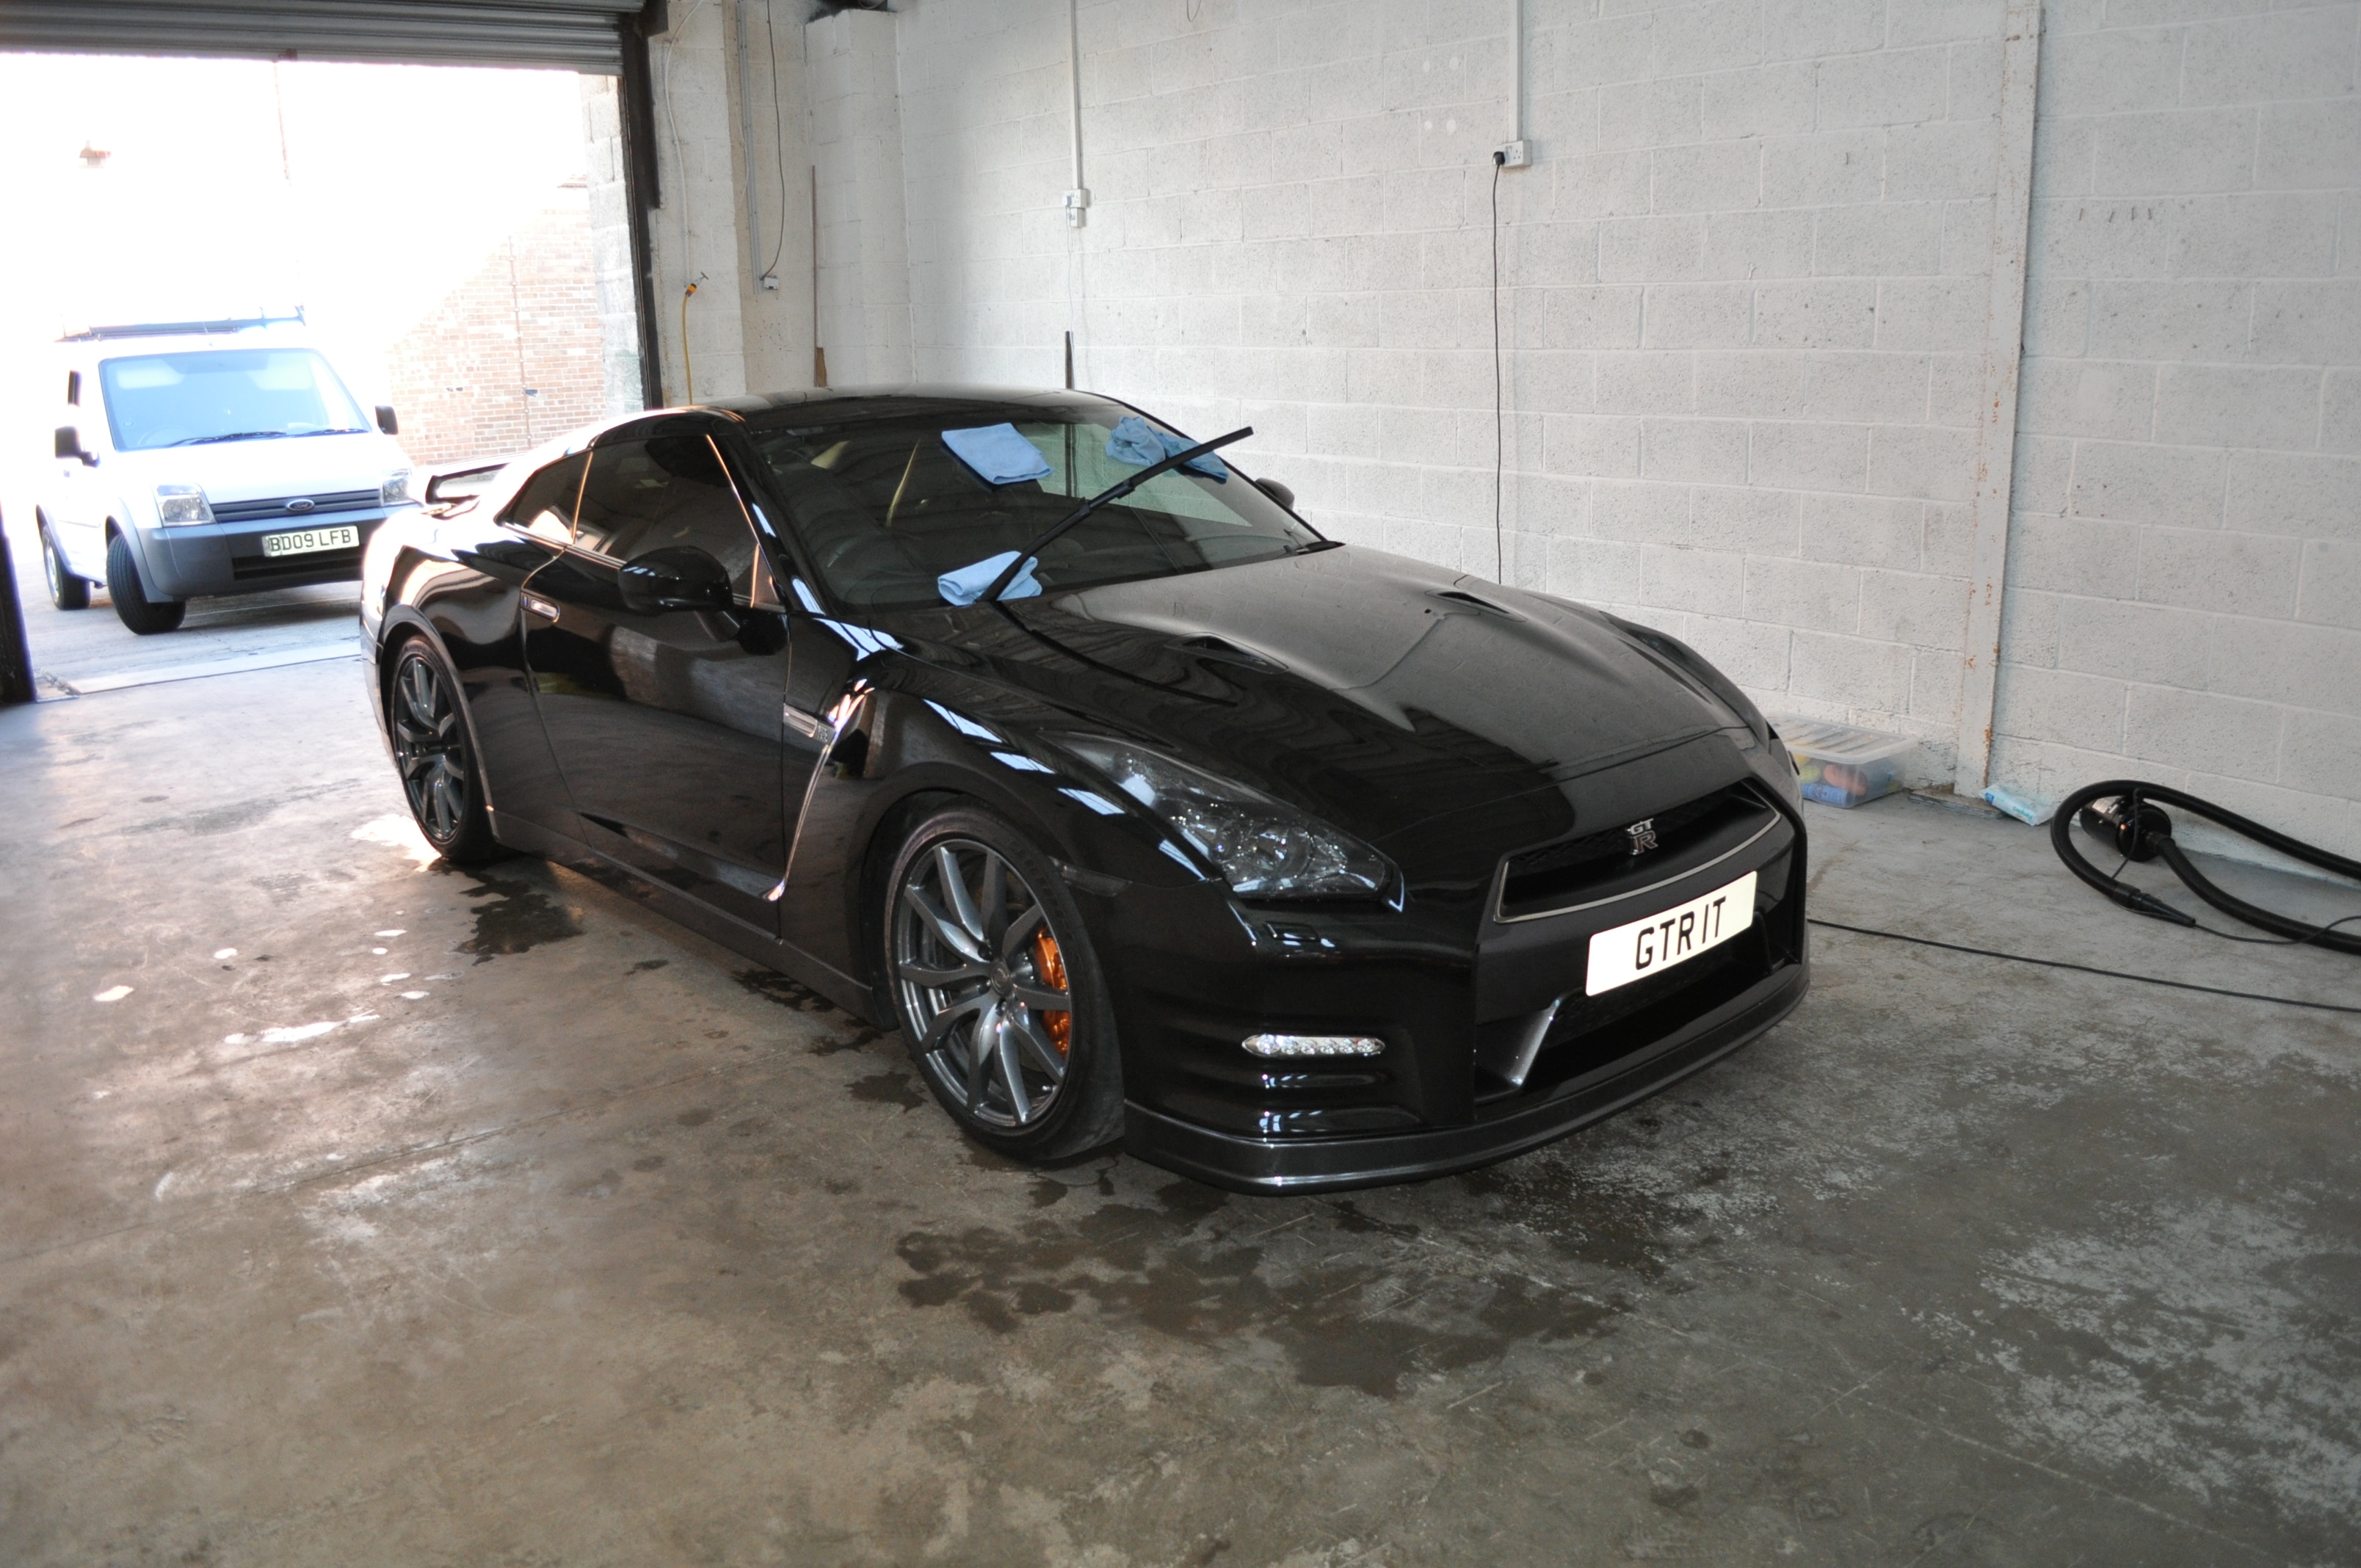
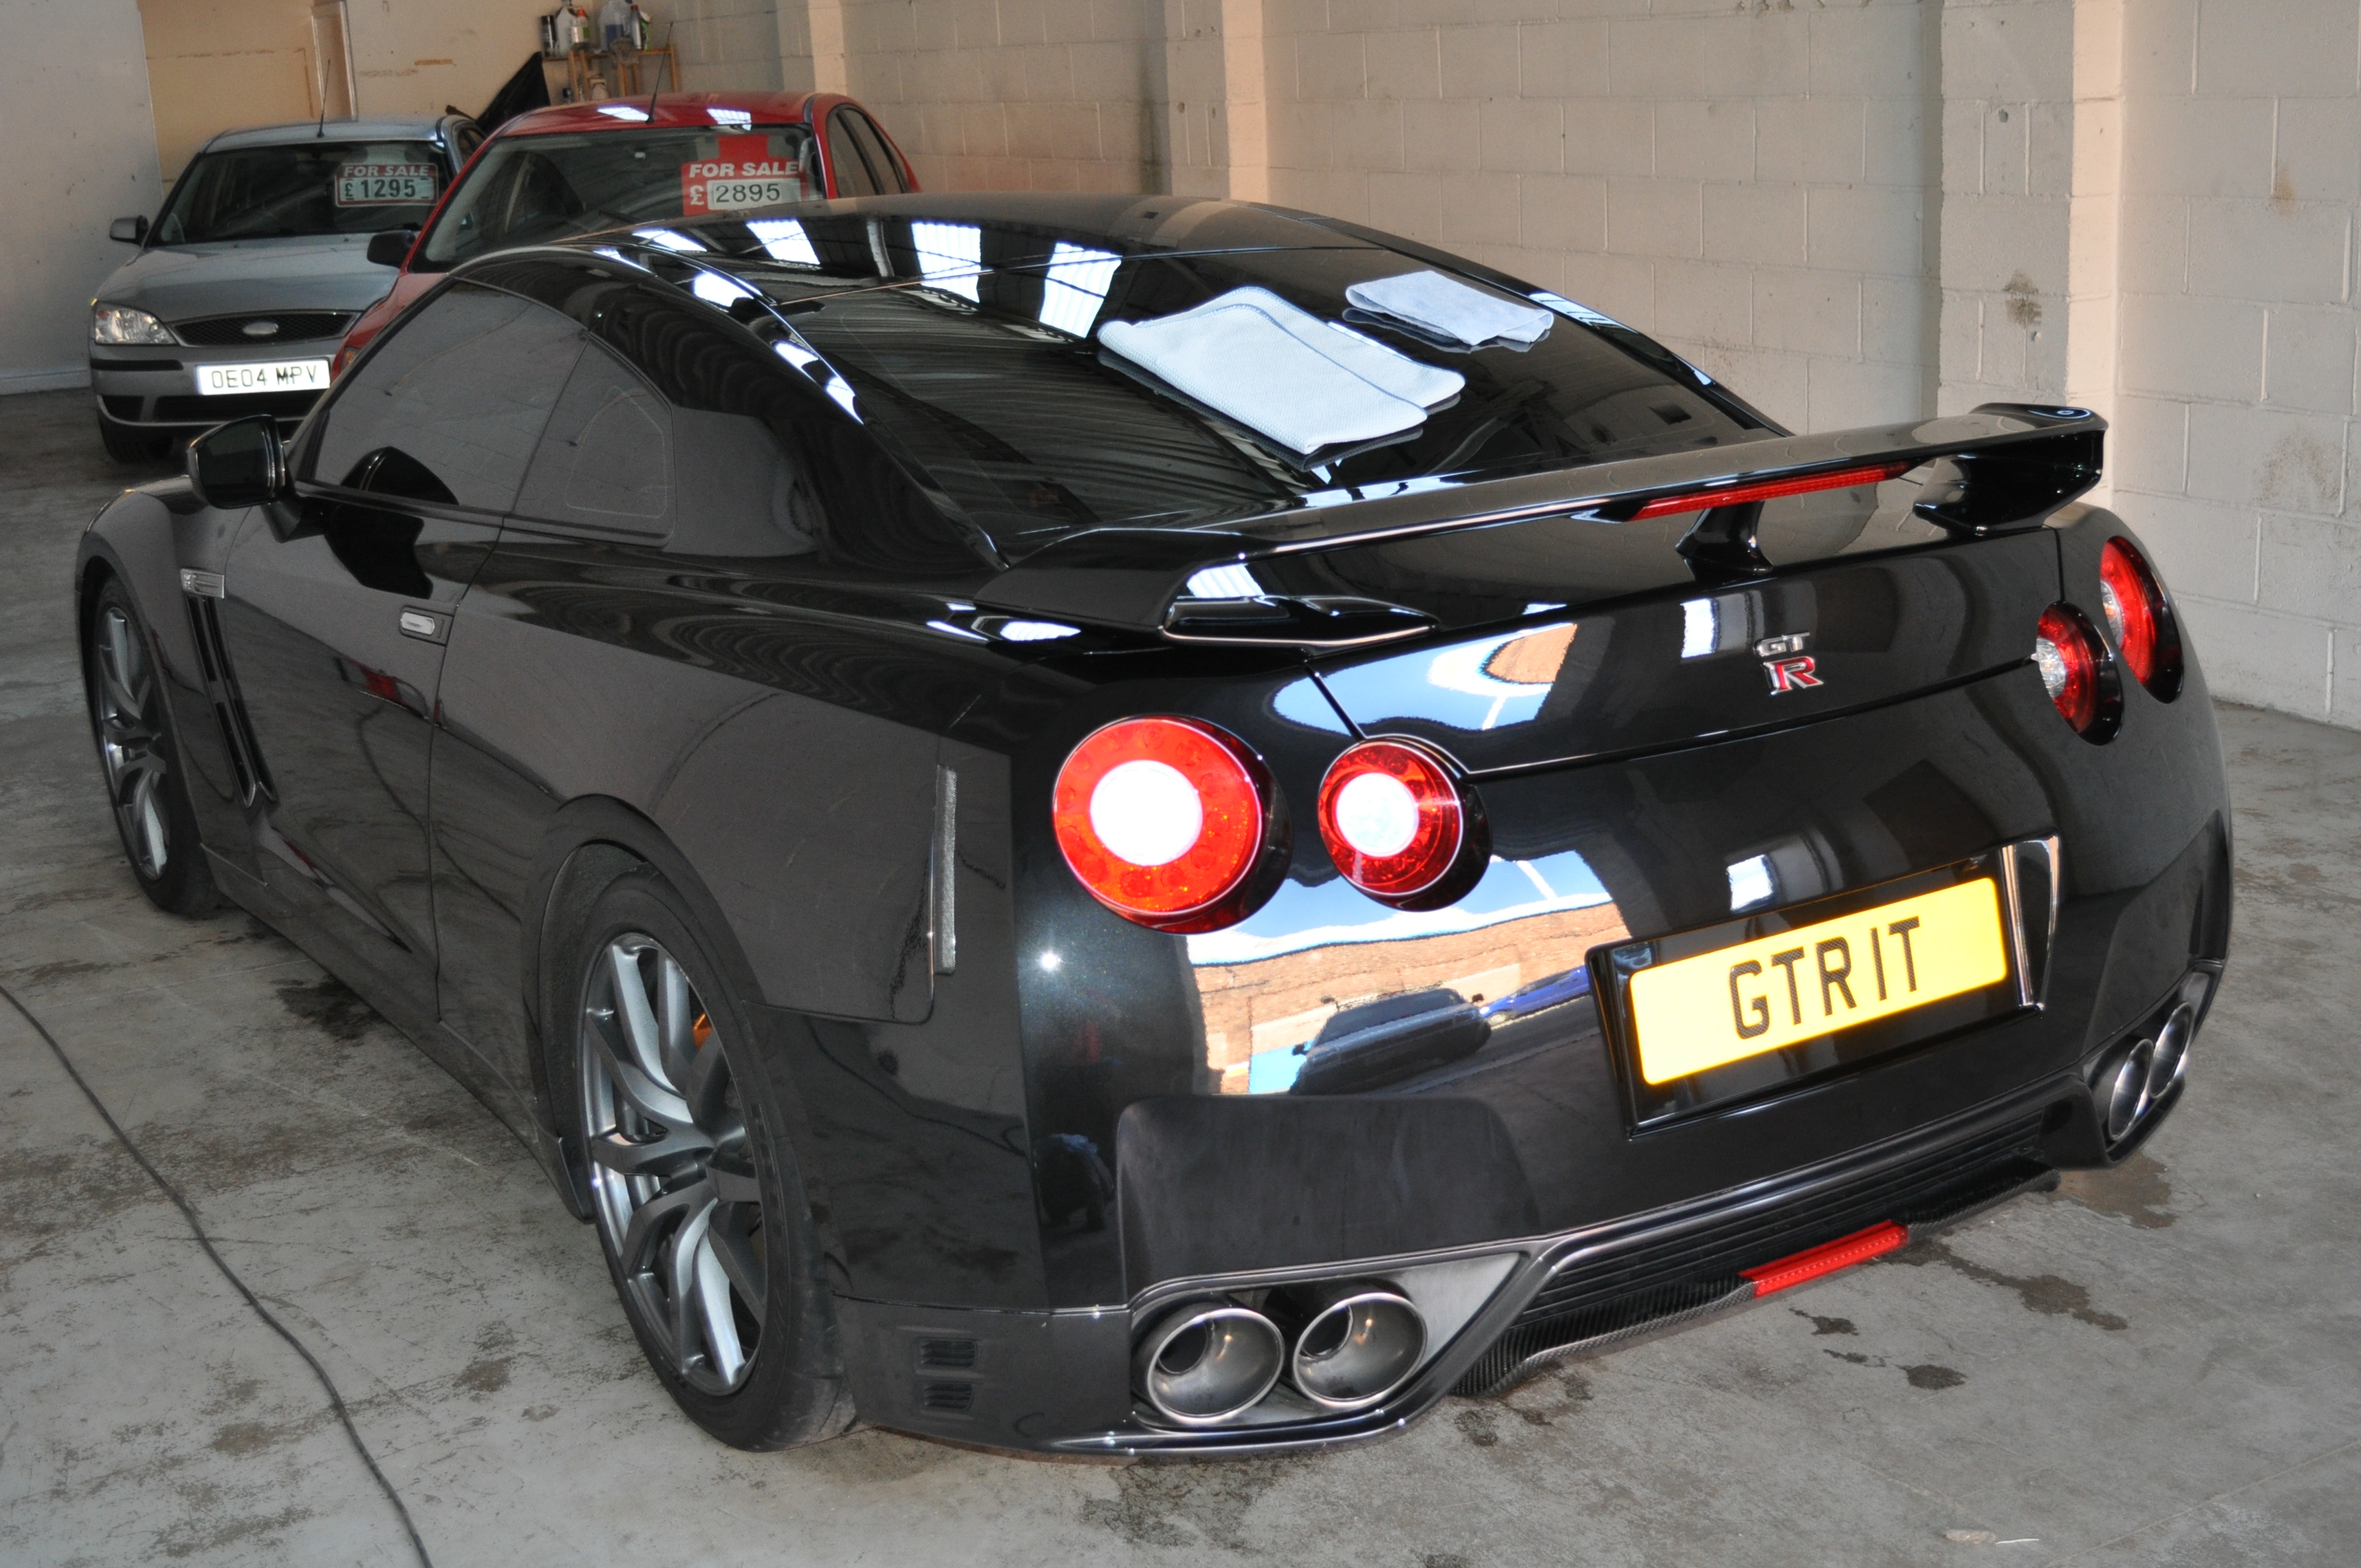
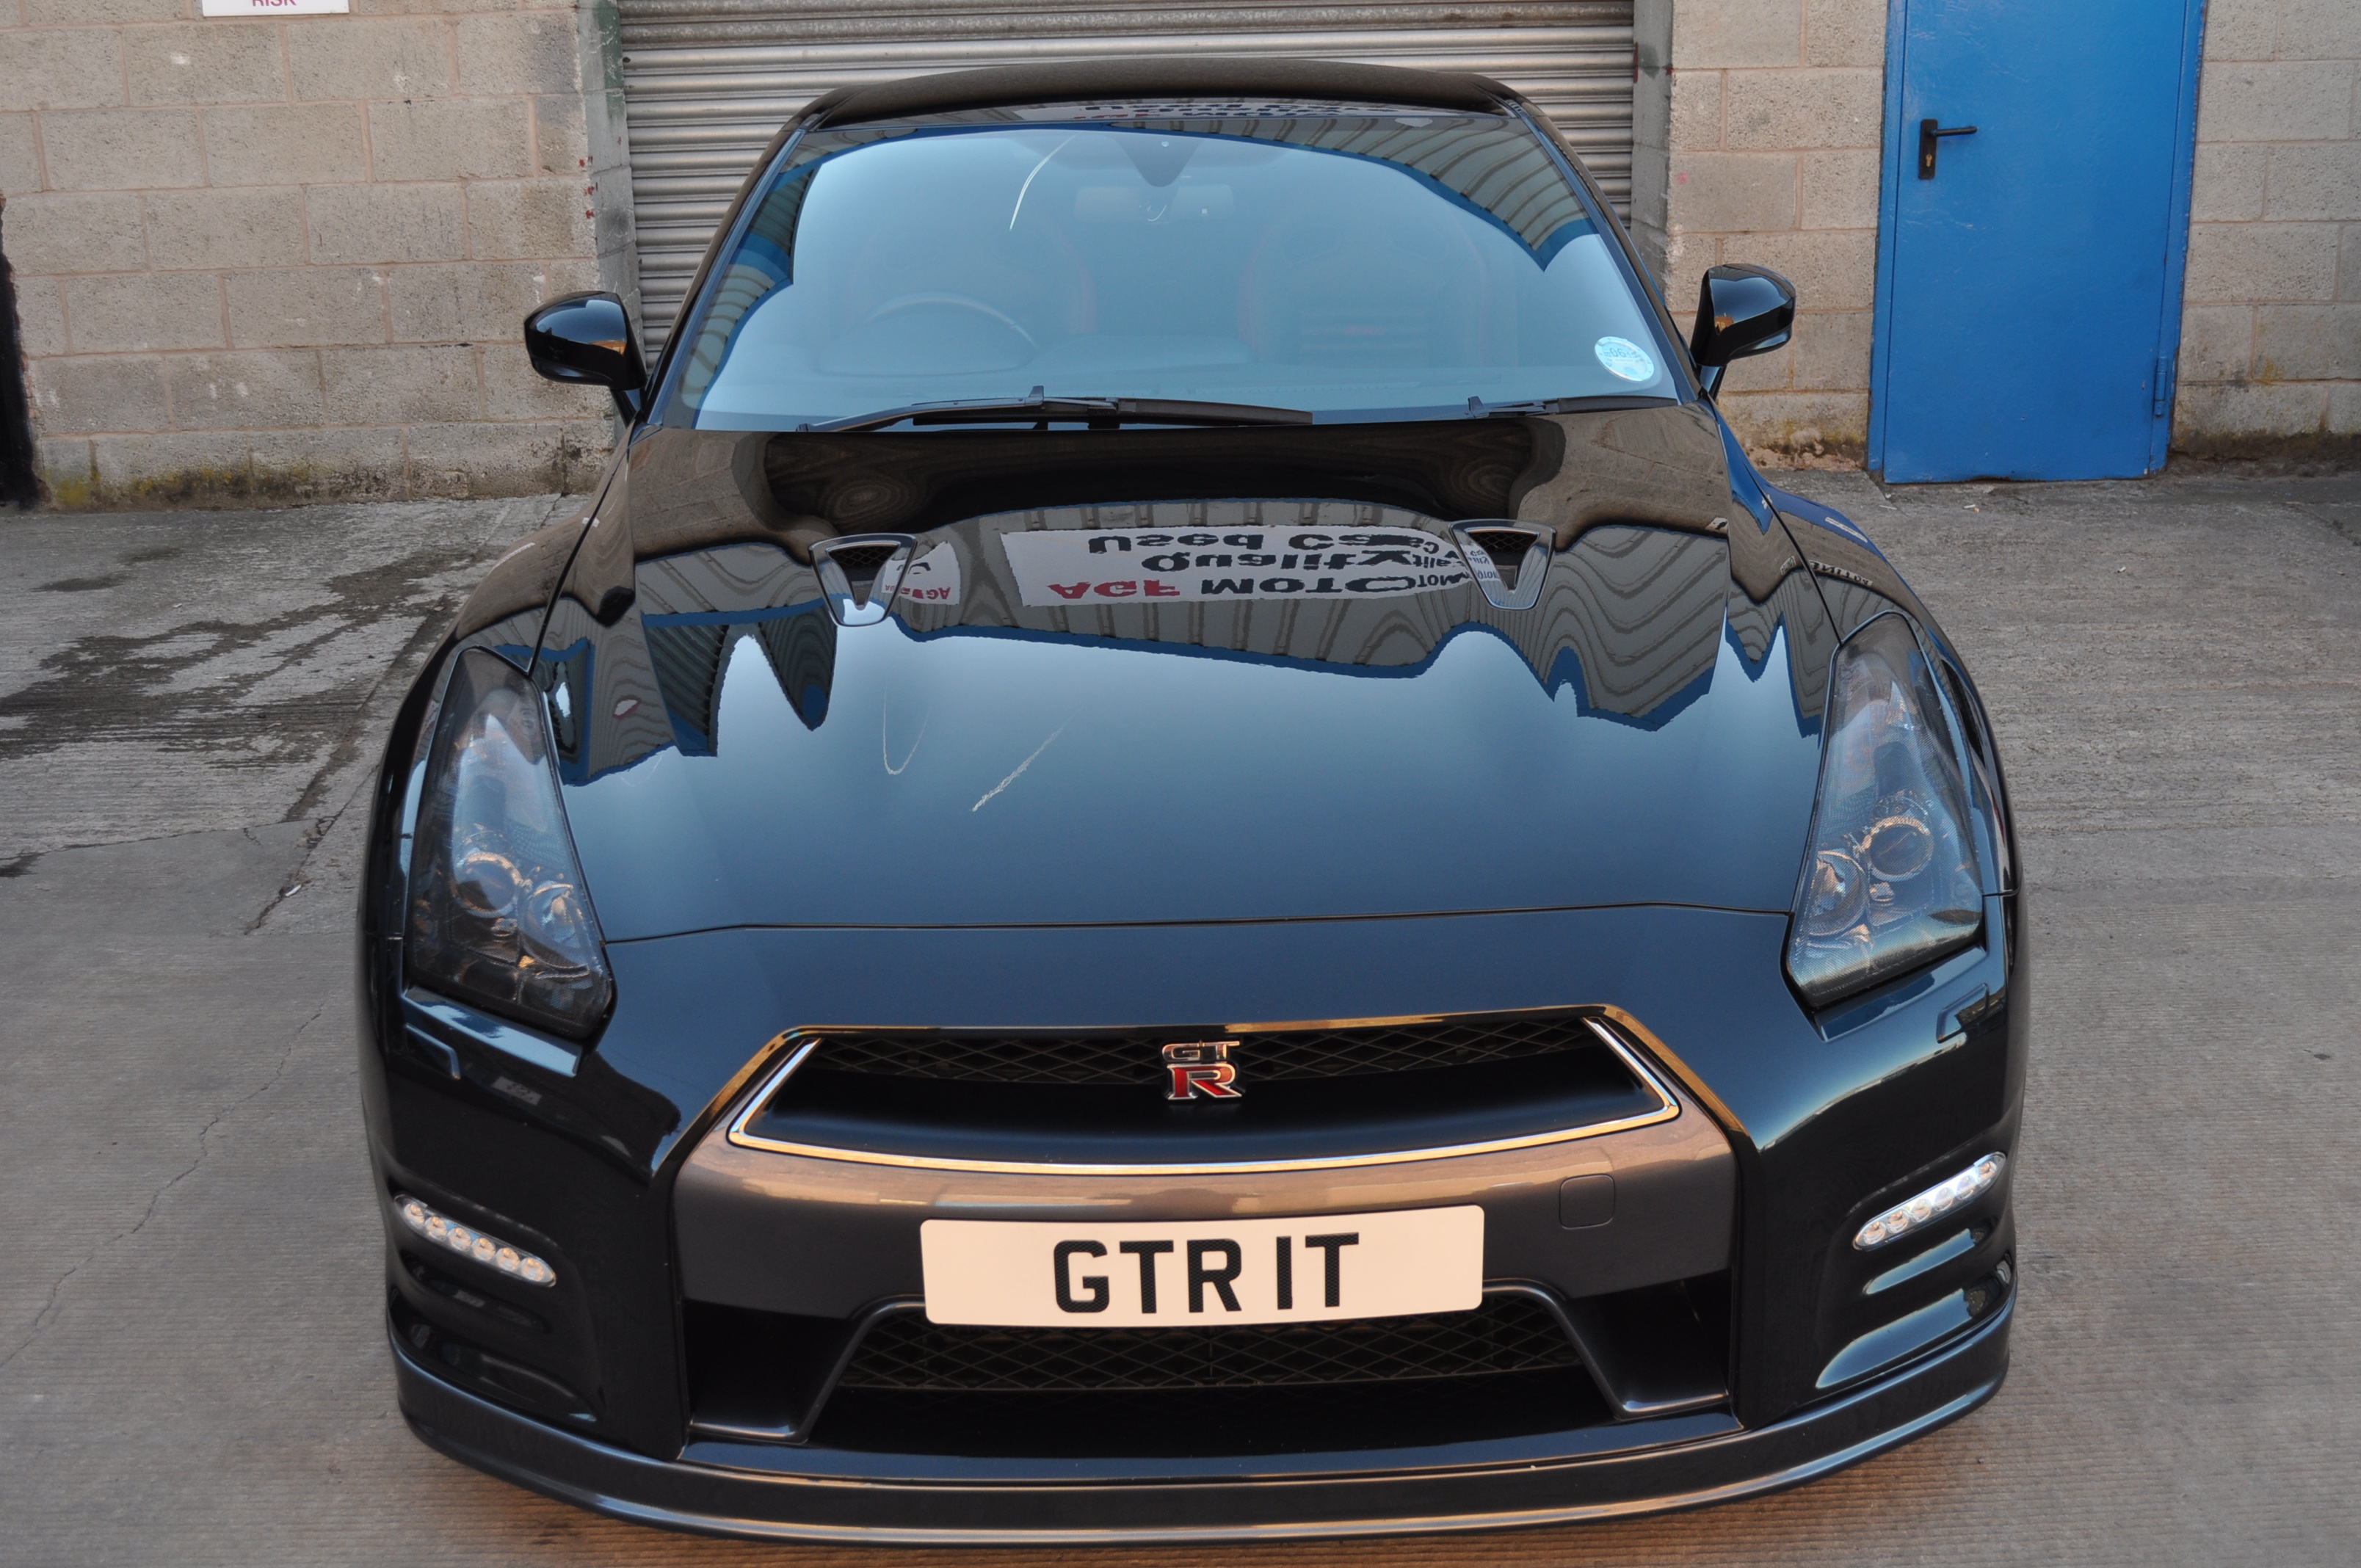
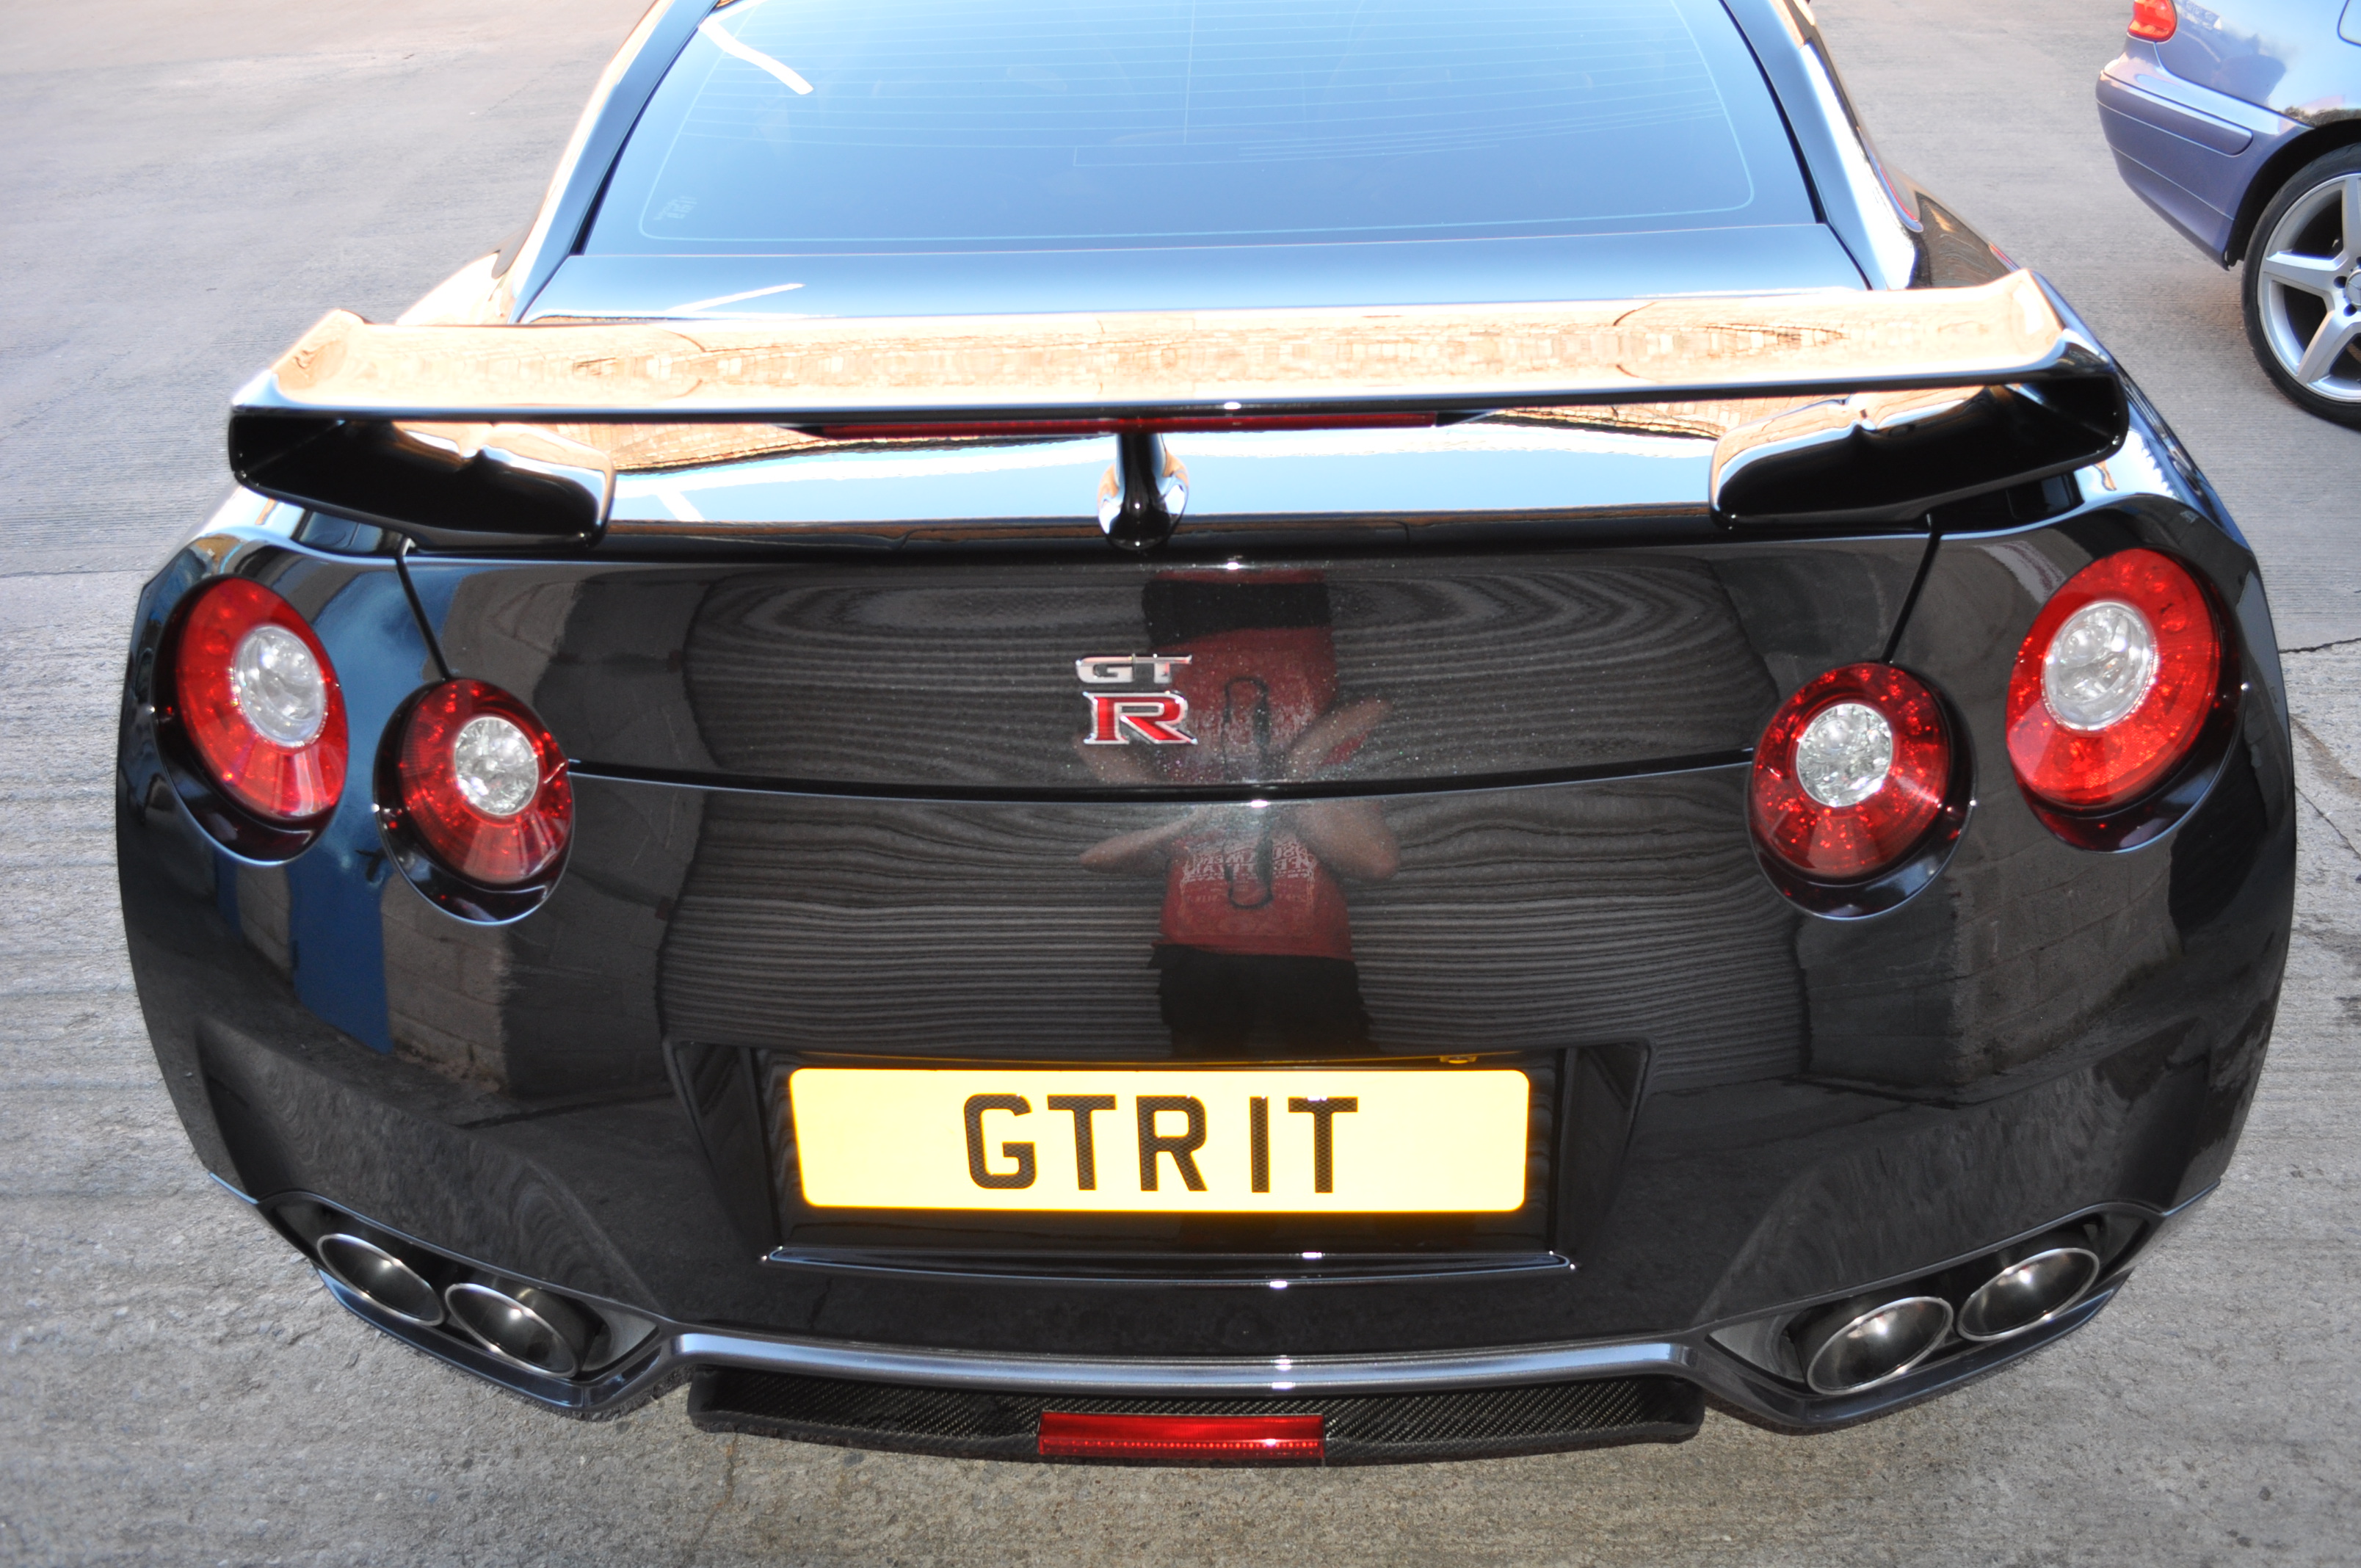
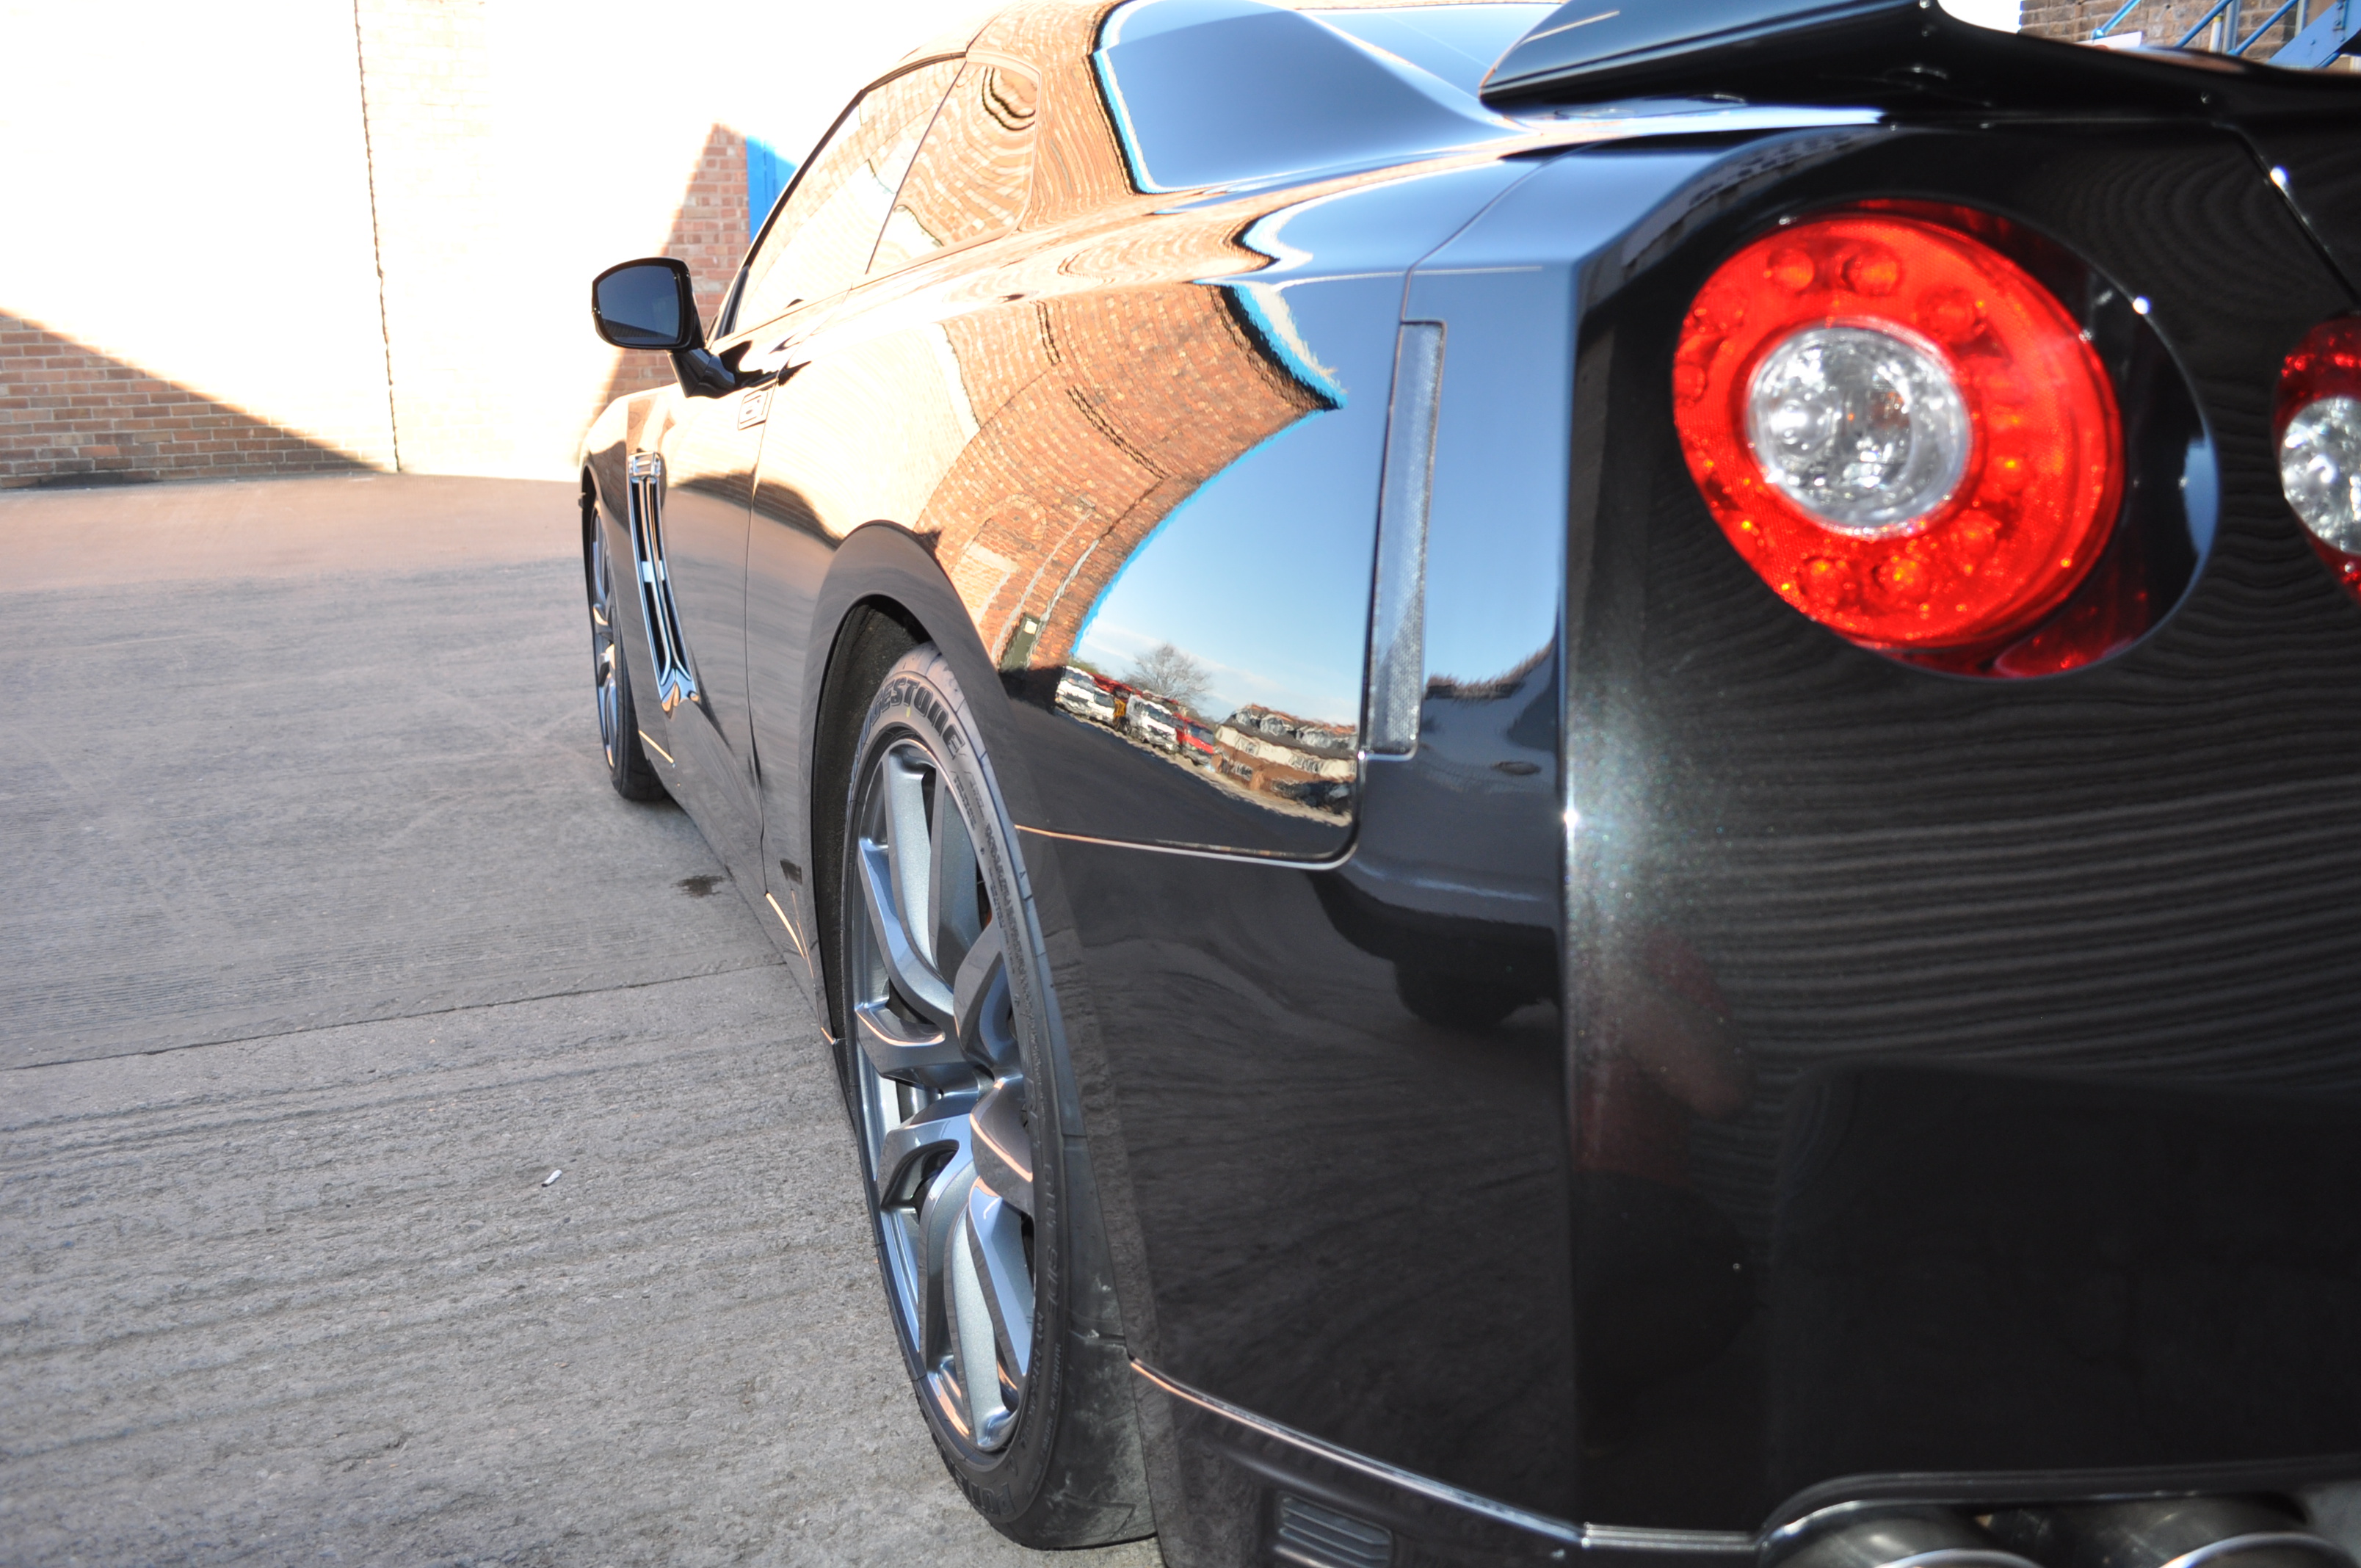
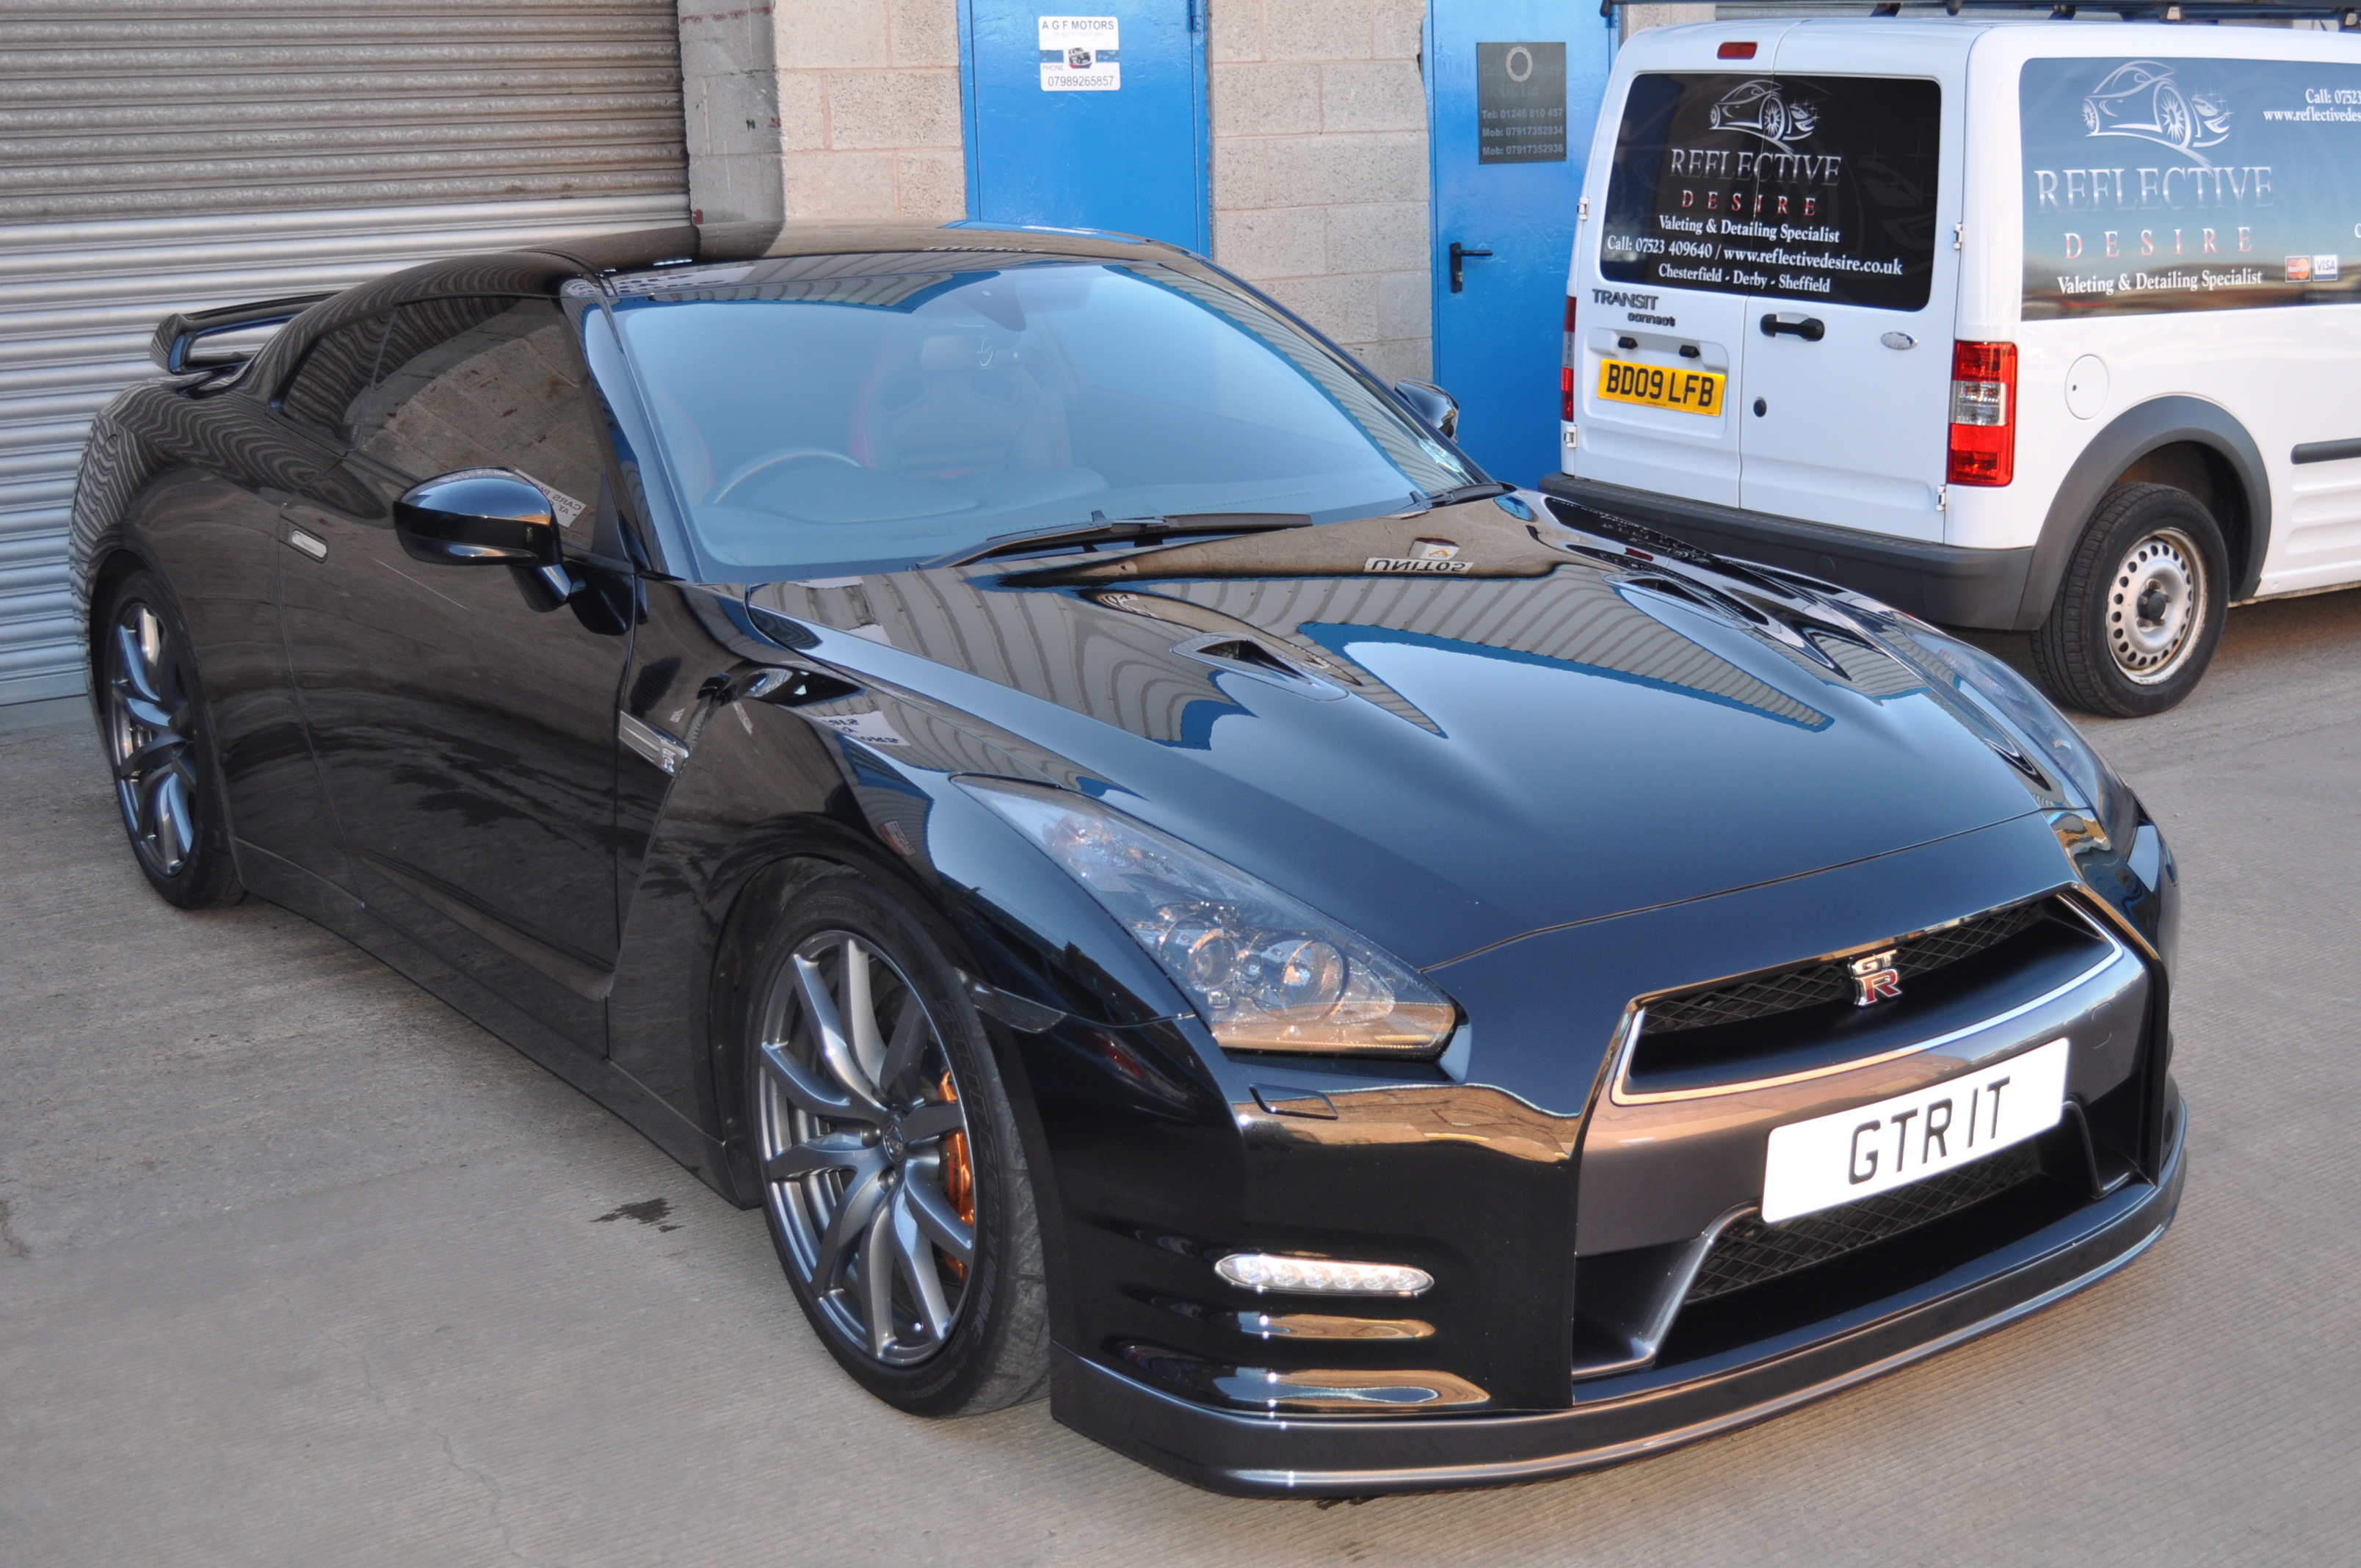
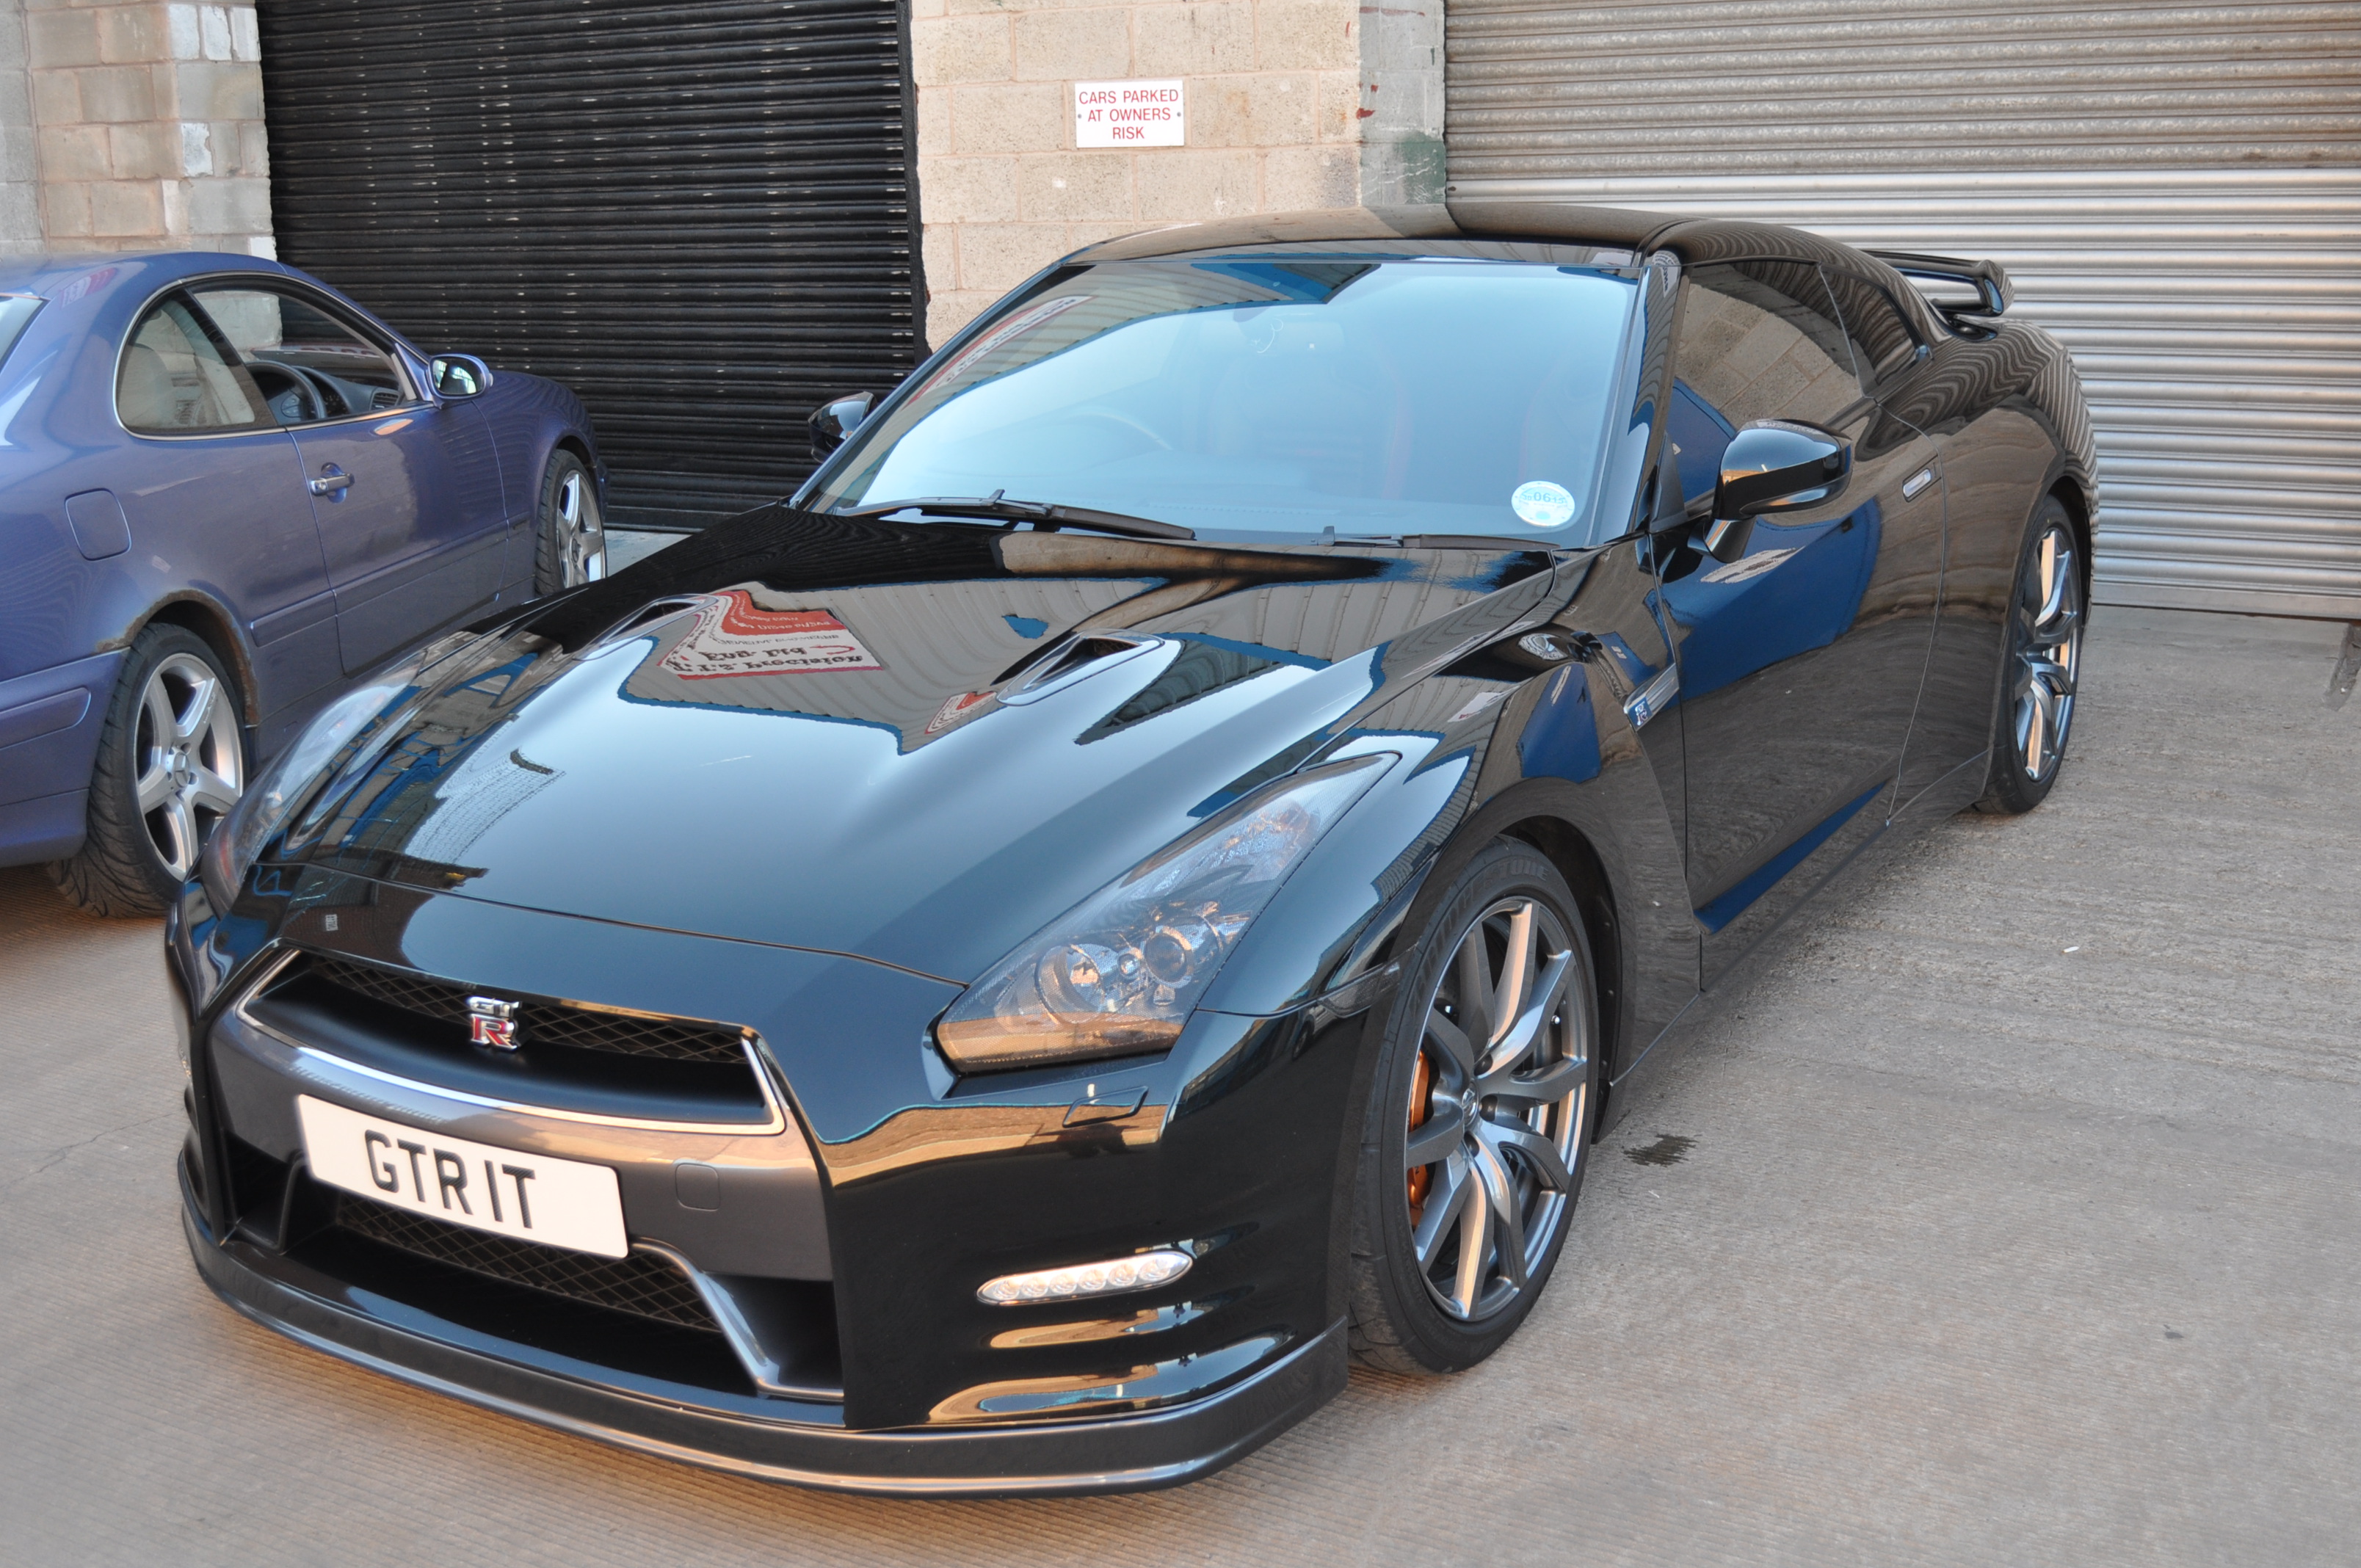
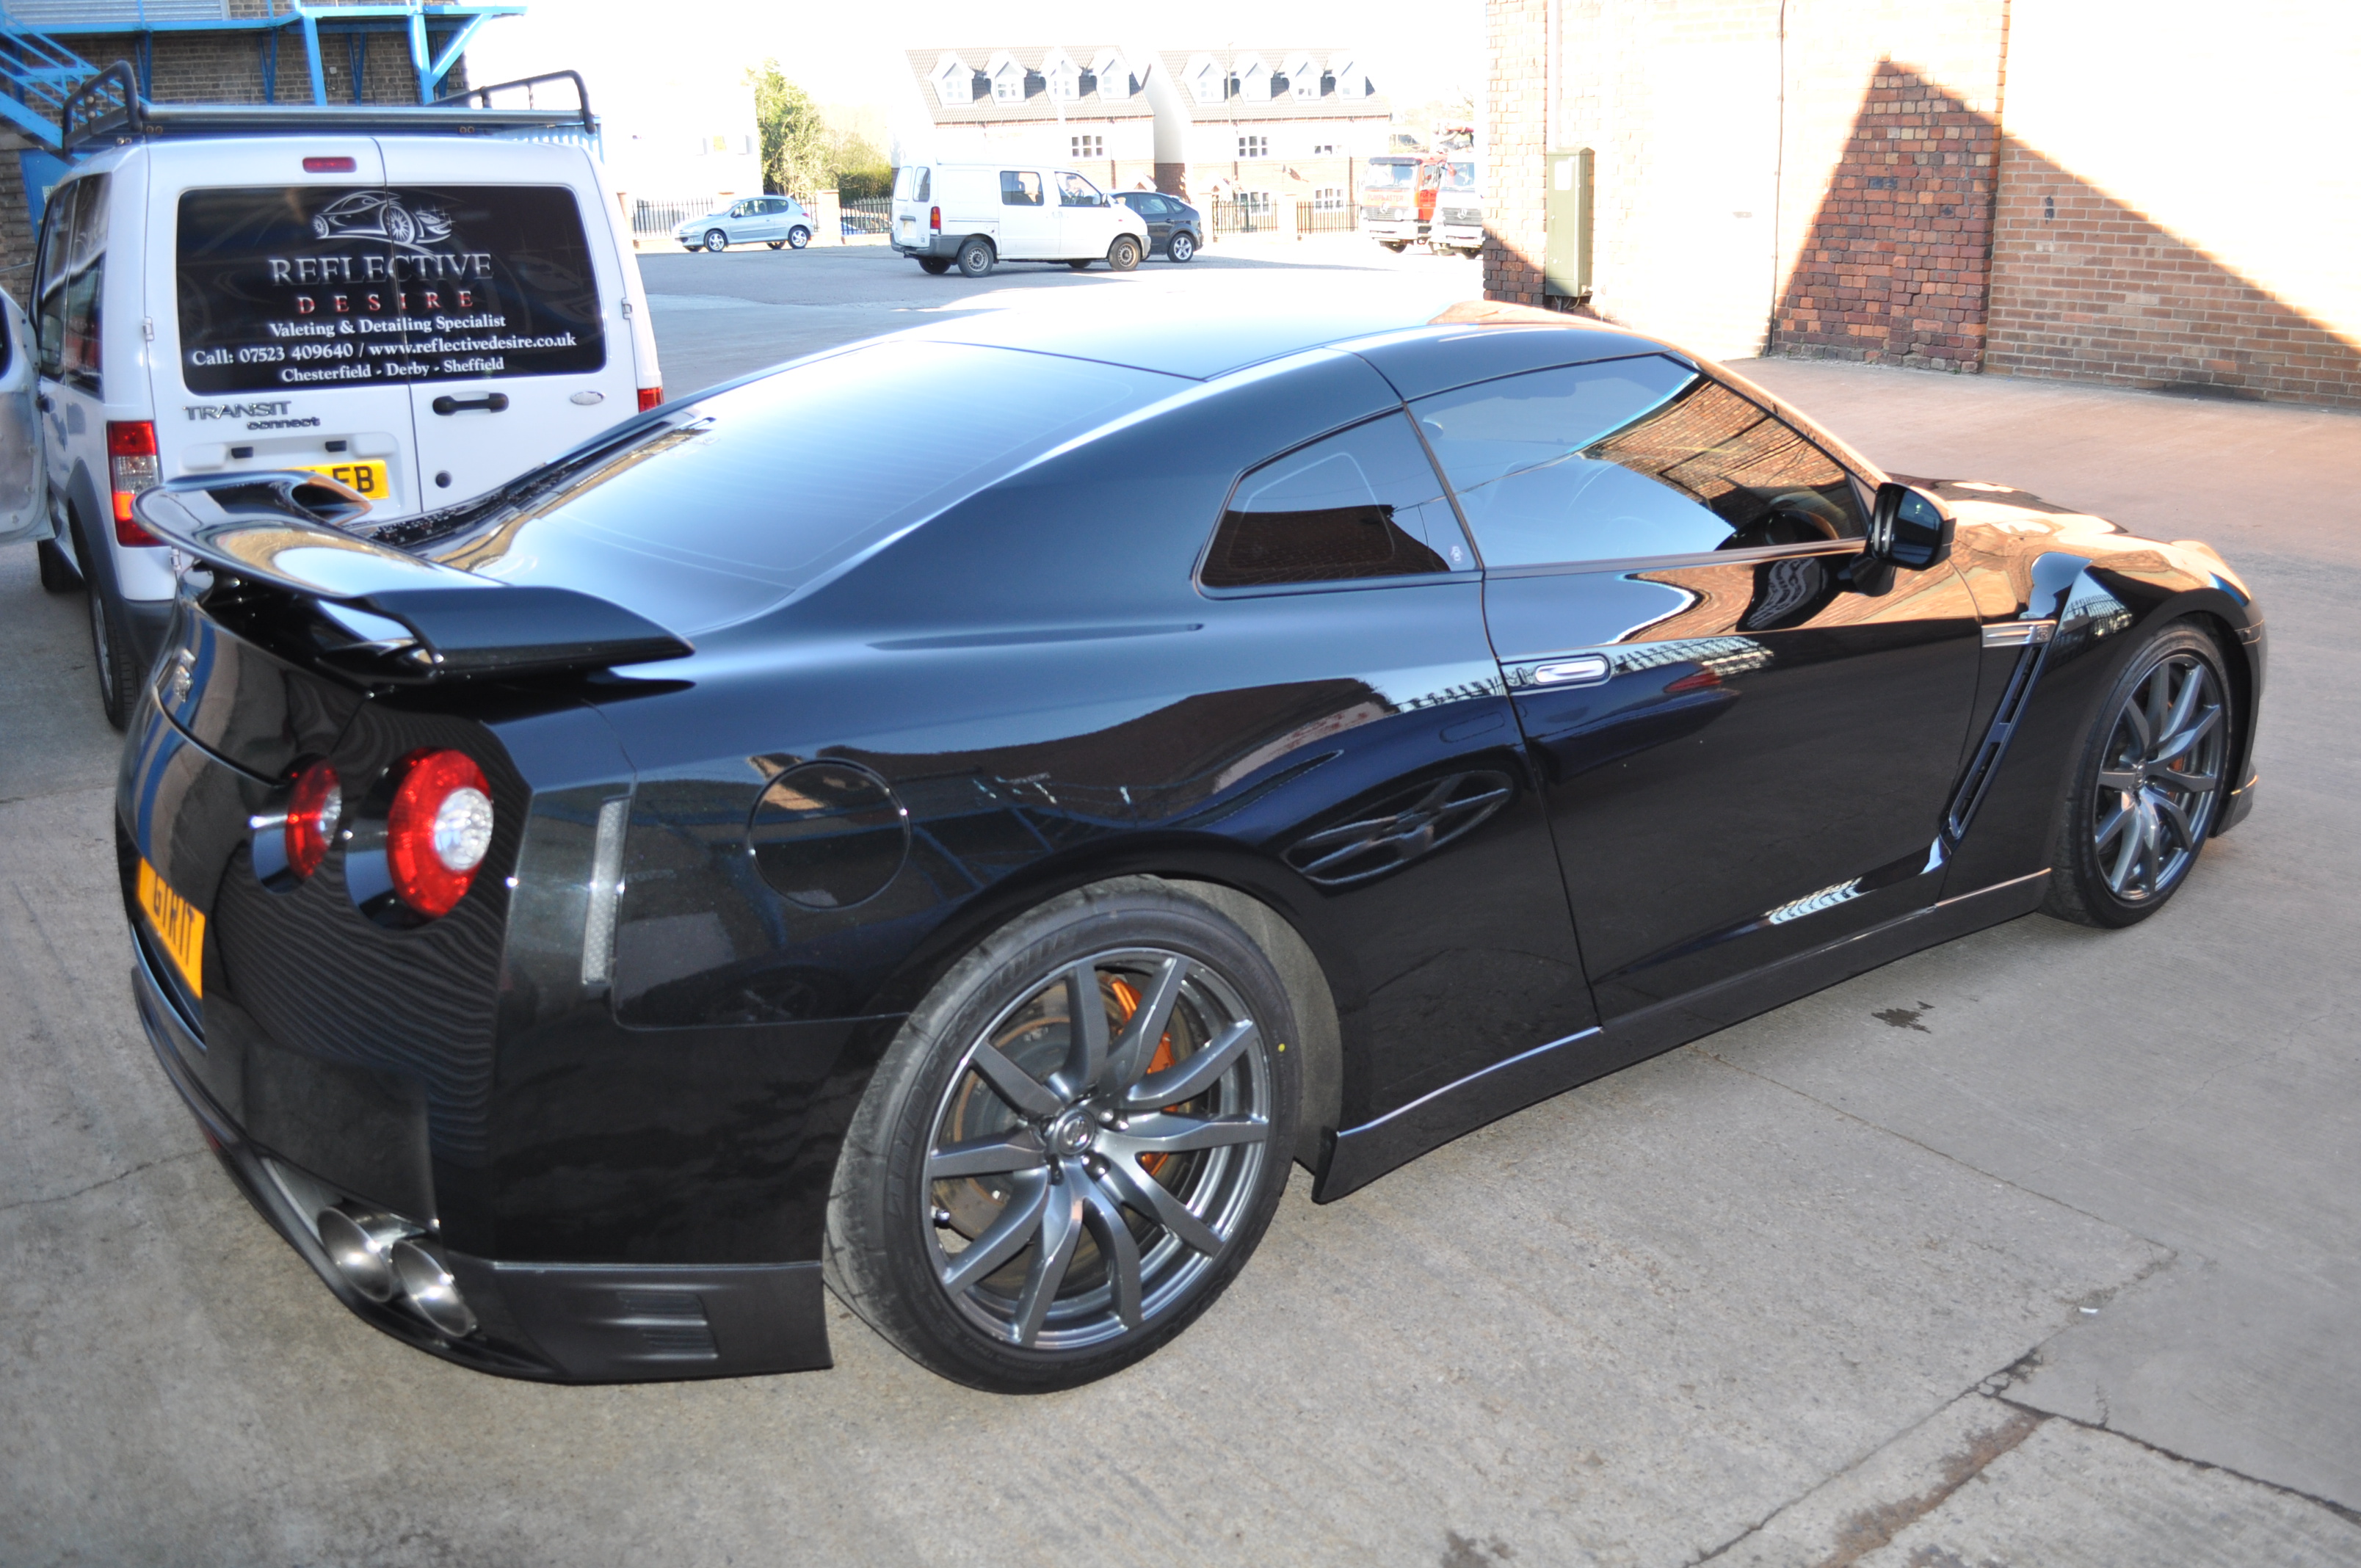
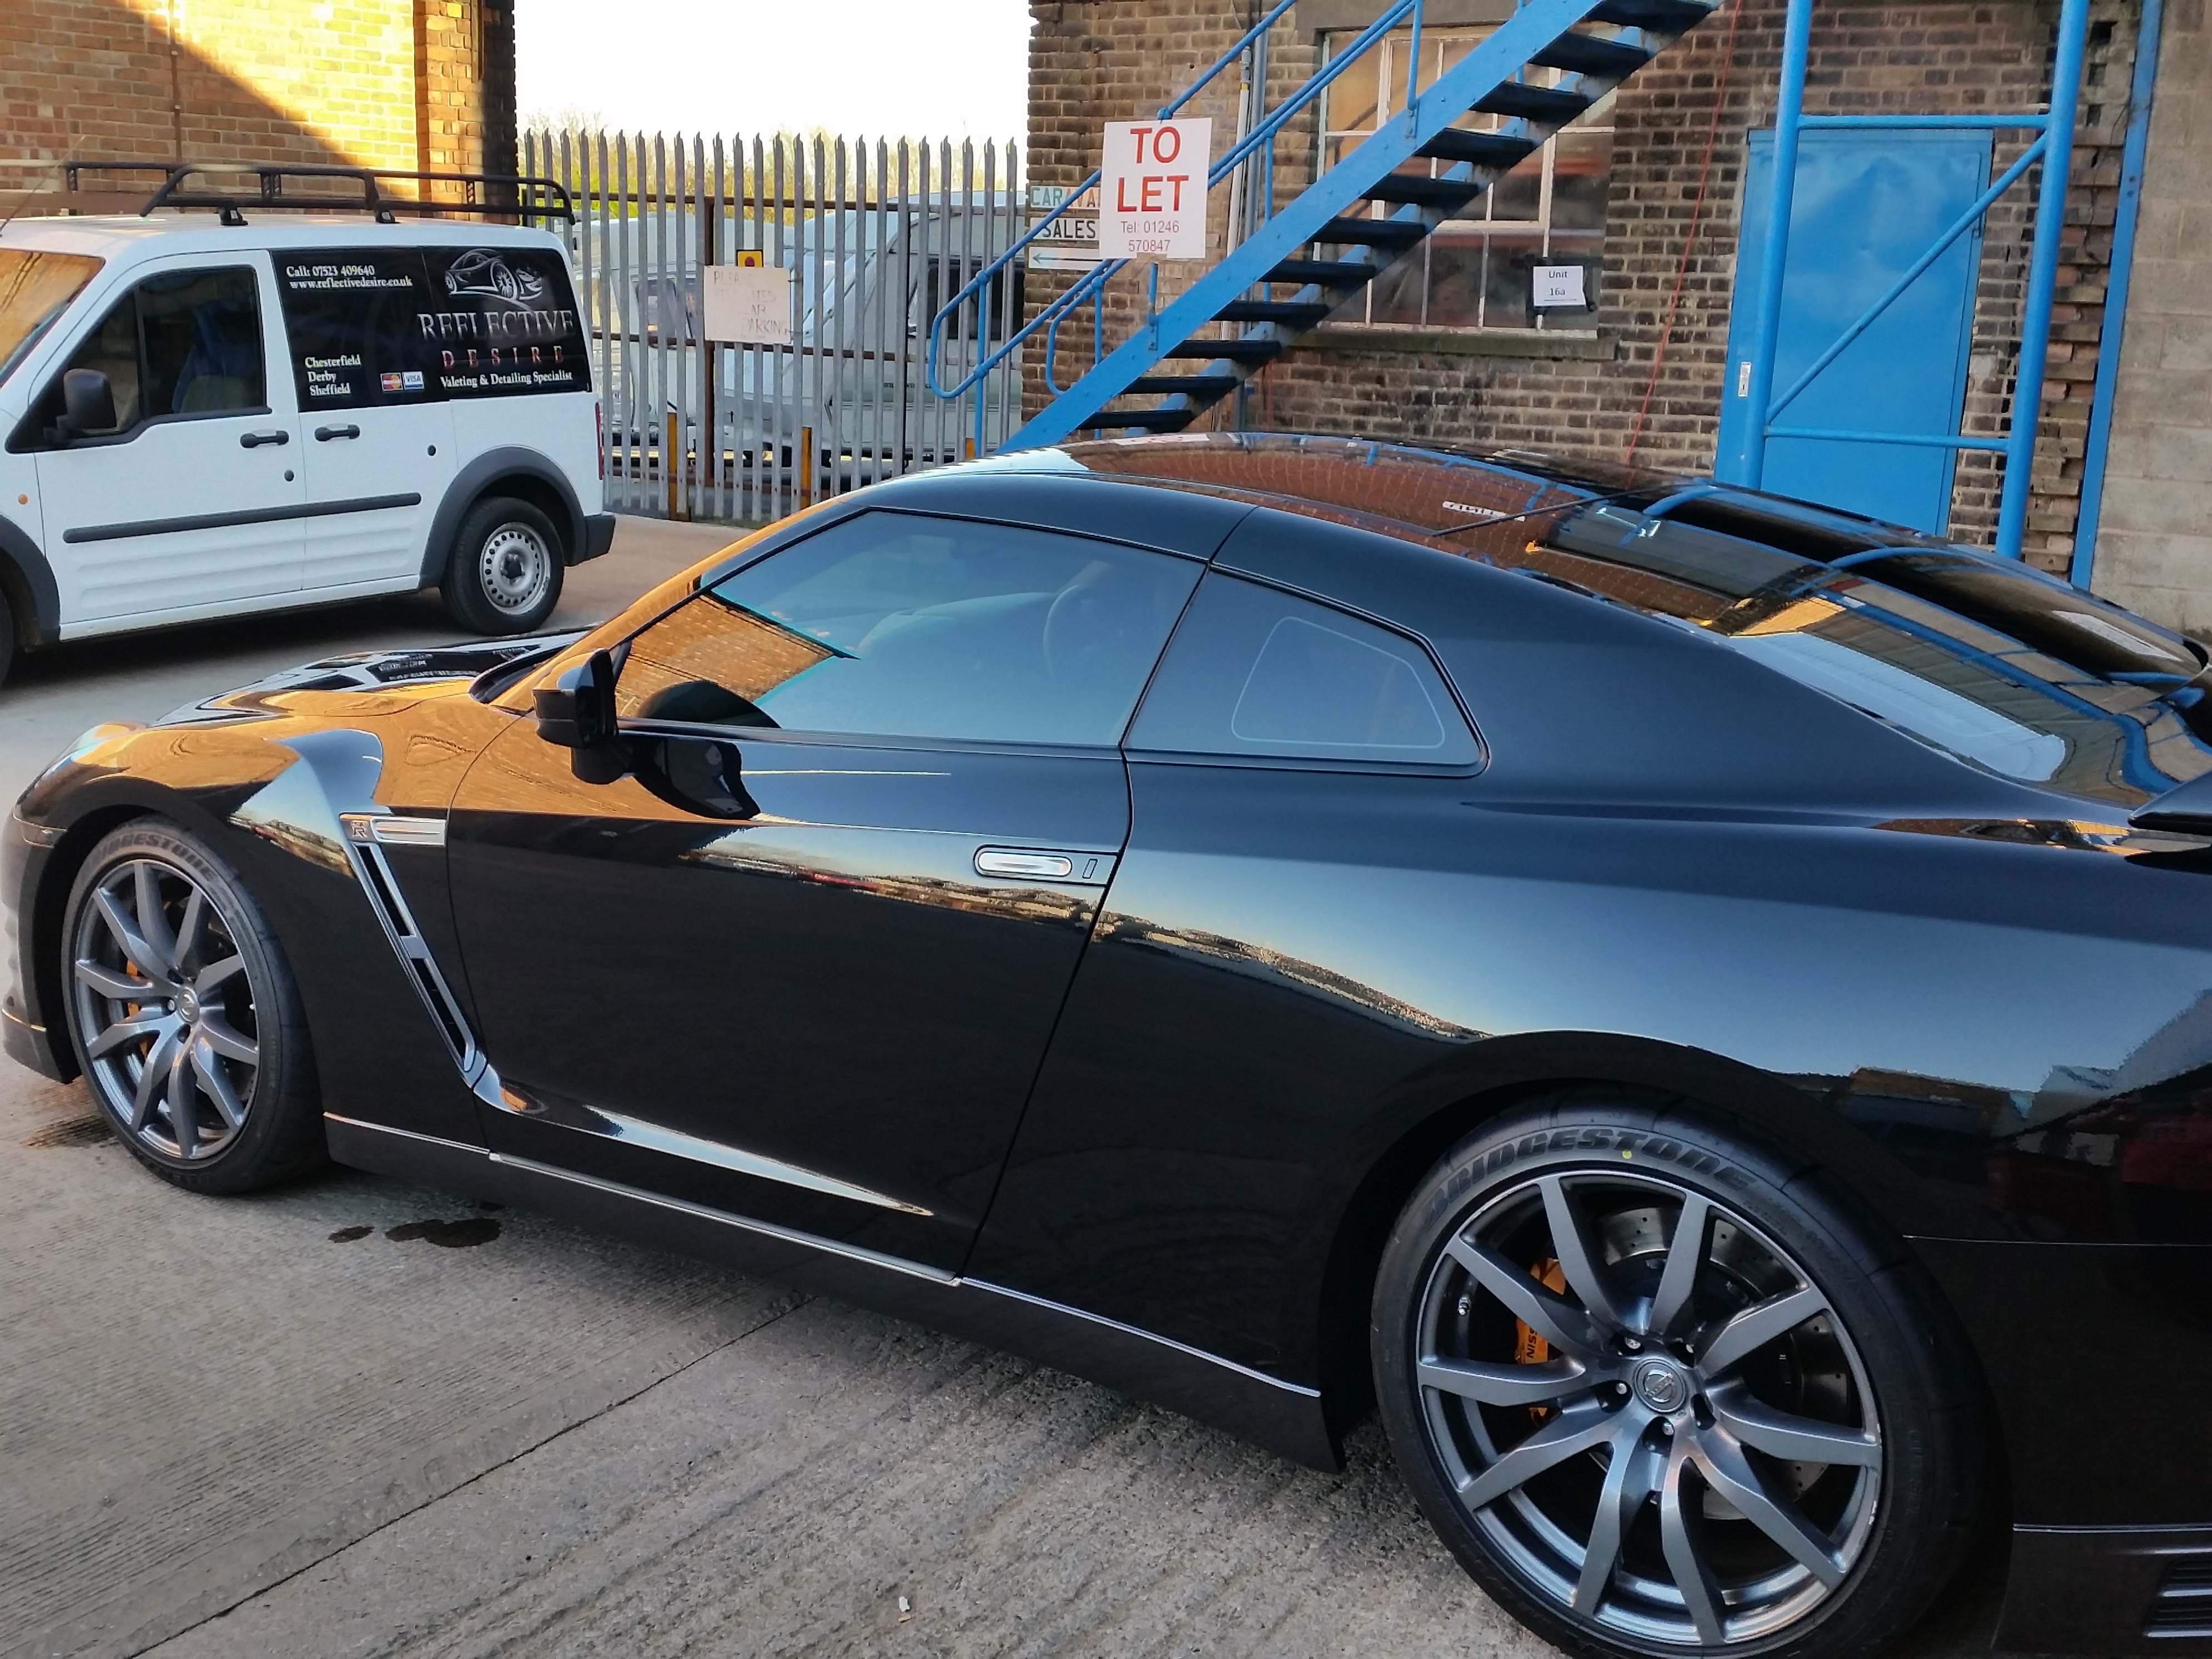
A client contacted me last week, asking about a full paint correction and nano sealant protection for his 2012 Black Nissan R35 GT-R.
The car arrived 10am Tuesday morning and was left with me to carry out a 2 day correction on it. I was hoping to get the interior done and a good portion of the exterior on the first day, to just leave the paint correcting and sealant on the 2nd day.
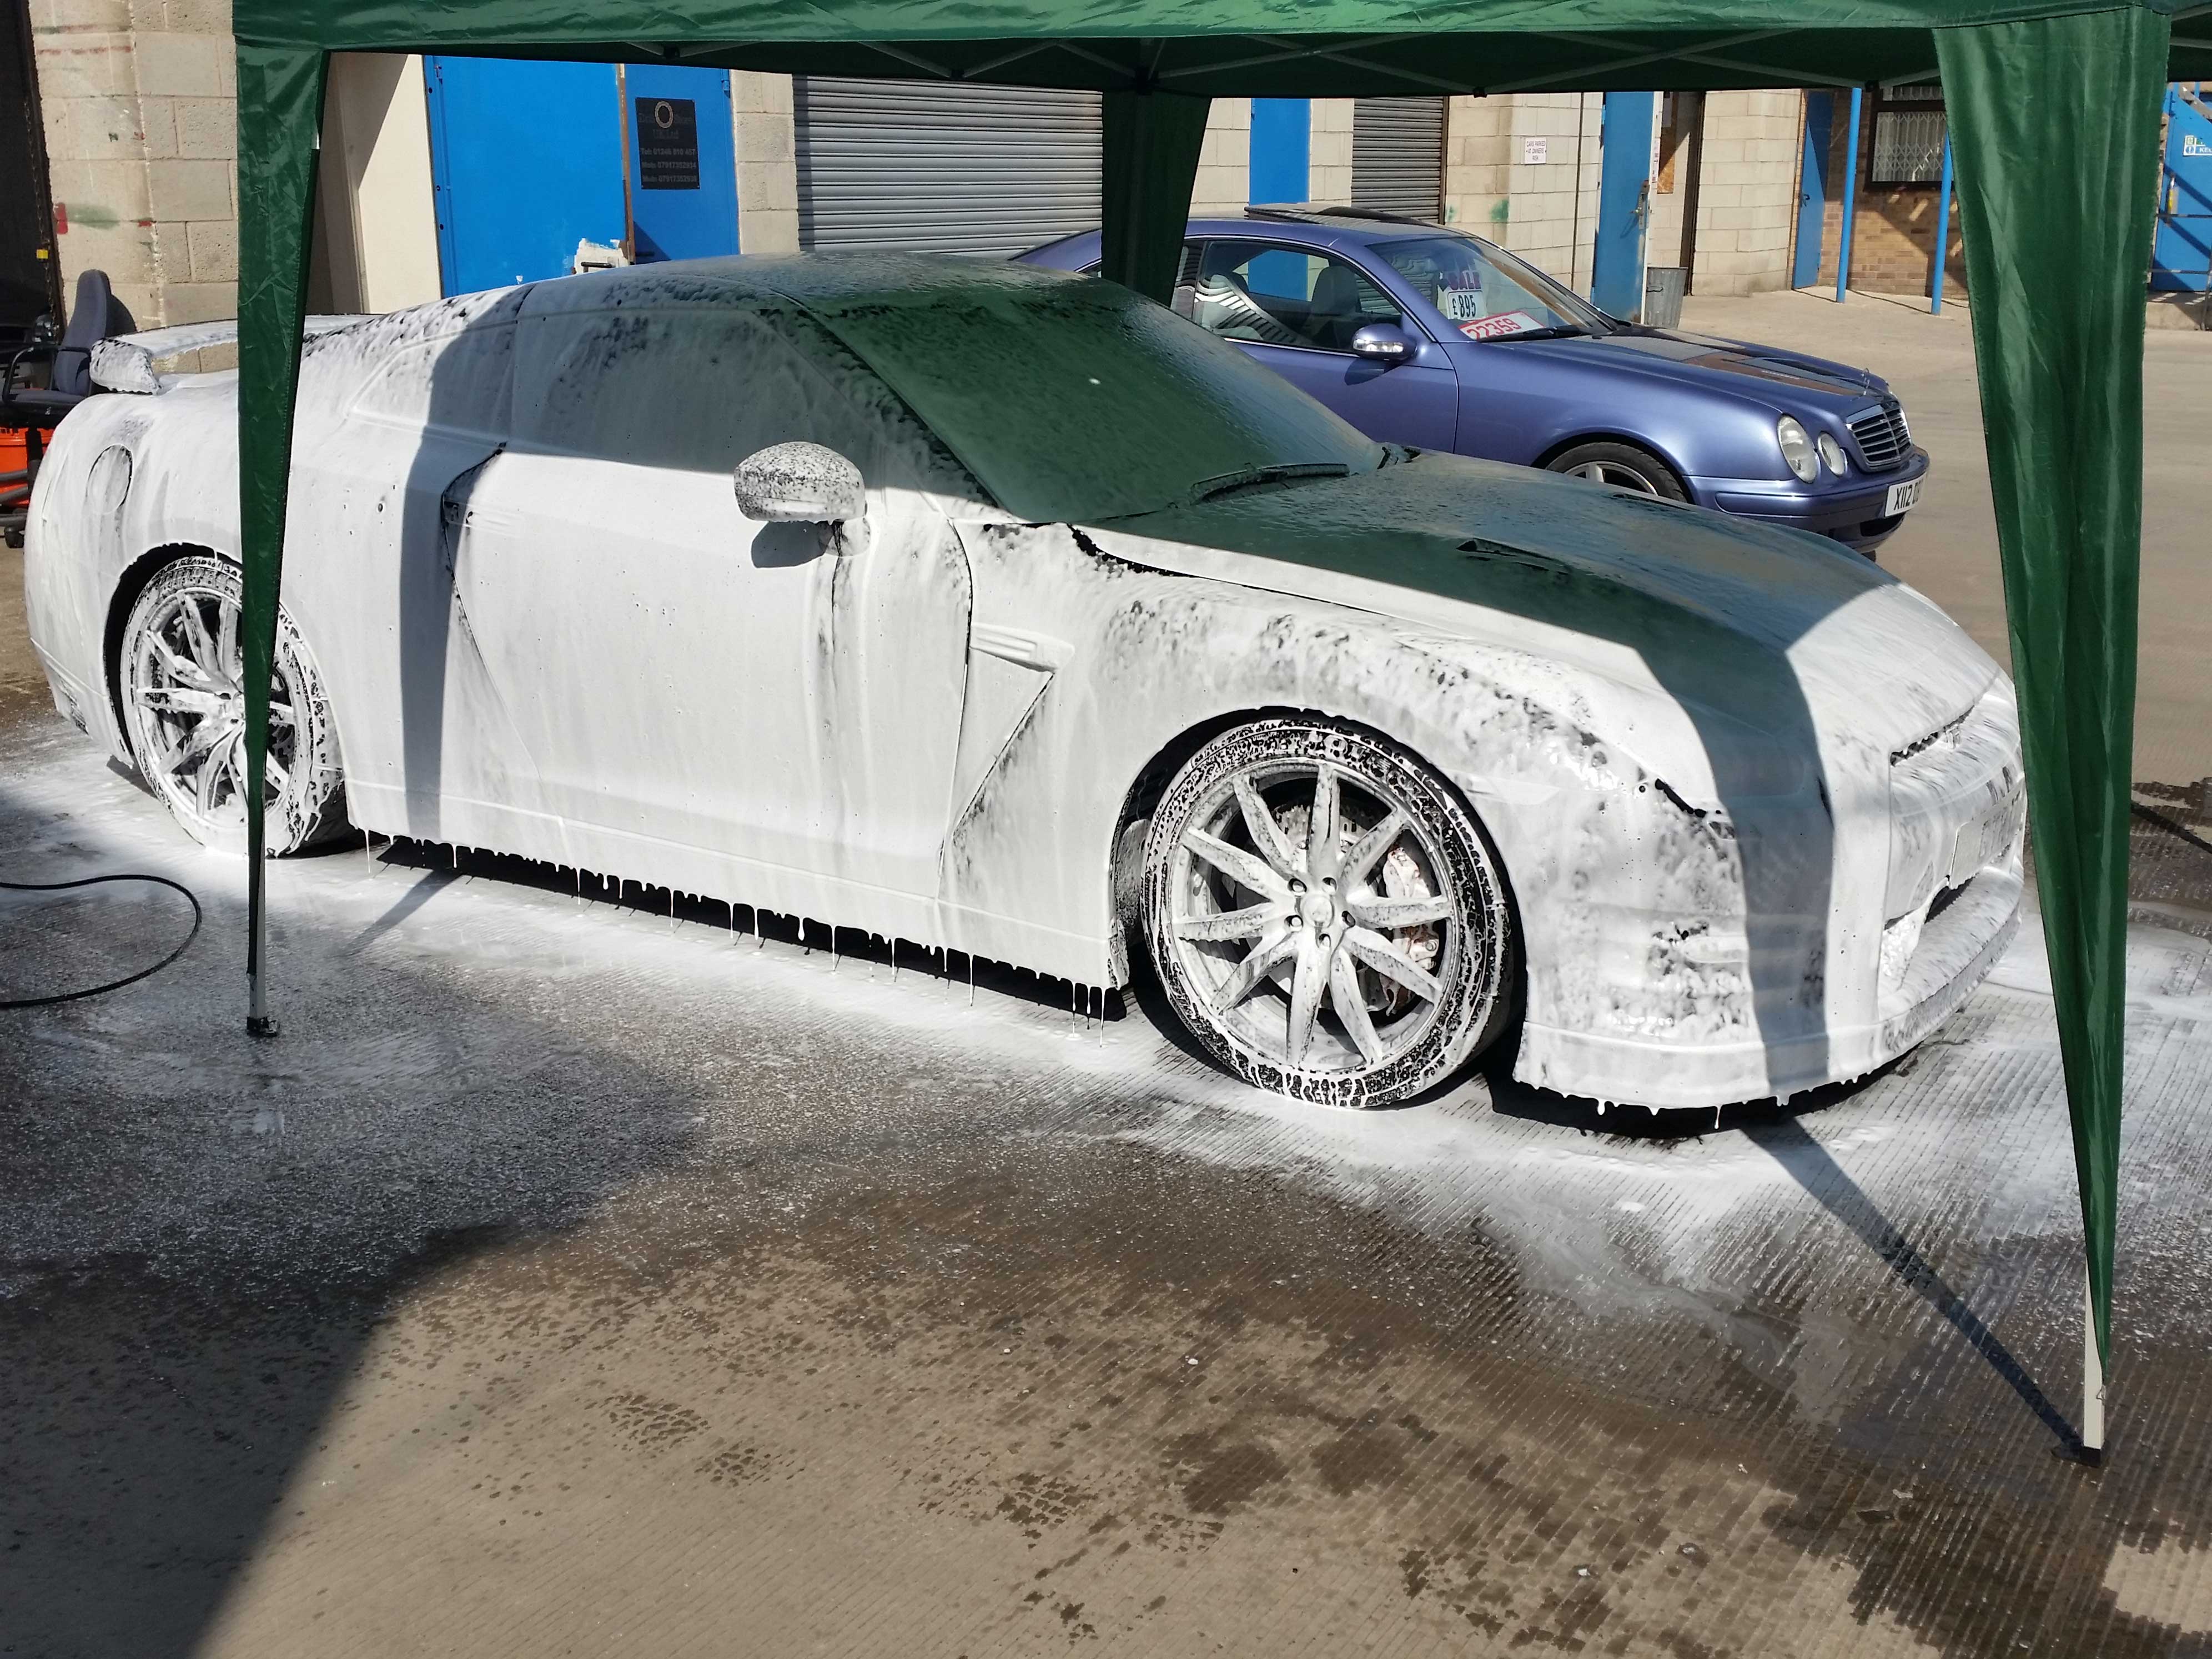
First off, the wheels were cleaned using Valetpro bilberry juice and then the car was soaked with Valetpro PH Neutral snowfoam and left to dwell for 10 mins.
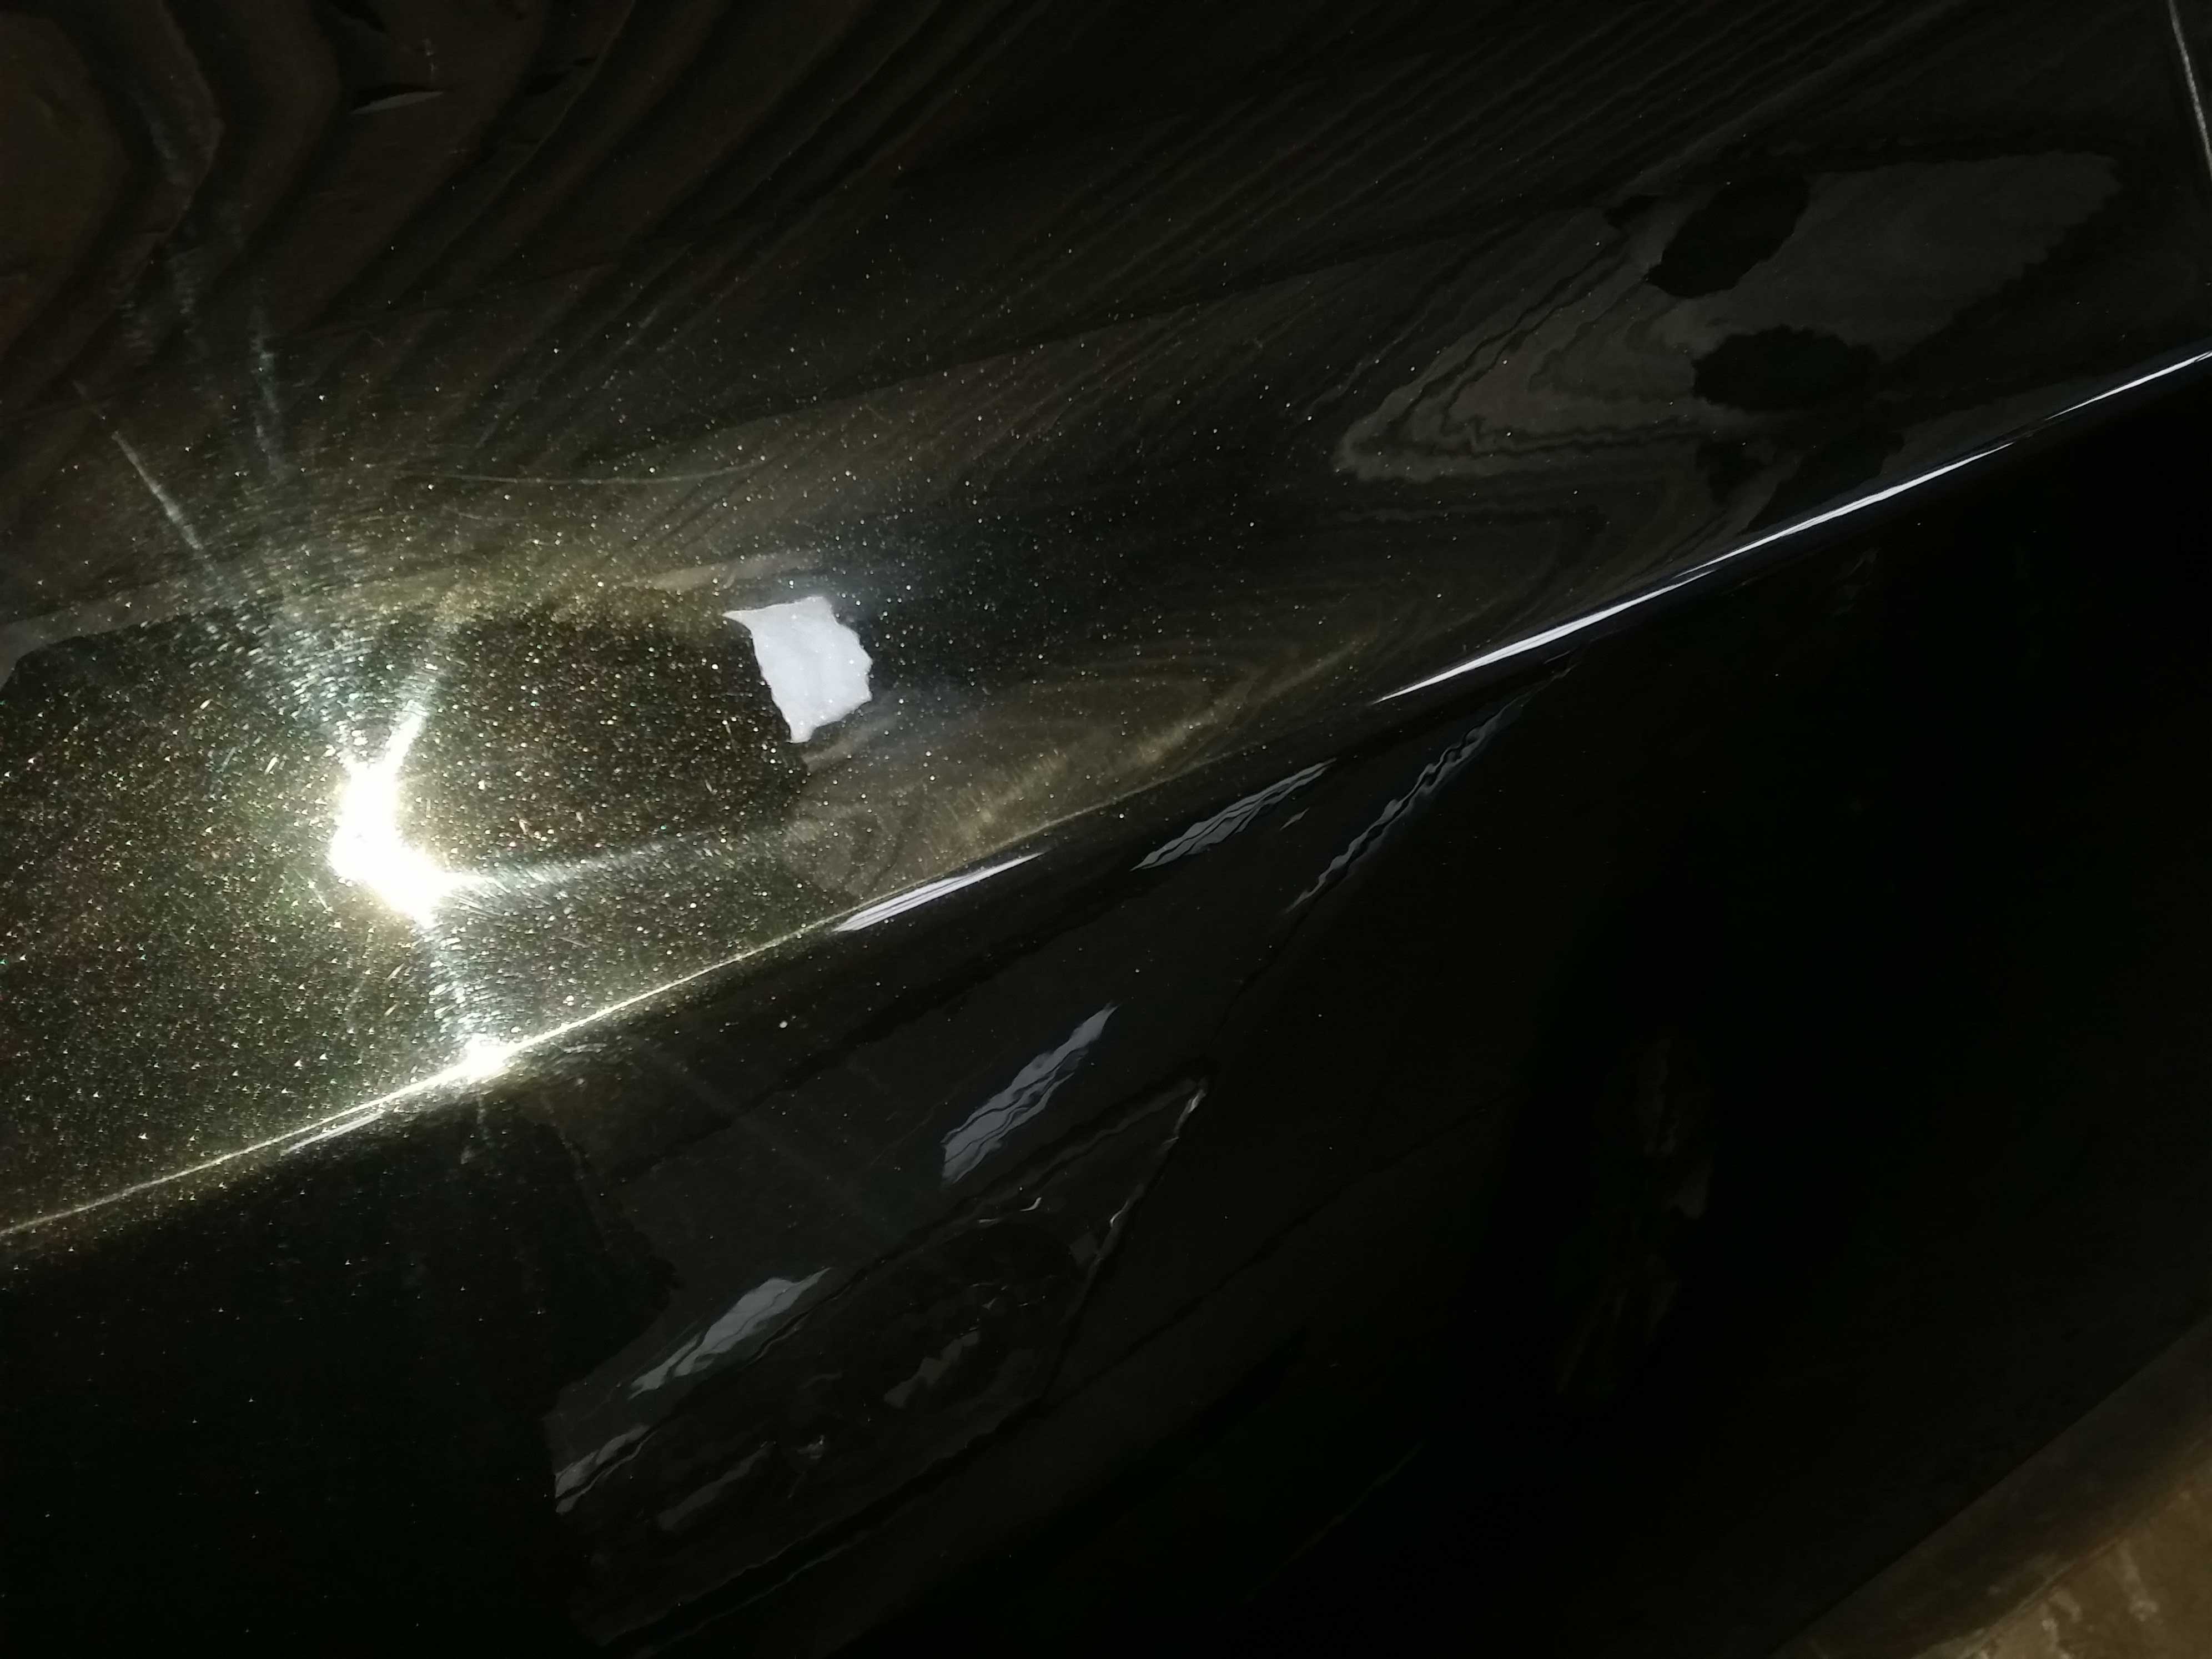
Next, the vehicle was washed using Meguiars hyper wash and then de-tarred, before a full clay of the paintwork and windows, before finishing off with another wash. Once the vehicle was dried and knowing how soft the paint on these beasts were, I was right in thinking it would be covered in swirls…yep it was…
Anyway…back to the interior….What a brilliant place to be!!!
Boot lining and carpets were shampoo cleaned with Auto Smart Brisk, leather recaros were cleansed using Dr Leather clean and condition wipes and trim was treated using Poorboys natural look dressing. This concluded the work for the first day, so it was locked away for the night.
The following day, work commenced at 08.30 as I knew I would have a busy day ahead of me. The owner of the vehicle had called me earlier and told me he wouldnt be collecting the car until 7pm, so it gave me a couple more hours to pamper it. The car was lightly washed again to remove the overnight dust and the correction started…
A quick pass or two over the paintwork, using a yellow 3m pad and 3m Extra fine plus produced this, so I knew it wouldn’t take much correcting.
A good few hours later, it was finished and ready for the nano sealant.
Ok, I had a good few hours left to get this nano sealant on, so I decided to go with the Wolf Chemicals Hard Body Nano Sealant. I’ve used this sealant a few times before and have had feedback from customers, who’s cars I’d sealed over 12 months ago with the same stuff and they were still reporting good beading from rain and ease of cleaning. Its a really easy sealant to apply and work with and after the initial 15 minutes after its been applied, wipe down to make sure all residue is off and then let it cure for 3 hours before applying the second coating.
Once the nano coating was buffed, it was just a case of finishing off a few more little touches, like polishing the exhaust tips up with Meguiars metal polish, waxing the wheels with Chemical Guys Wheel wax, dressing the wheel arches with Meguiars all season dressing and sealing the windows with Wolfs Chemicals Nano glass sealant.
Finished pics of the Nissan R35 GT-R….
https://www.reflectivedesire.co.uk/wp-content/uploads/2015/04/Nissan-R35-GTR-scaled.jpg19202560adminhttps://www.reflectivedesire.co.uk/wp-content/uploads/2024/08/reflective-desire-300x161-2.pngadmin2019-06-14 16:13:572019-06-14 16:13:57Nissan R35 GT-R Full correction plus ceramic coating.
I was presented with a 2011 Range Rover Sport a couple of weeks ago and what originally started out as a 2 day stage 1 correction job, soon became a marathon 13 hour one day job as circumstances changed for the owner. The paintwork on the Range Rover was in very poor condition, scratches and swirls galore and I soon realised it was going to take a fair few hours to remove the swirls and scratches.
We started out by giving the car a snow foam and wash, before a full decontamination was carried out. This comprised of iron x, de-tar and a clay mitt treatment. Afterwards, the vehicle was brought inside to inspect the condition of the paint.
As can be seen by the images here, the paint was in a real bad way and it was going to take some serious scratch and swirl removal to sort it out. I decided to start out with a microfibre pad and m105 compound to remove the swirls and scratches and then refine the paintwork using a foam finishing pad and 3m ultrafina. The results are quite outstanding as you can see from the before and after images above.
A couple more before and after pictures below.
After the cutting of the paint and the refining, a layer of “Poorboys Black Hole” was applied, before a coating of “Swissvax Best of Show” was used for a last step finish.
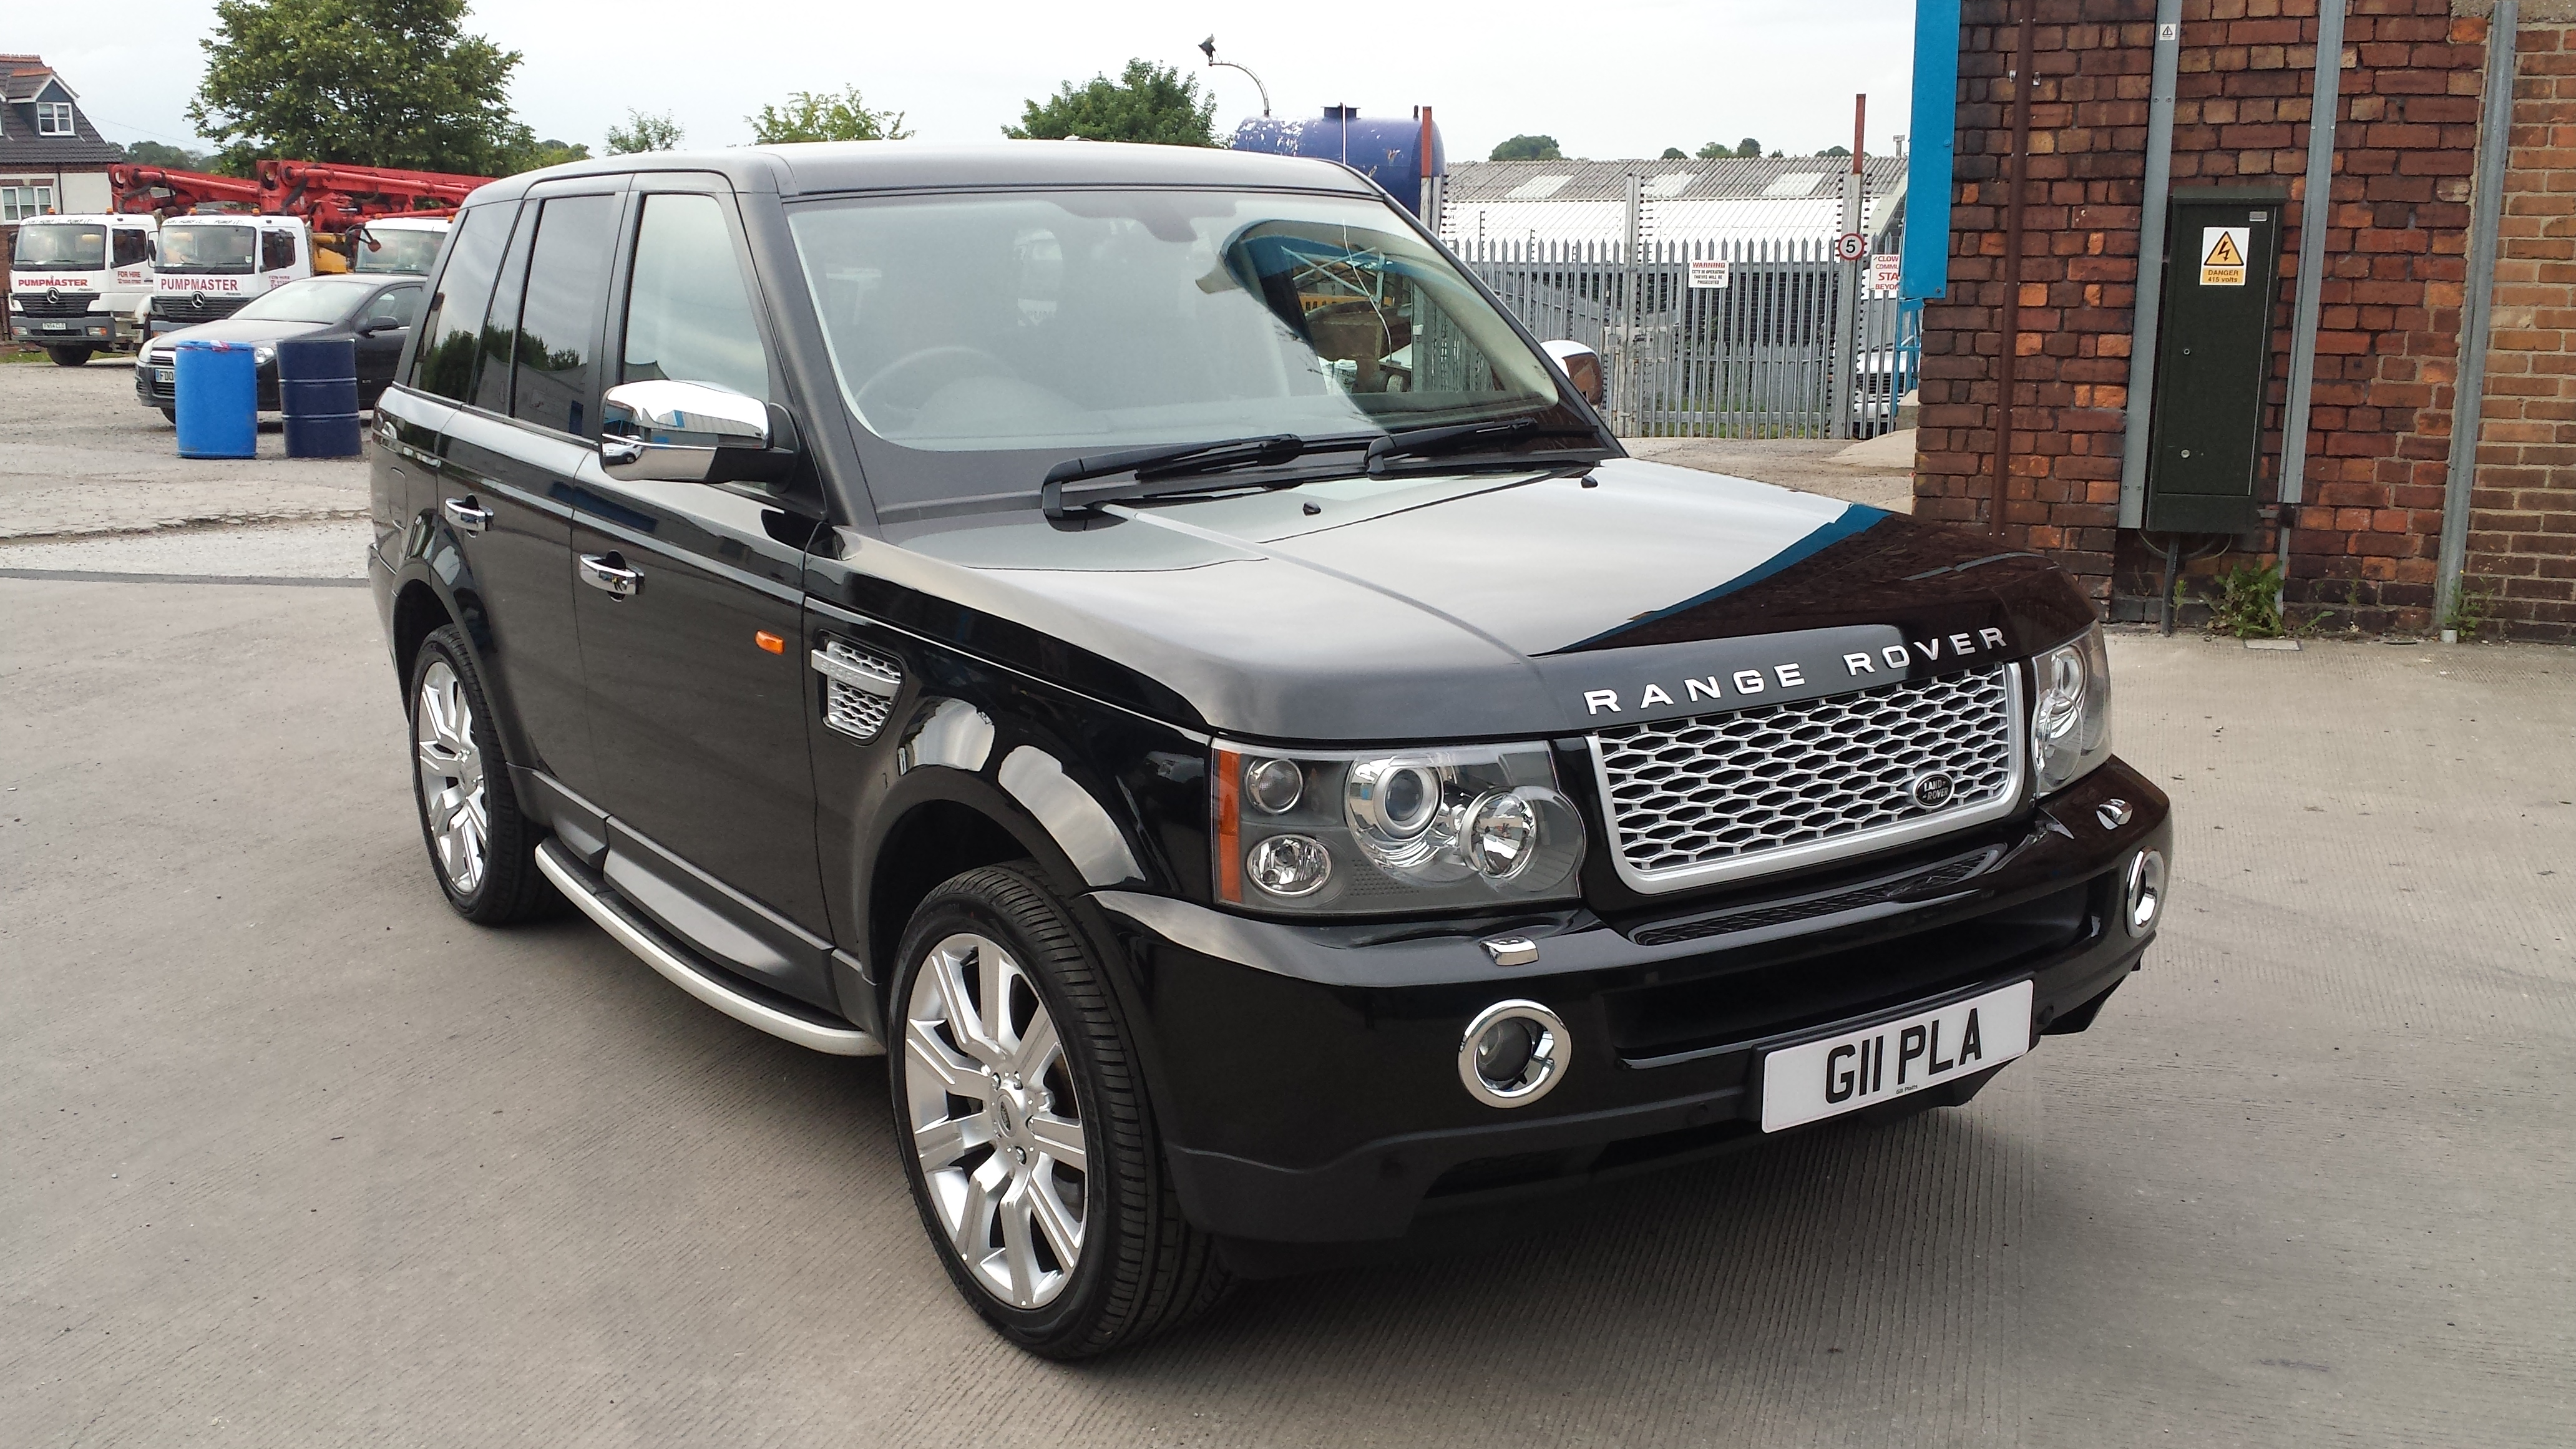
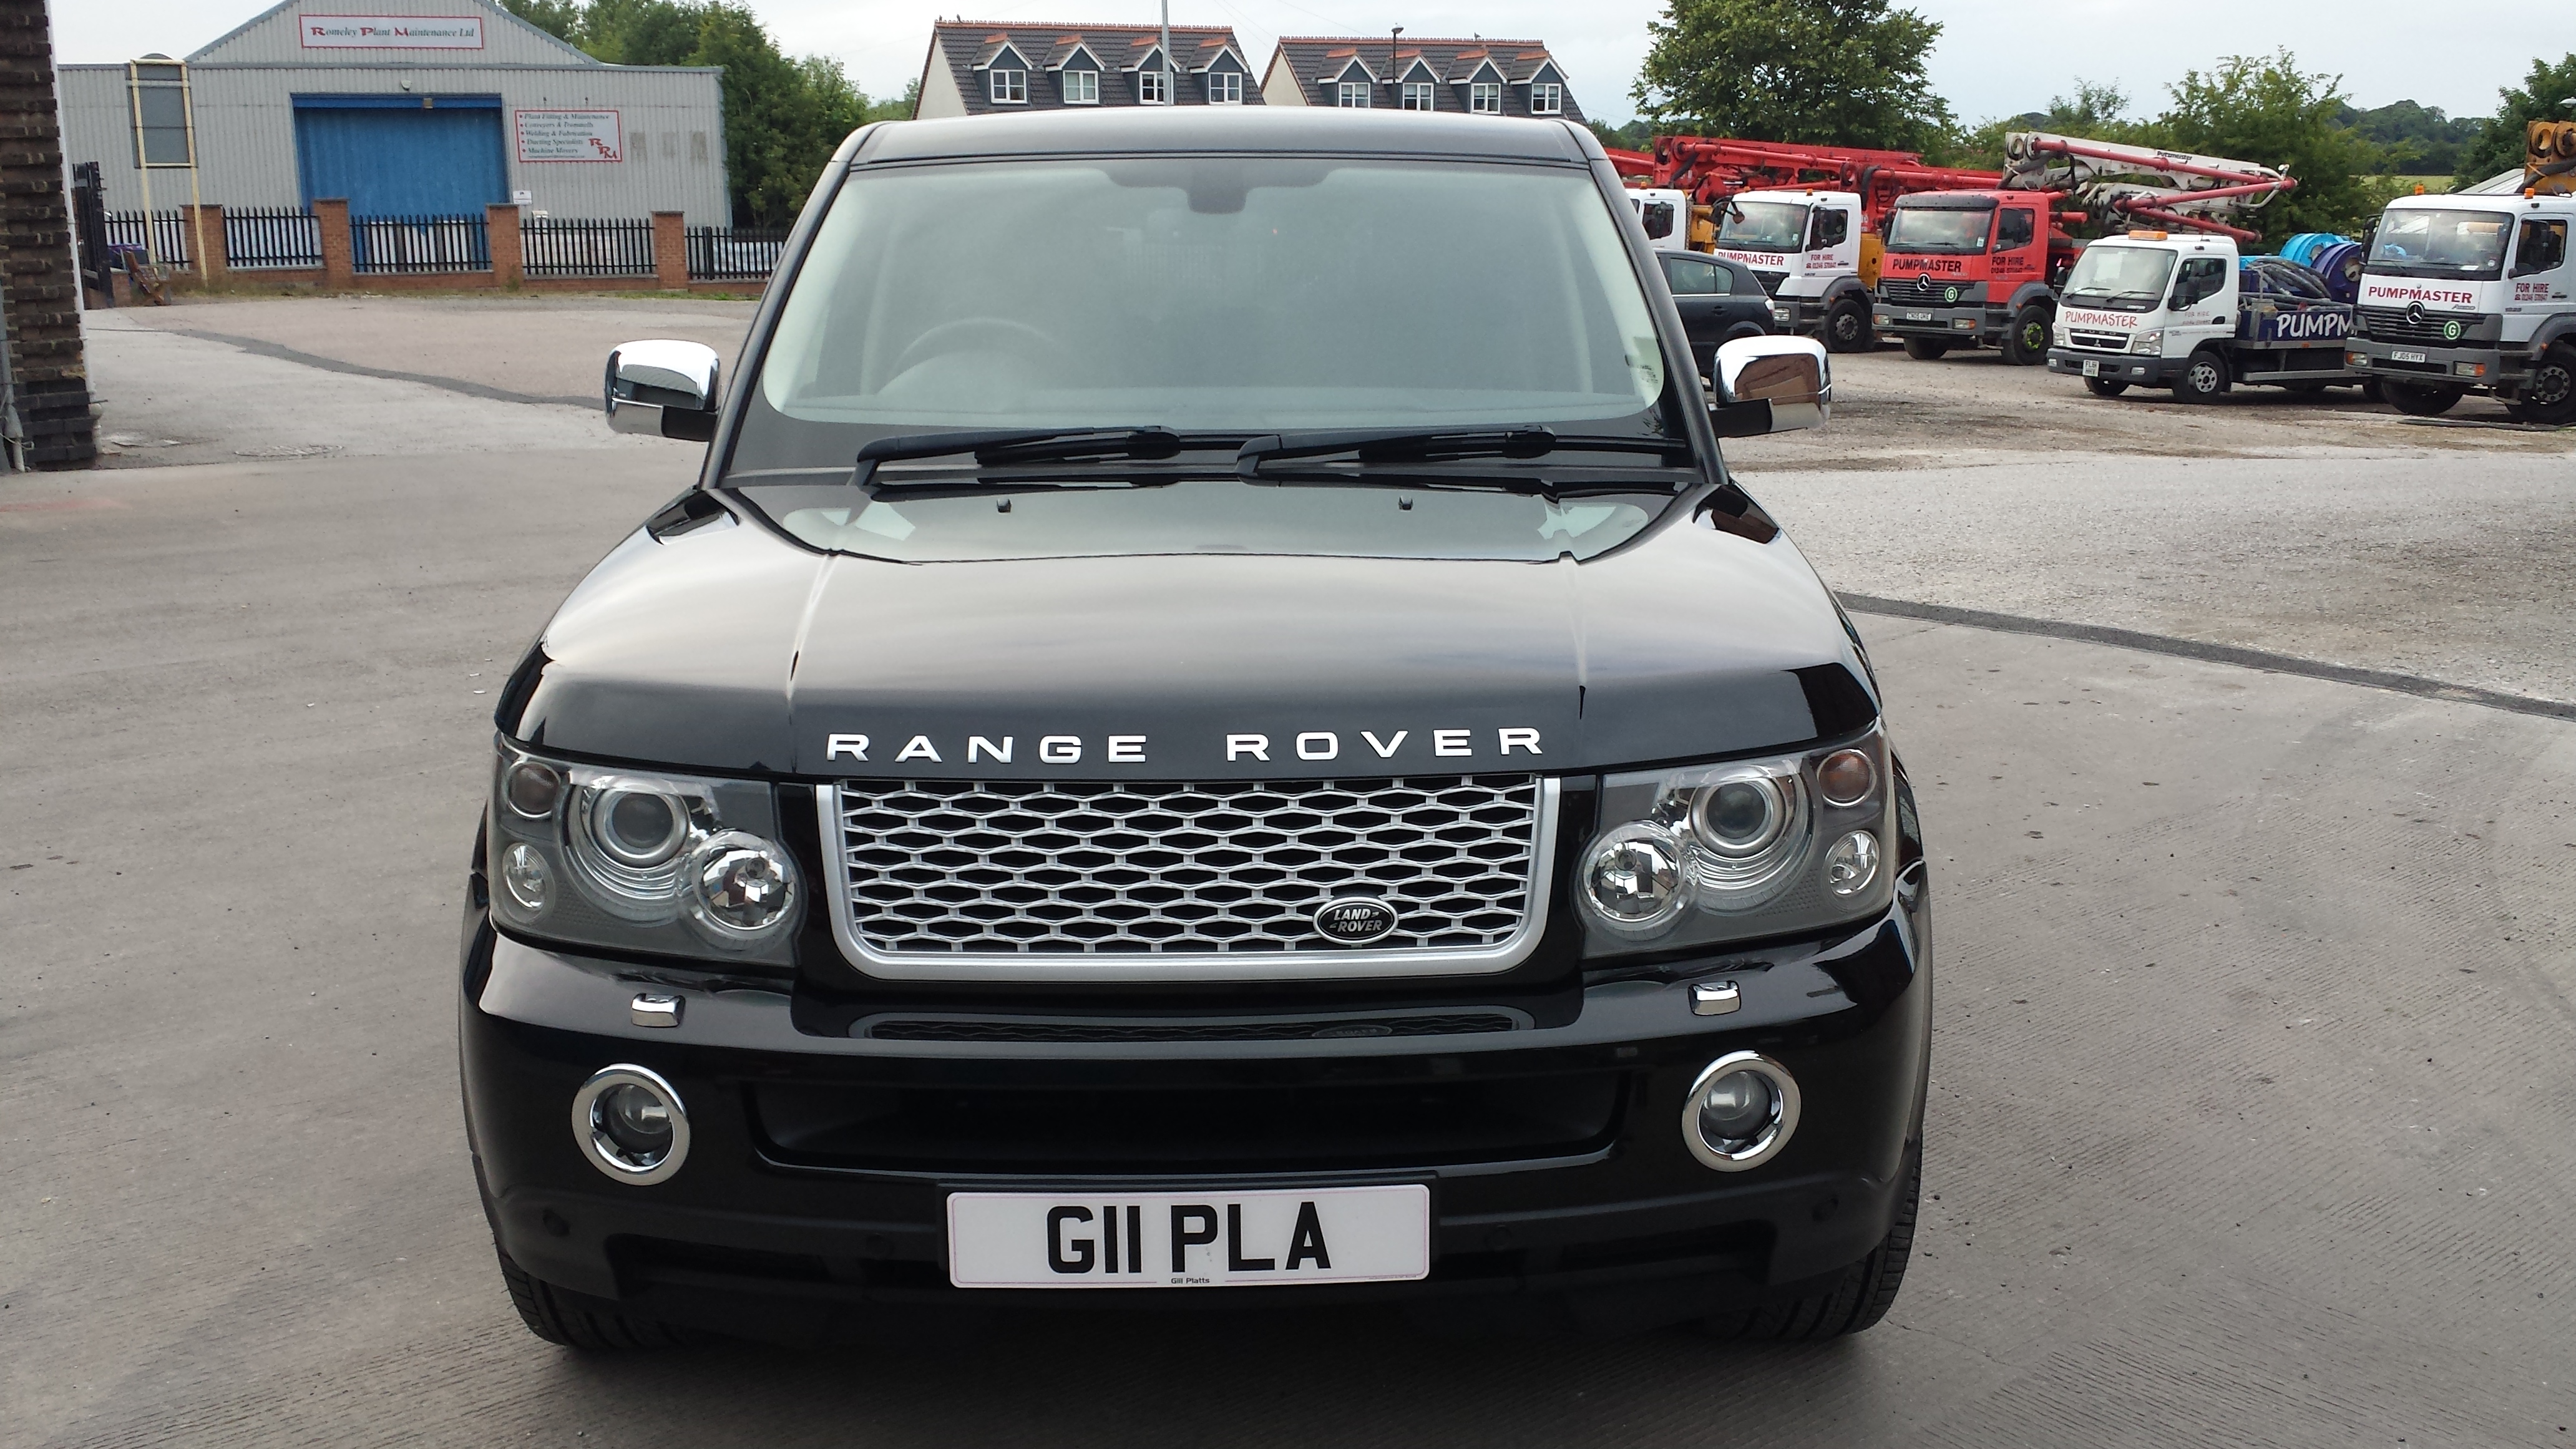
A couple of outside shots of the Range Rover Sport after the work had been carried out.
https://www.reflectivedesire.co.uk/wp-content/uploads/2015/08/20150714_200450-scaled.jpg14402560adminhttps://www.reflectivedesire.co.uk/wp-content/uploads/2024/08/reflective-desire-300x161-2.pngadmin2019-06-14 16:08:132019-06-14 16:08:13Range Rover Sport Paint Correction
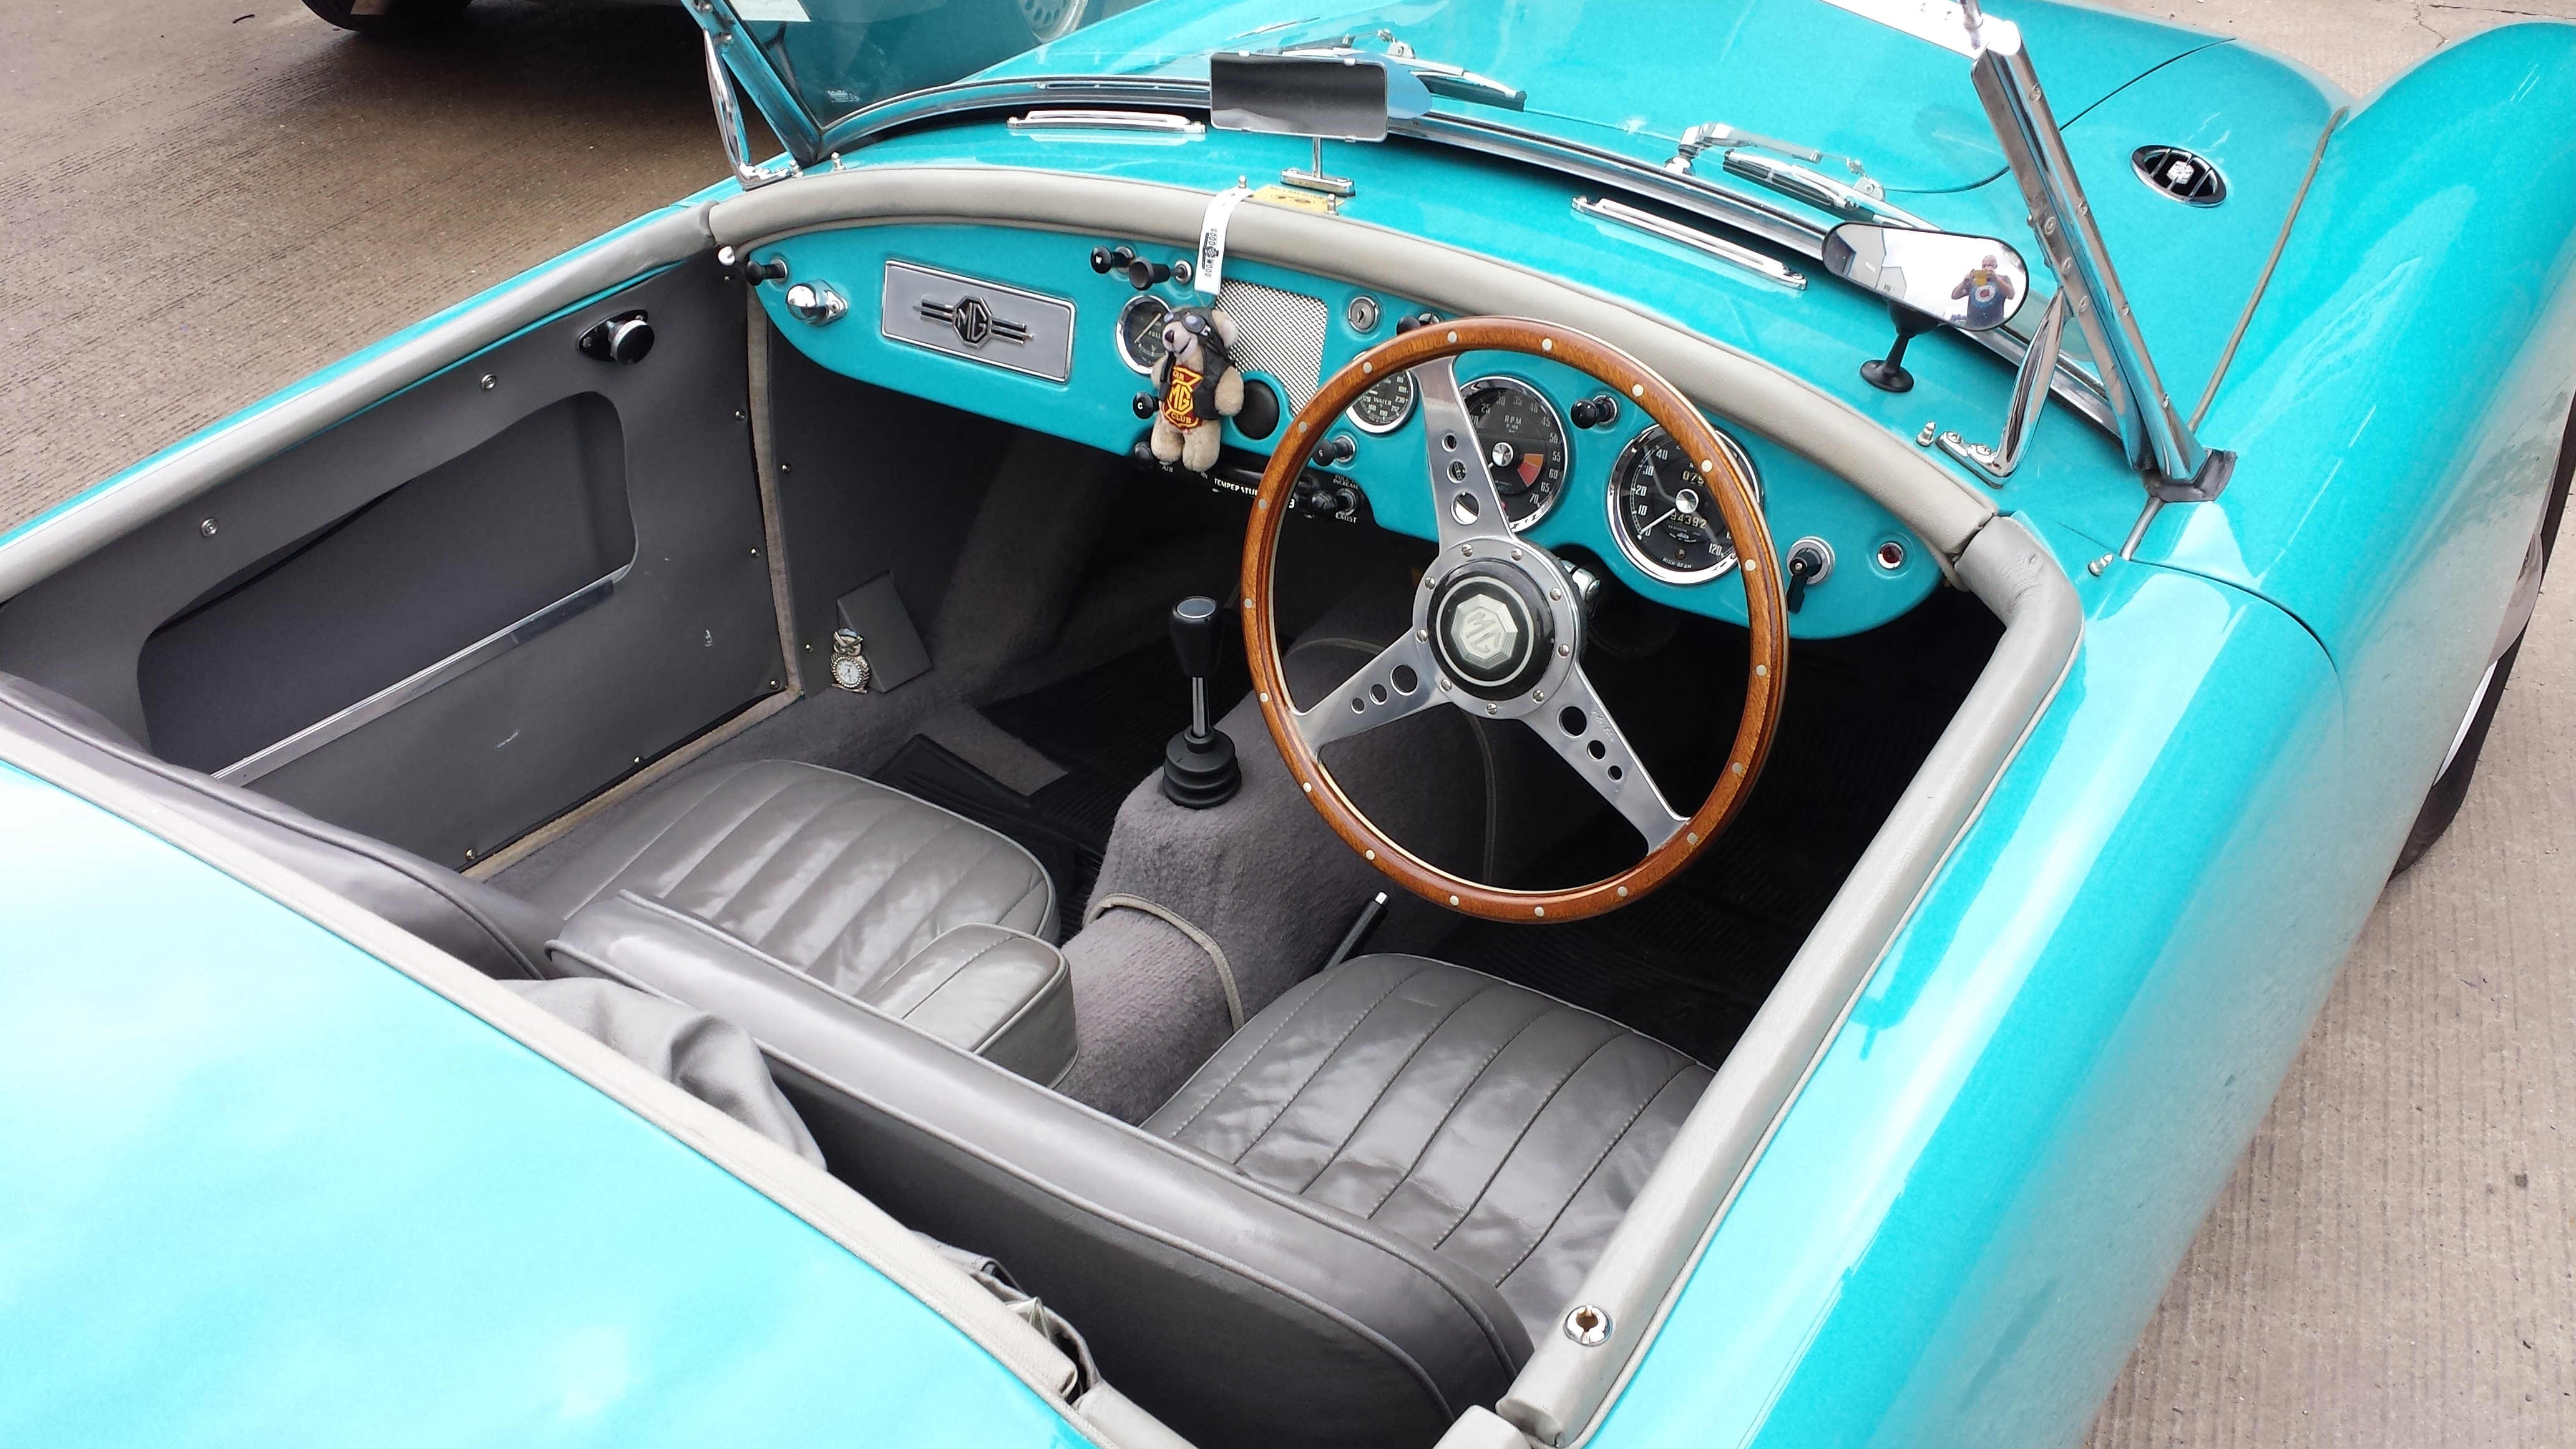
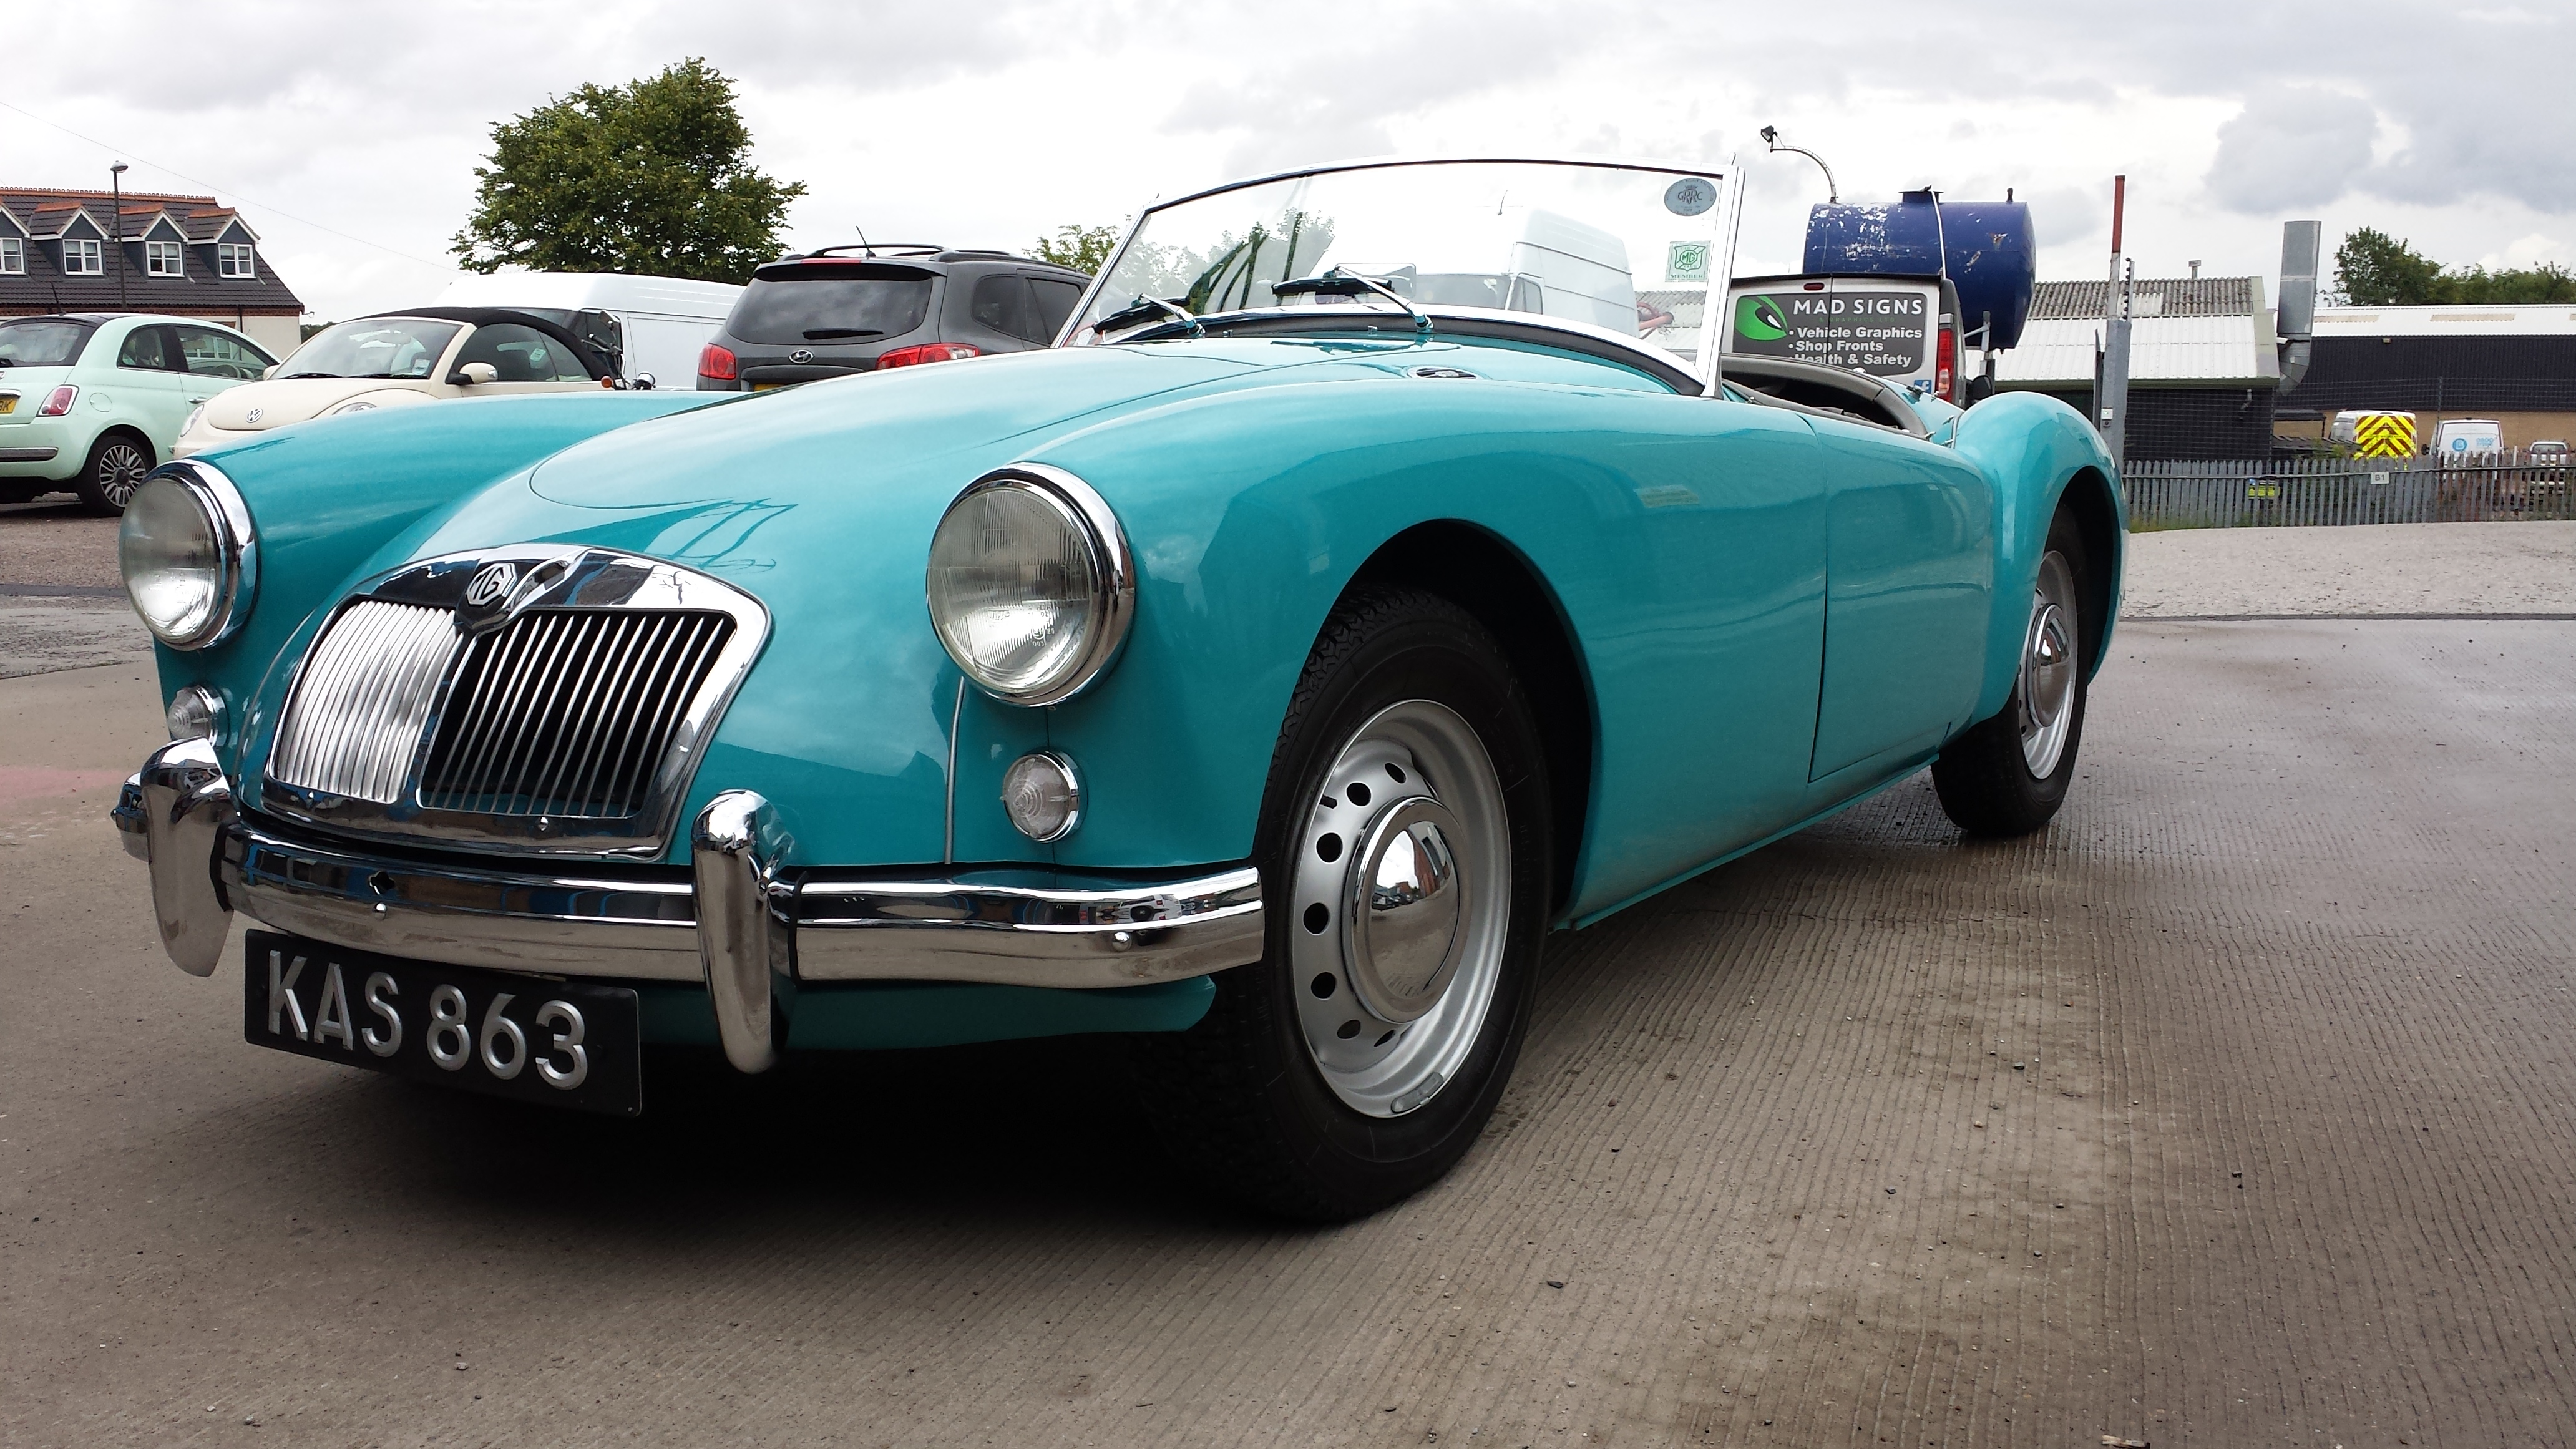
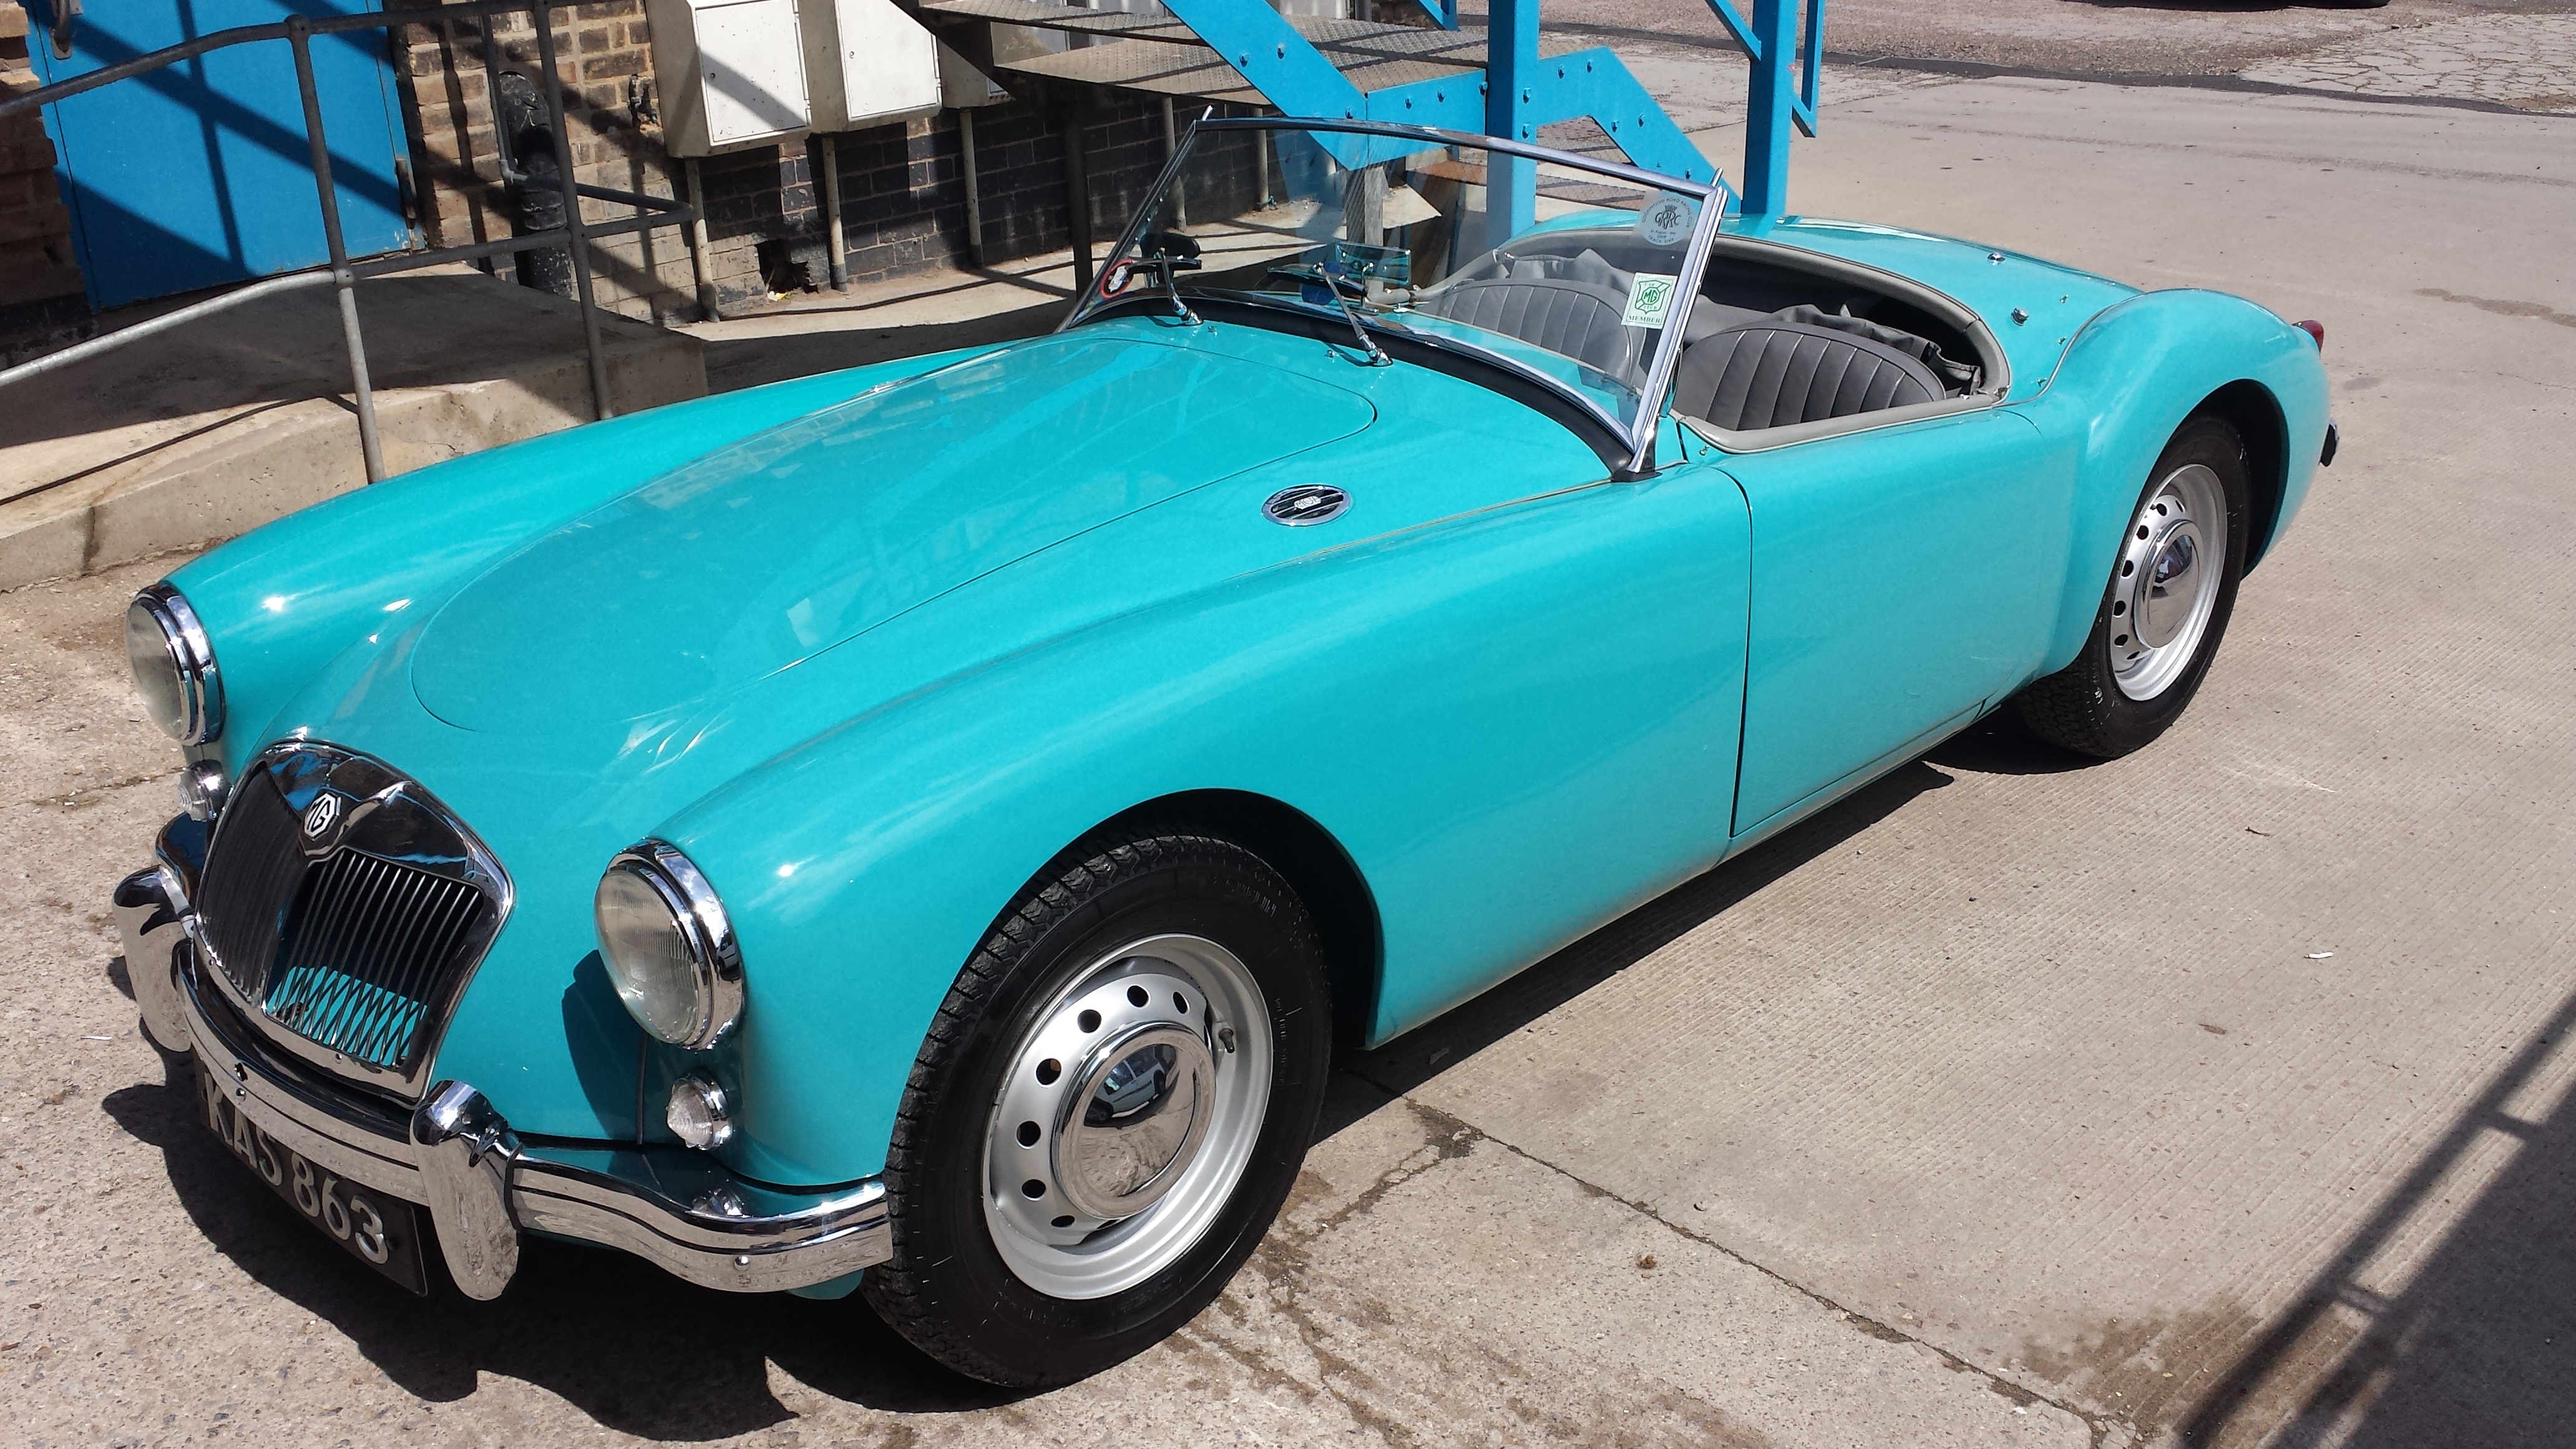
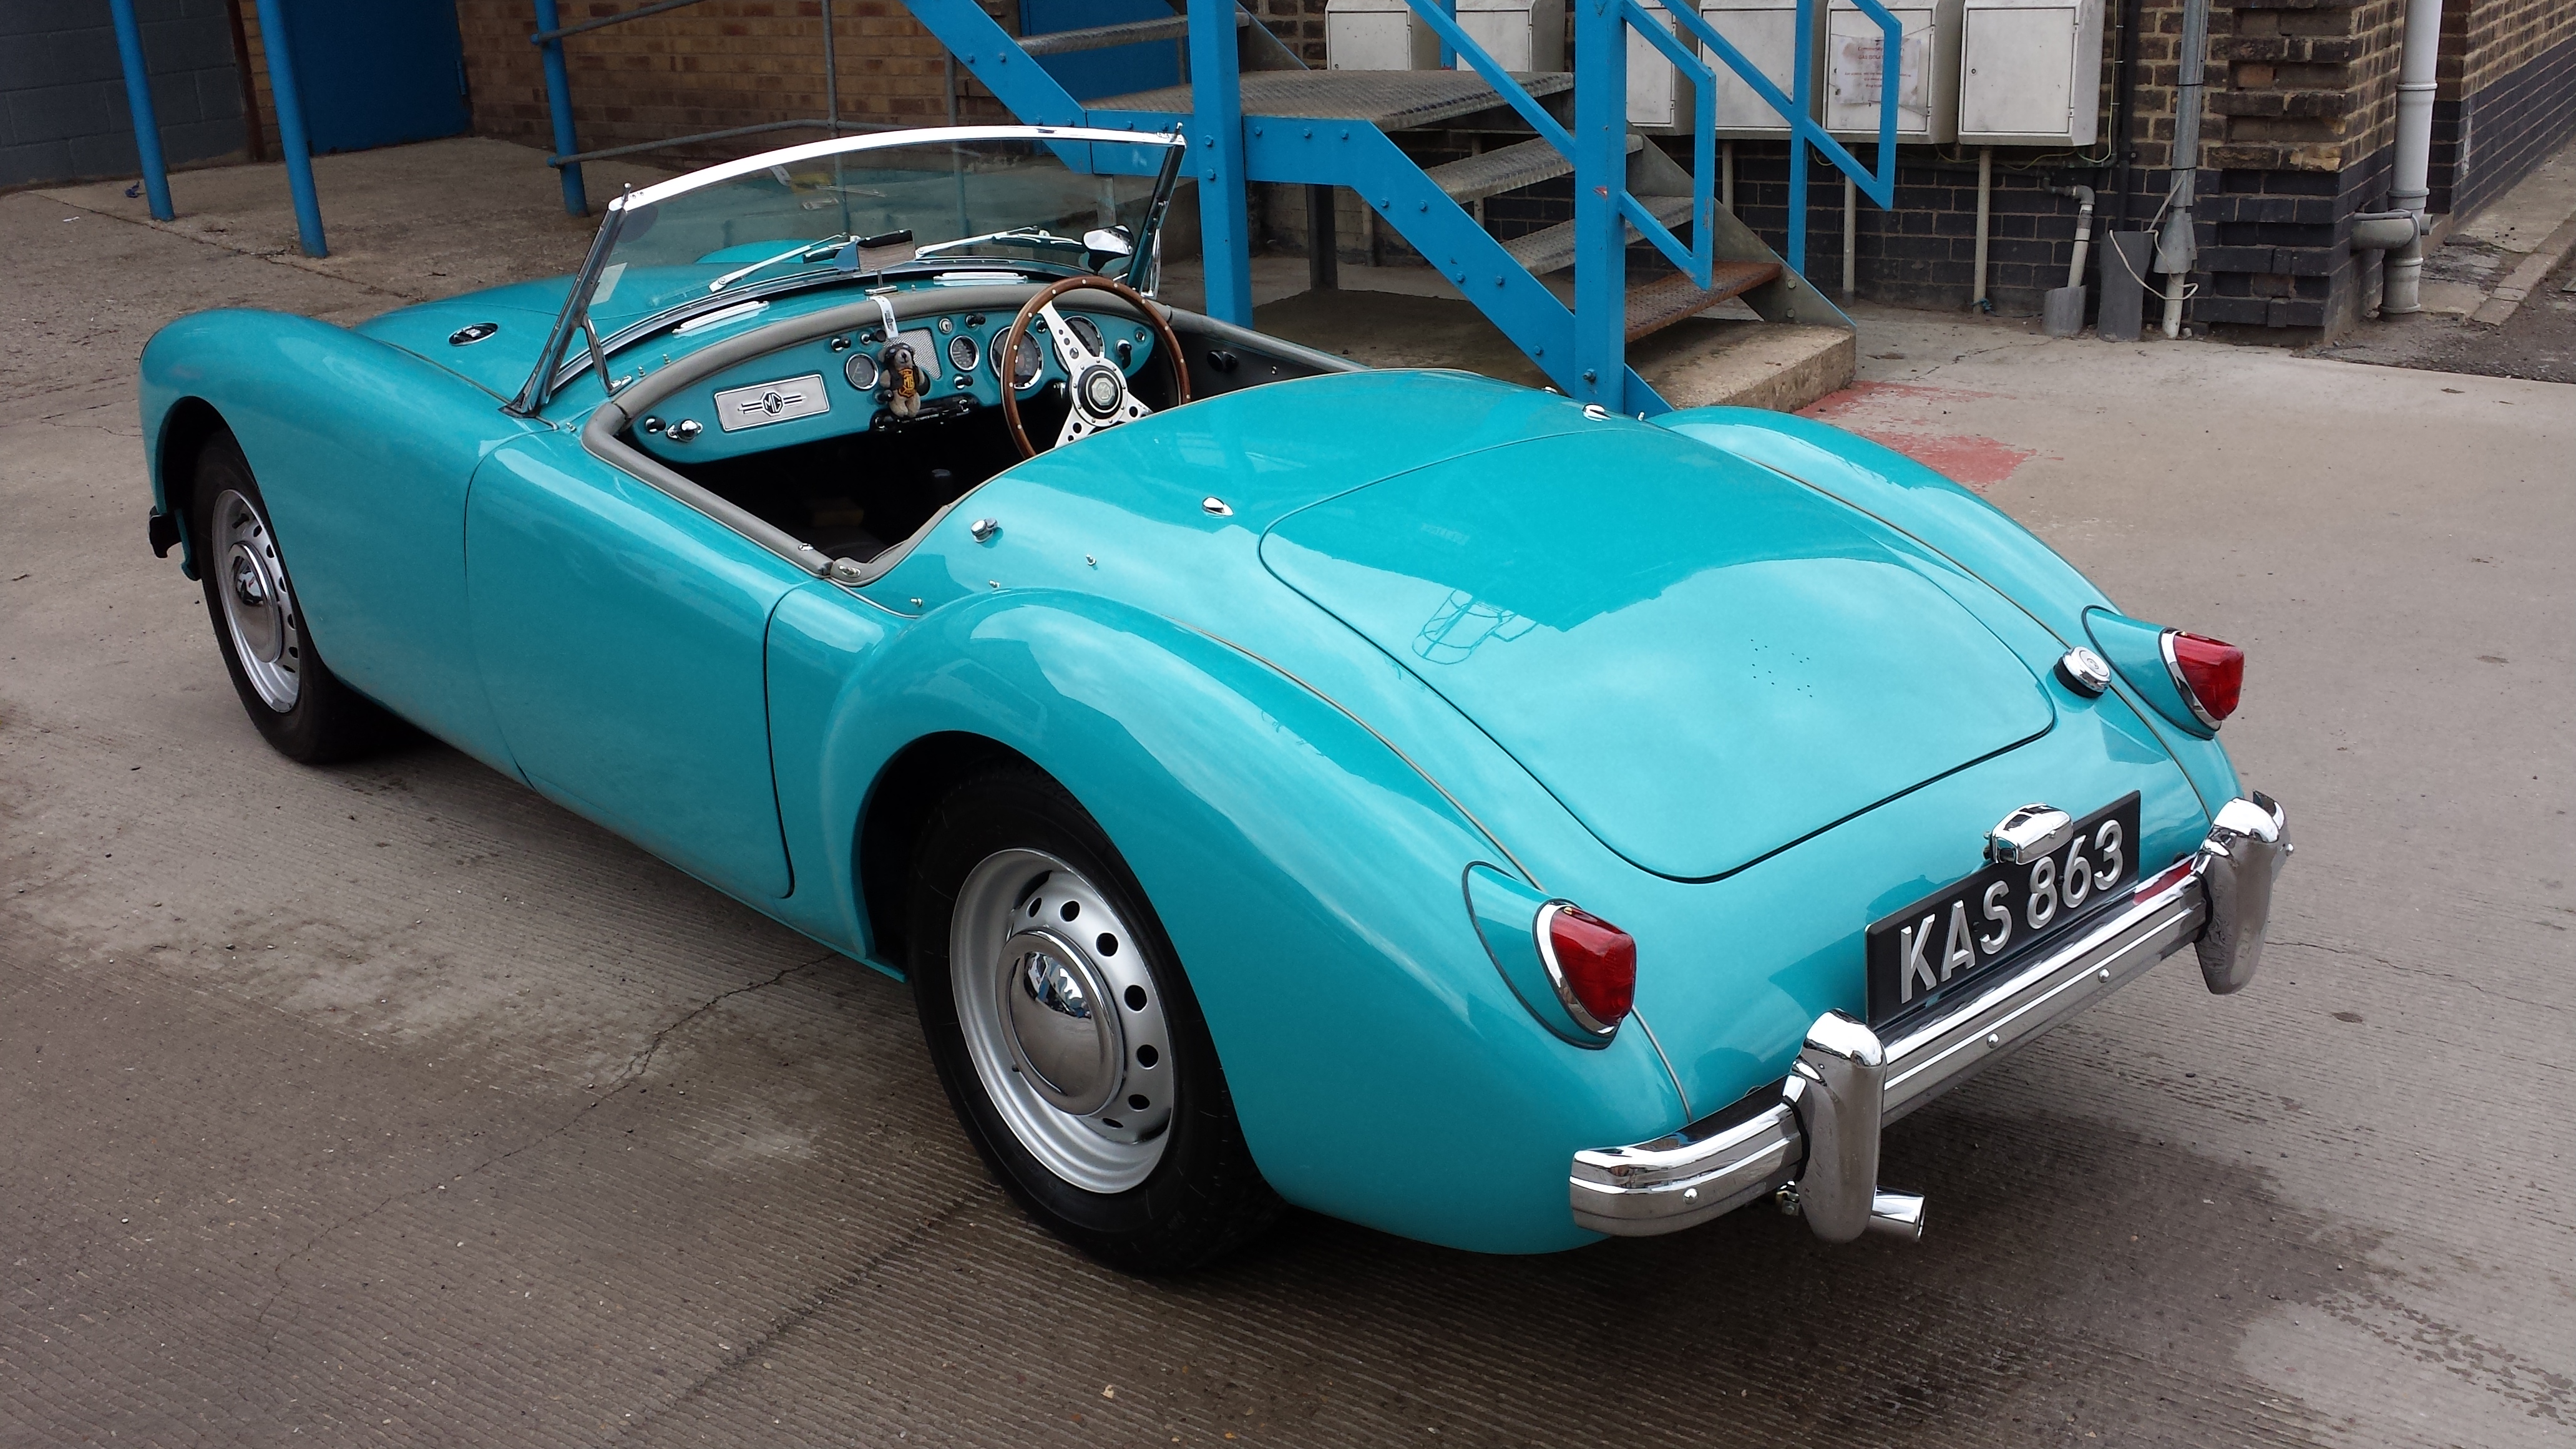
A customer contacted me a couple of weeks ago and told me the story of his beloved glacier blue 1957 MGa. The previous owner who lived in the U.S, had the car sprayed red and when it was imported back to Britain, it was meticulously restored back to its original condition, including uncovering the repainting back to its glacier blue livery which adorns it now.
The main reason the customer had contacted me, was because this year marks the 60th anniversary of the MGa and he had been invited down to the Goodwood revival to be among 20 MGa’s to have their photograph taken on the Goodwood approach, so he was looking at getting the 1957 MGa back to showroom condition.
Upon receiving the car, it was snow foamed, washed and then fully decontaminated using a clay bar and iron x, before being brought indoors for an inspection of the paintwork. Once inside, it was realised that the paint was badly marked with swirls and orange peel, which is typically the result of improper painting technique, and is caused by the quick evaporation of thinner, incorrect spray gun setup (e.g., low air pressure or incorrect nozzle), spraying the paint at an angle other than perpendicular, or applying excessive paint.
After taking depth readings of the single stage paint and needing to remove the orange peel, it was decided upon to use a microfiber pad and megs m105 cutting compound to get rid of the orange peel and swirls before moving on to the refining stages.
The you tube clip below was taken after the initial removal of orange peel and swirls on the side of the car and as you can see, its a considerable improvement.
The correction was continued for quite some time before the refining stage started. Here we used a 3m blue pad along with the corresponding 3m ultrafina polish to refine it back to an as new standard. Afterwards, a coating of “Poorboys White Diamond”glaze was applied, then” Swissvax Best of Show” was layered to bring the car paintwork to a finish.
After the paintwork was corrected, it was onto the chrome. This was tackled with Autosol and Meguiars metal polish before being coated with 2 layers of Collinite 476s wax. This brought these results.
Then we moved onto the engine bay…….
In here, it was treated with Meguiars Degreaser, all season dressing and metal polish and also Autosol and Autoglym SRP.
Interior carpets were shampooed and extracted before cleaning the leather with Dr Leather Wipes. G101 was used as an all purpose cleaner and once again, Autosol for the chrome.
Final pics outside in the lovely sunshine…
The total time taken by Reflective Desire on this project was around 25-30 hours and as can be seen by the finished results, the owner was more than impressed.
https://www.reflectivedesire.co.uk/wp-content/uploads/2015/08/20150730_123611-scaled.jpg14402560adminhttps://www.reflectivedesire.co.uk/wp-content/uploads/2024/08/reflective-desire-300x161-2.pngadmin2019-06-14 16:02:532019-06-14 16:02:531957 MGa Paint Correction
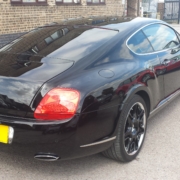
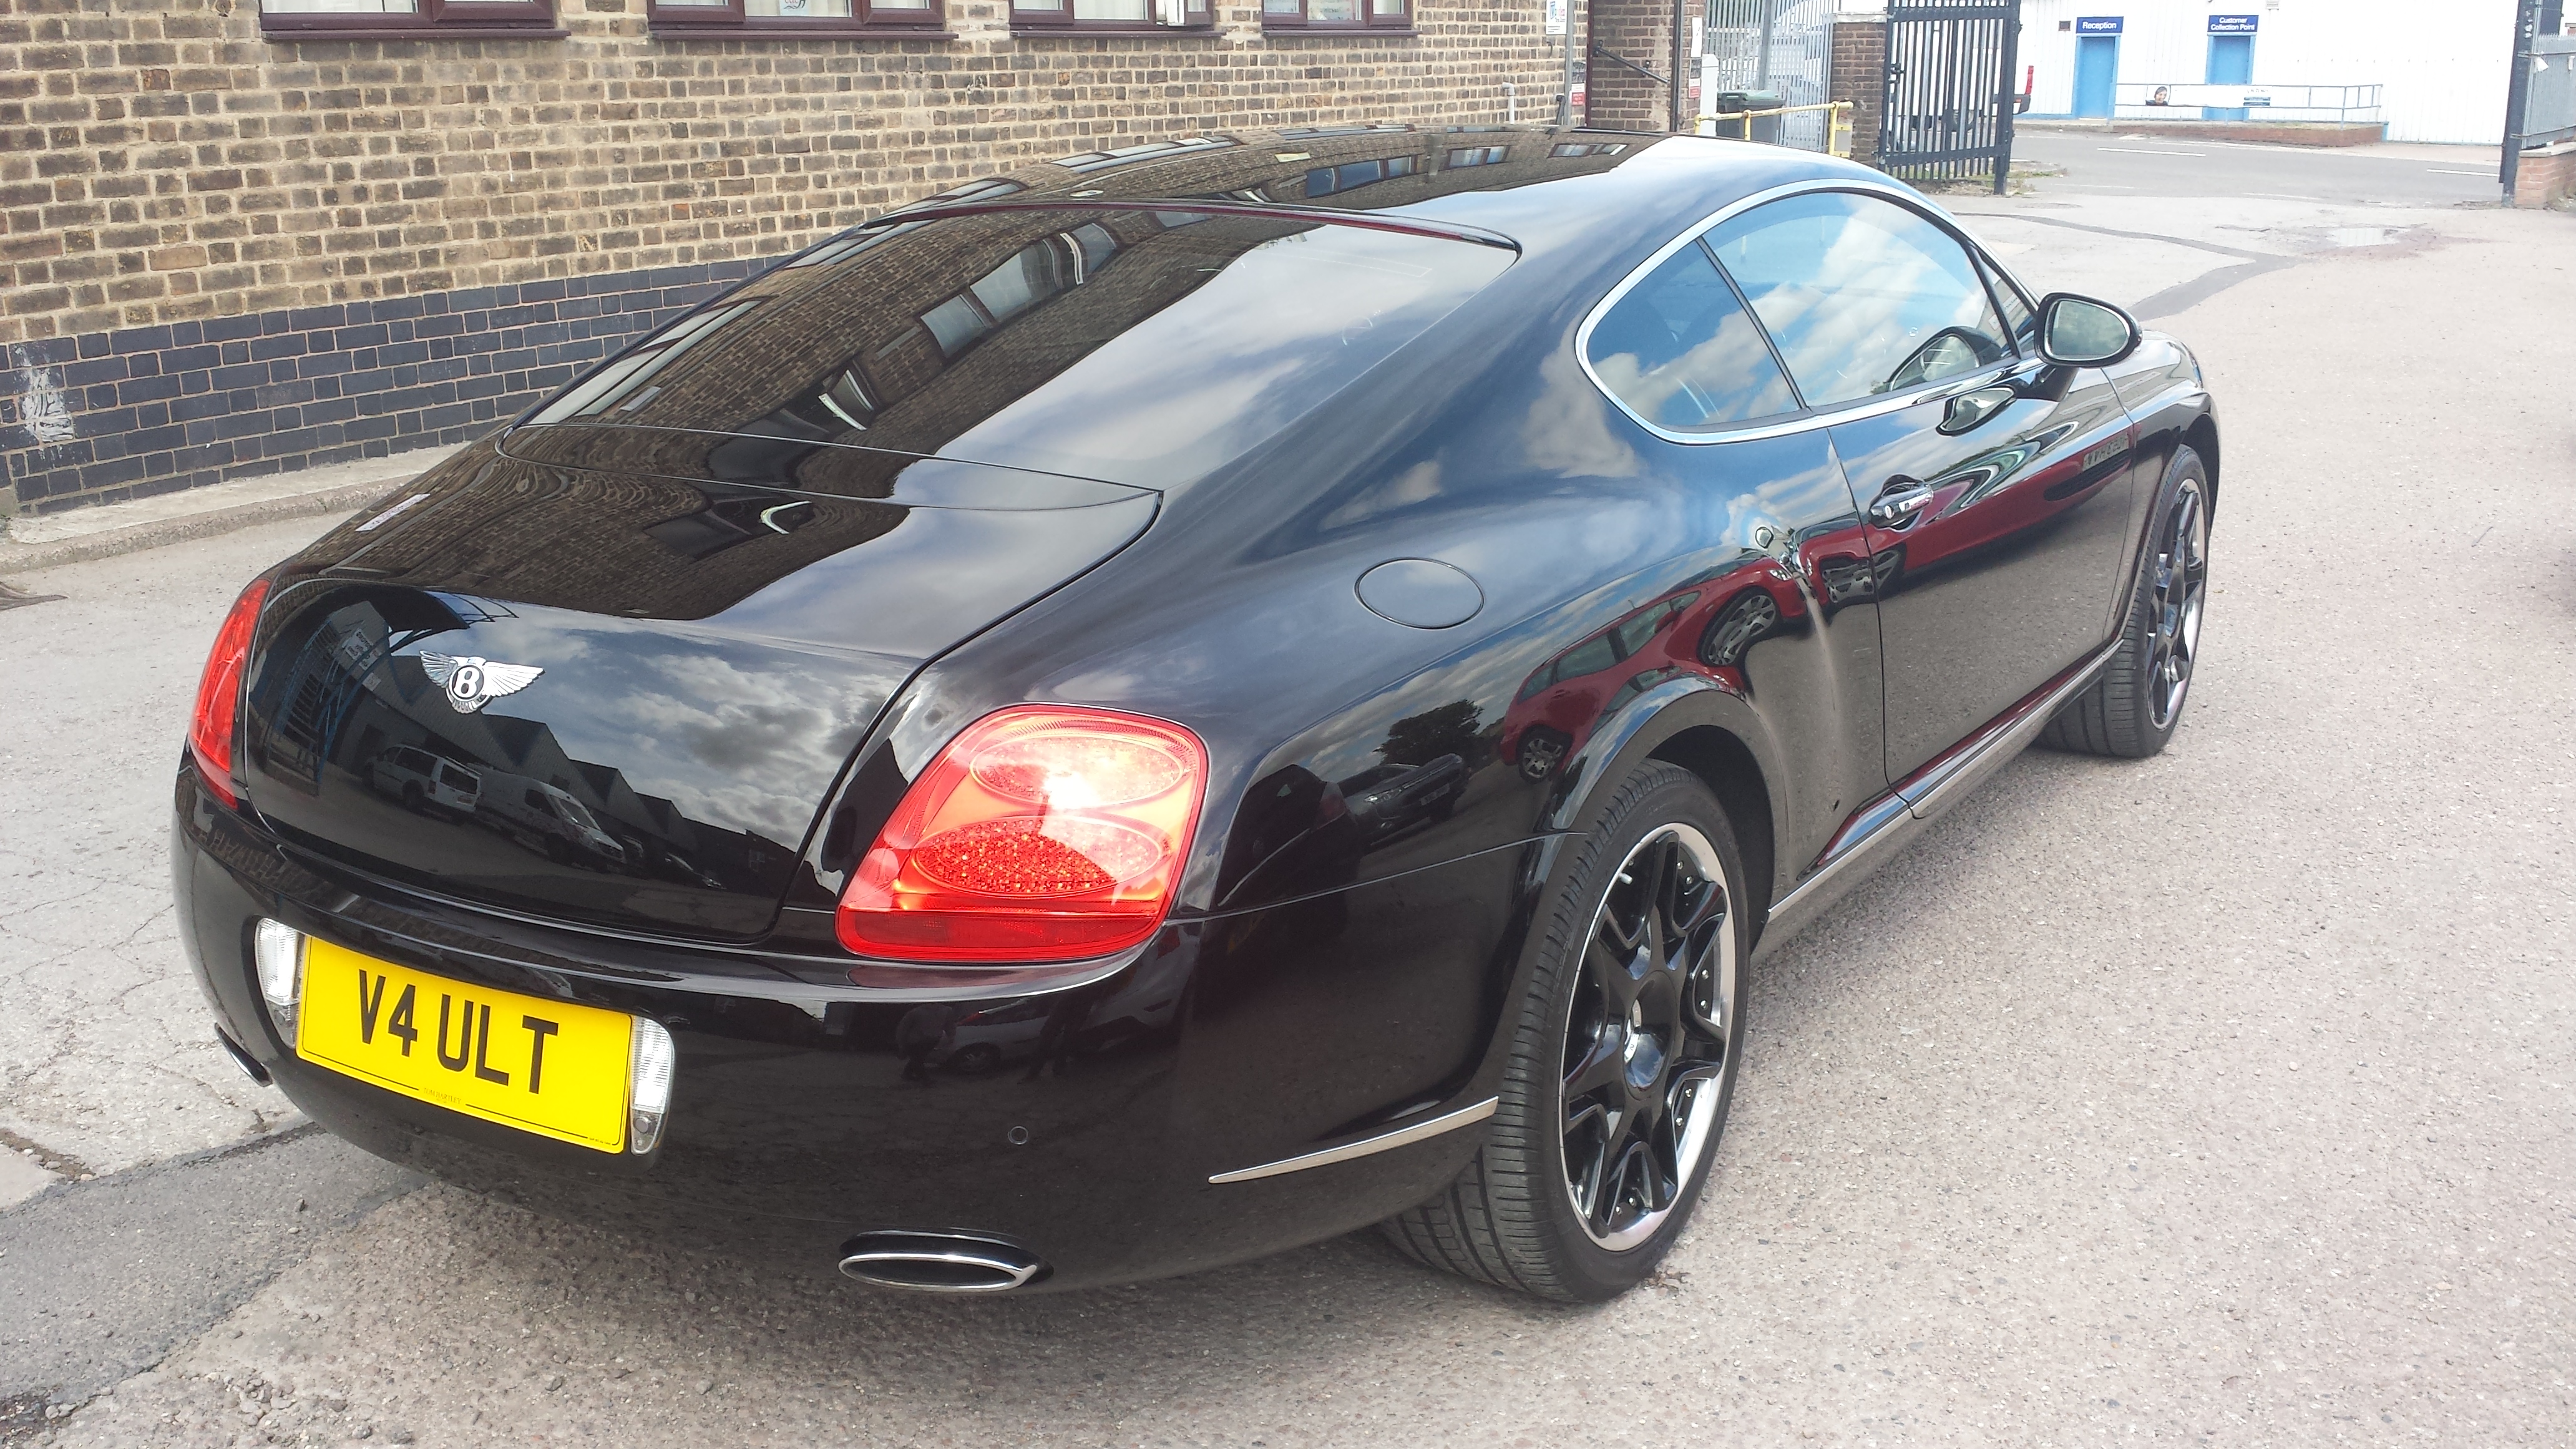
I was contacted by a client who had this beautiful black 2009 Bentley Continental GT.
On initial inspection, it was noticed that the car had a fair amount of swirl marks due to bad washing and drying techniques, there was also a few deeper scratches which required a little more attention to detail, including the use of trizact sanding paper.
Having experienced Bentley and Rolls Royce cars in the past, it was safe to say the paintwork would be its usual soft consistency, so a mid abrasive 3m yellow pad was put to work with Meguiars M105 ultra cut compound. After the initial buffing was completed with said pad/compound, the paintwork was refined with a blue 3m finishing pad and 3m ultrafina finishing polish.
We discussed the best way forward for ultimate protection on the Bentley and Car Pro cquartz sealant was selected for its ease of application and its durability and protection. This nano sealant is 99.3% silica and is an ideal choice of protection for soft painted cars.
A complete panel wipedown is first carried out with diluted IPA to remove any fillers and polish residues before the sealant is applied. 3 hours curing time between coats and then an overnight stay in the unit to protect it from the elements.
The following morning, the car was carefully wiped to remove any overnight dust and presented to the very happy owner.
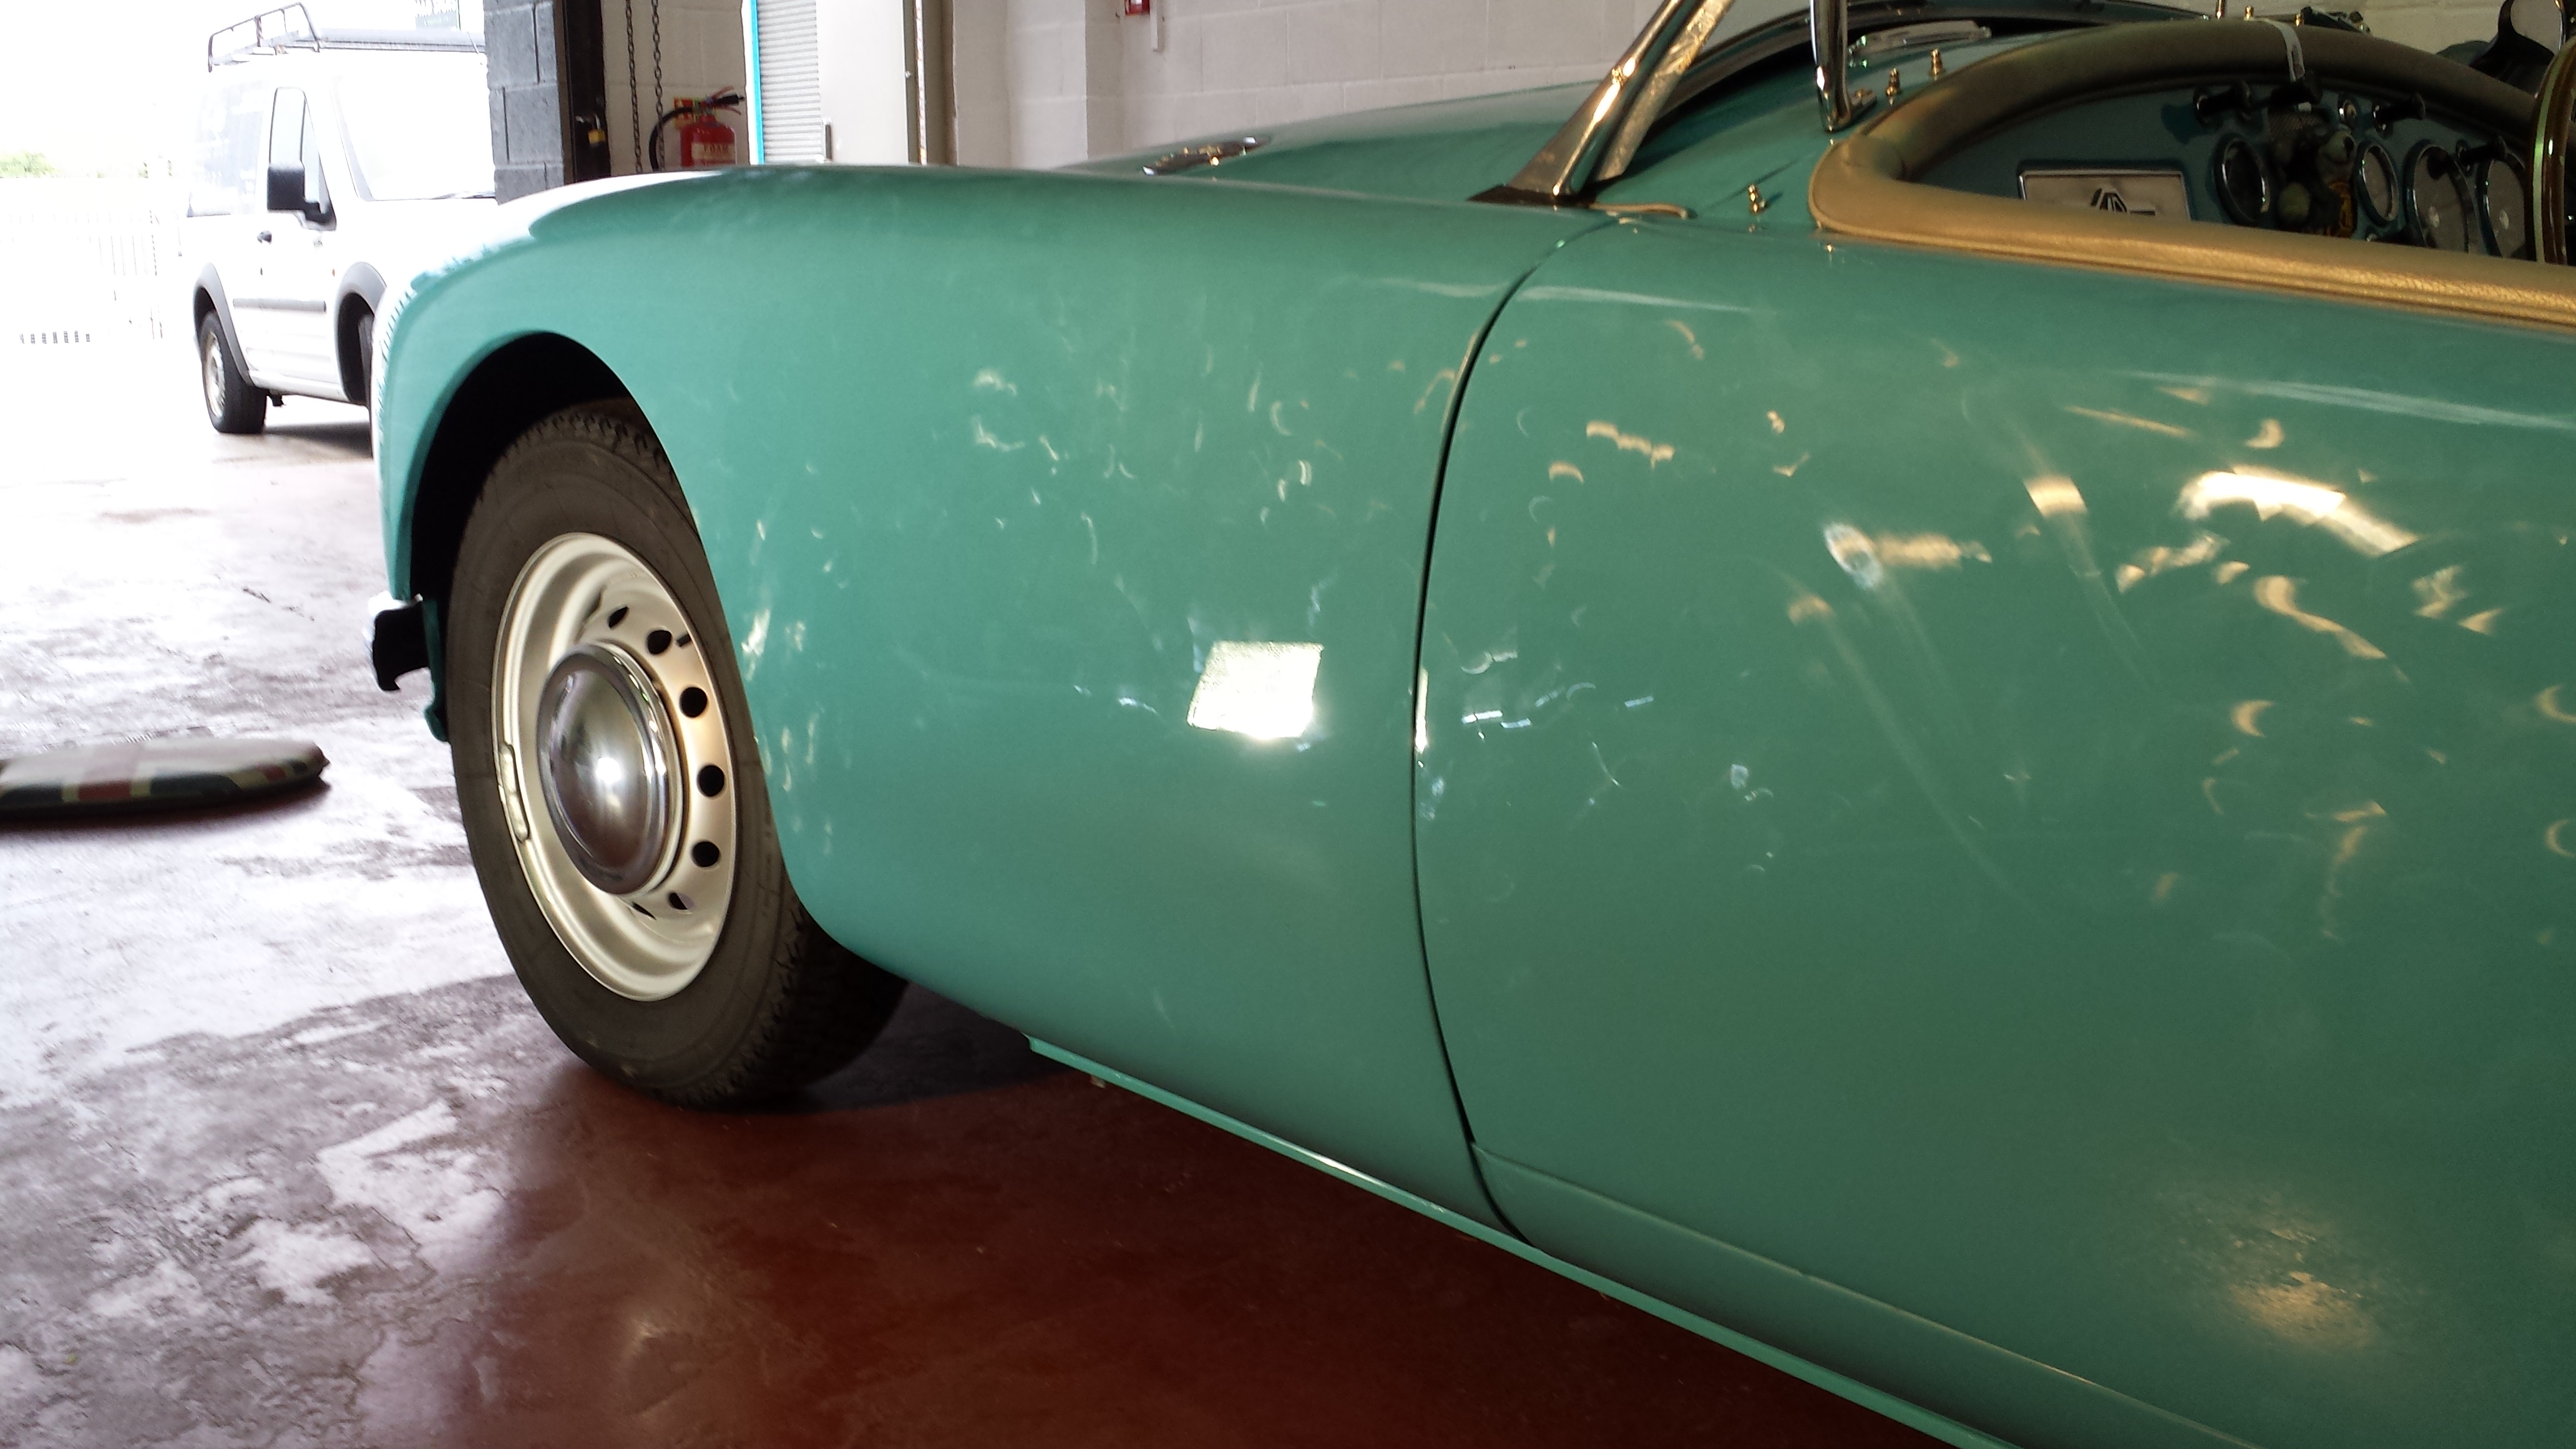
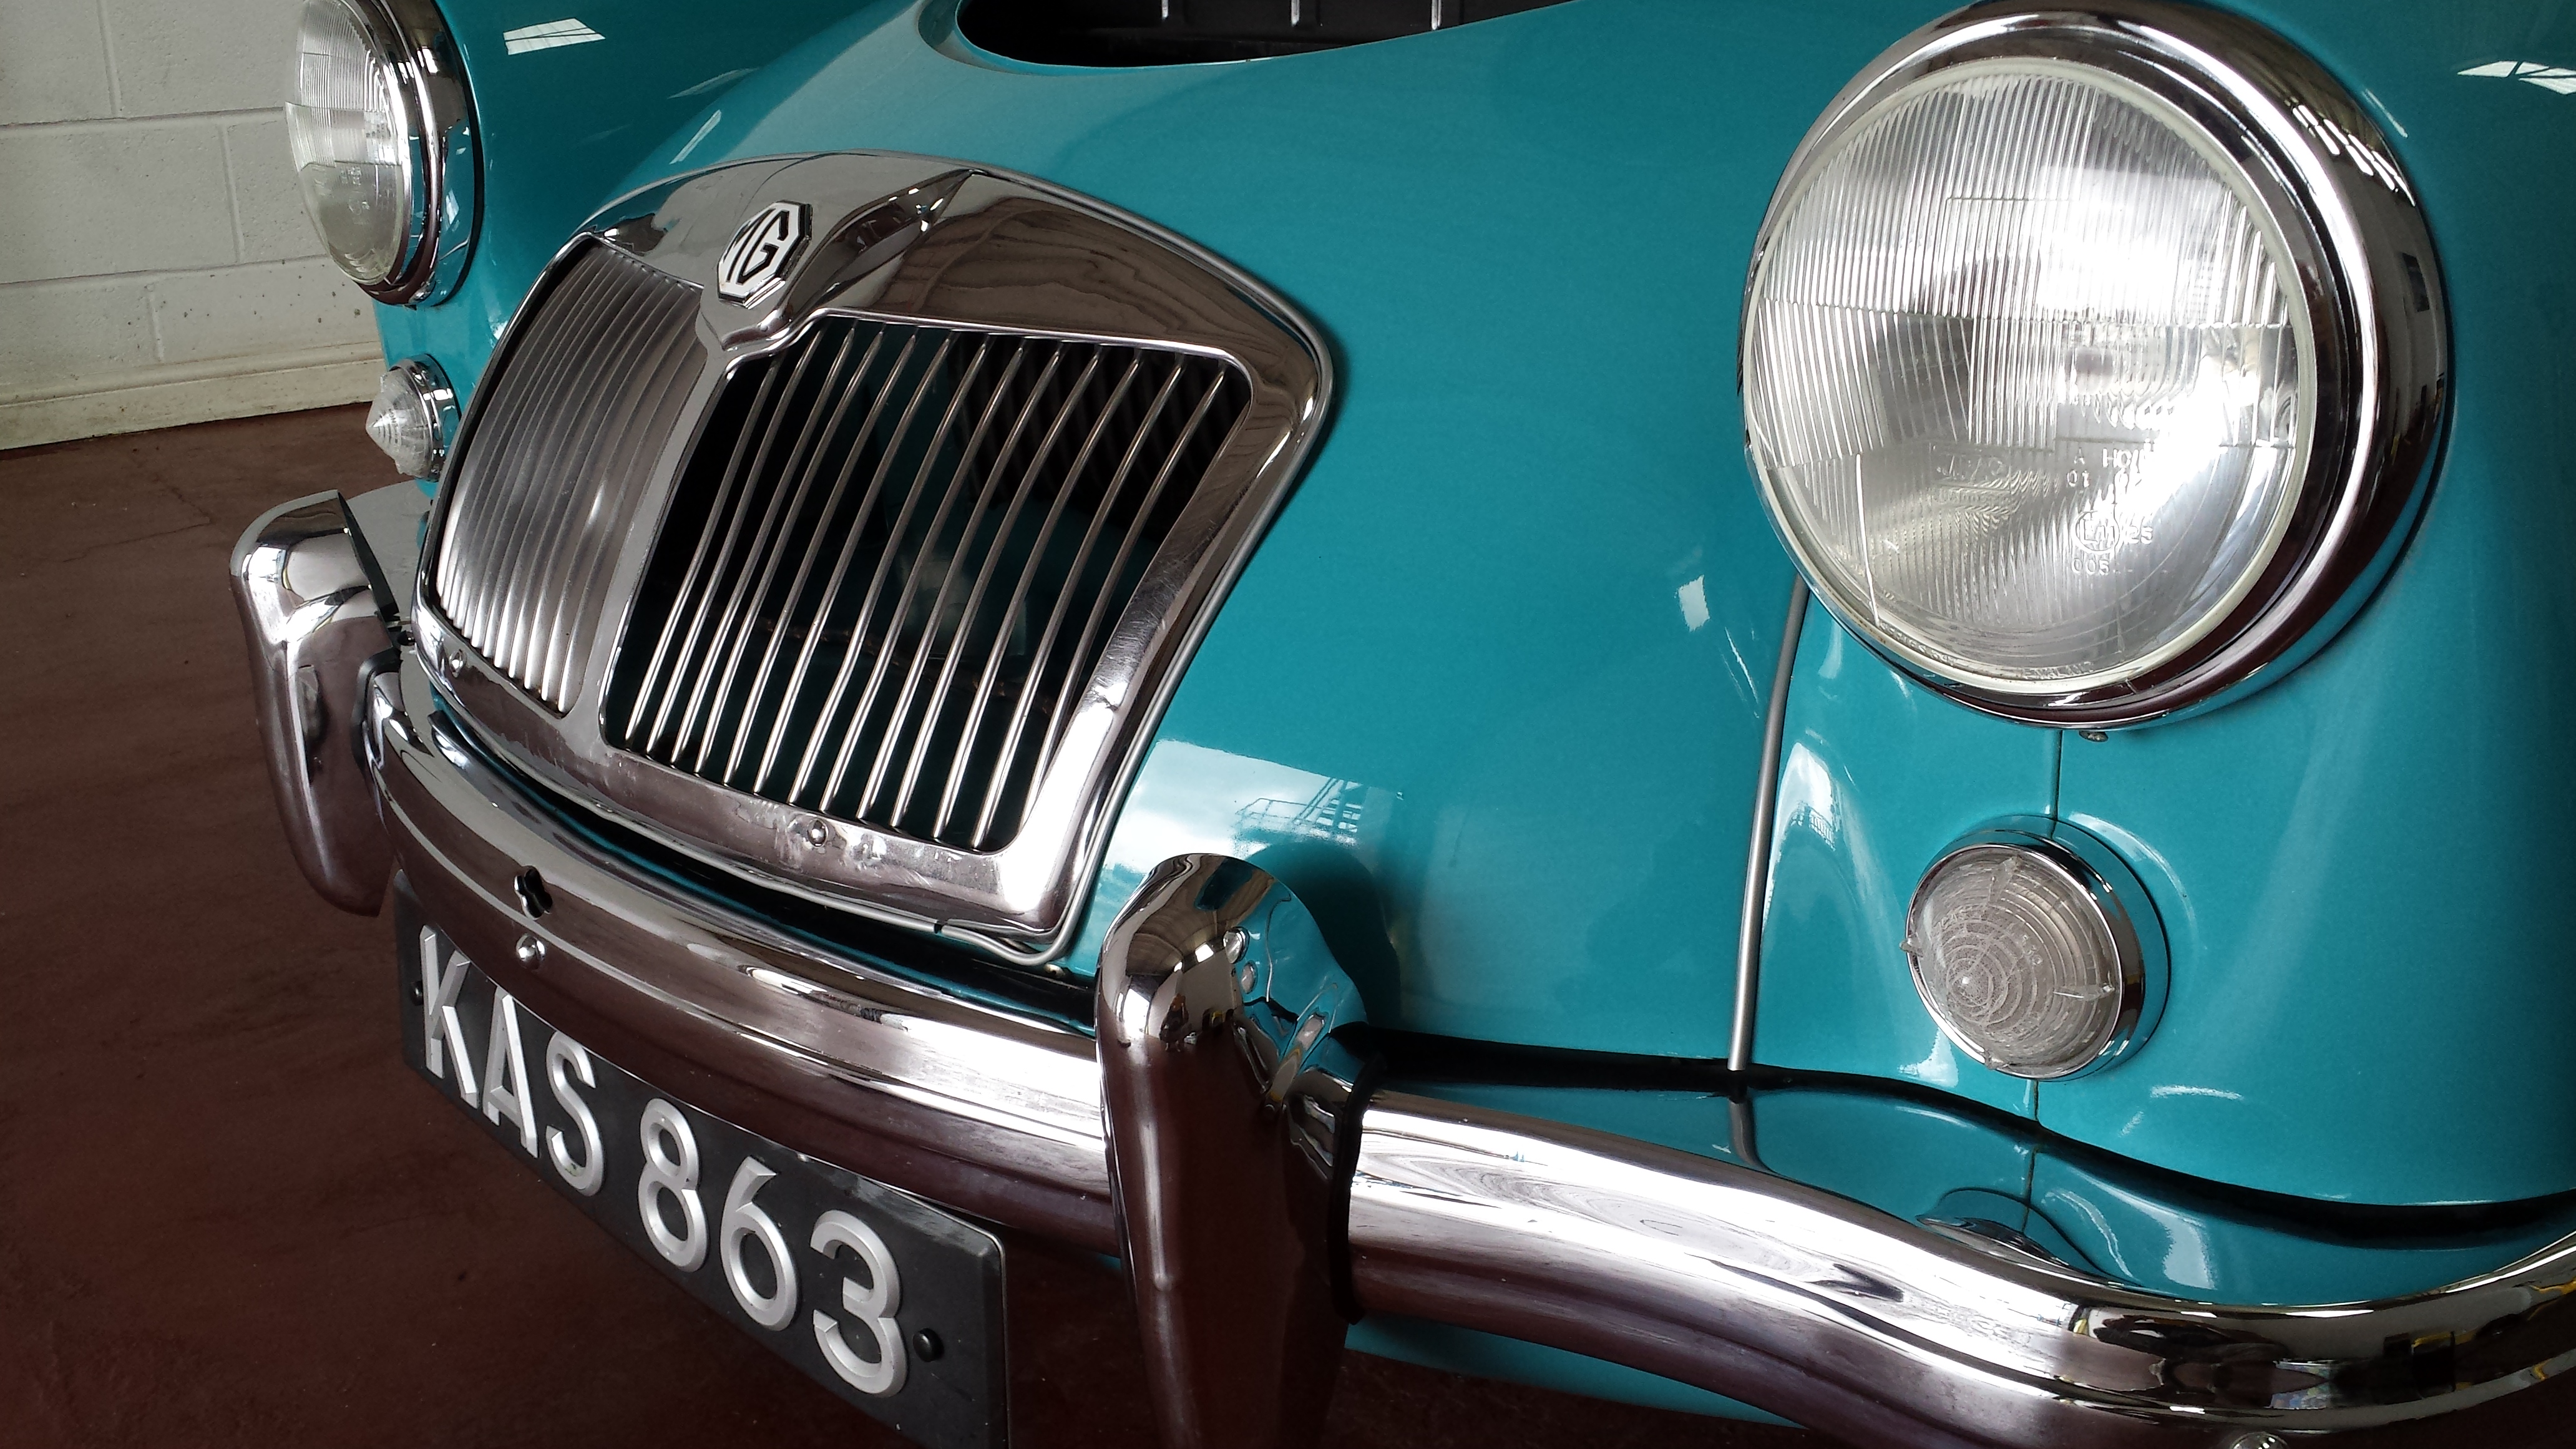
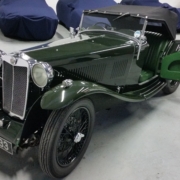
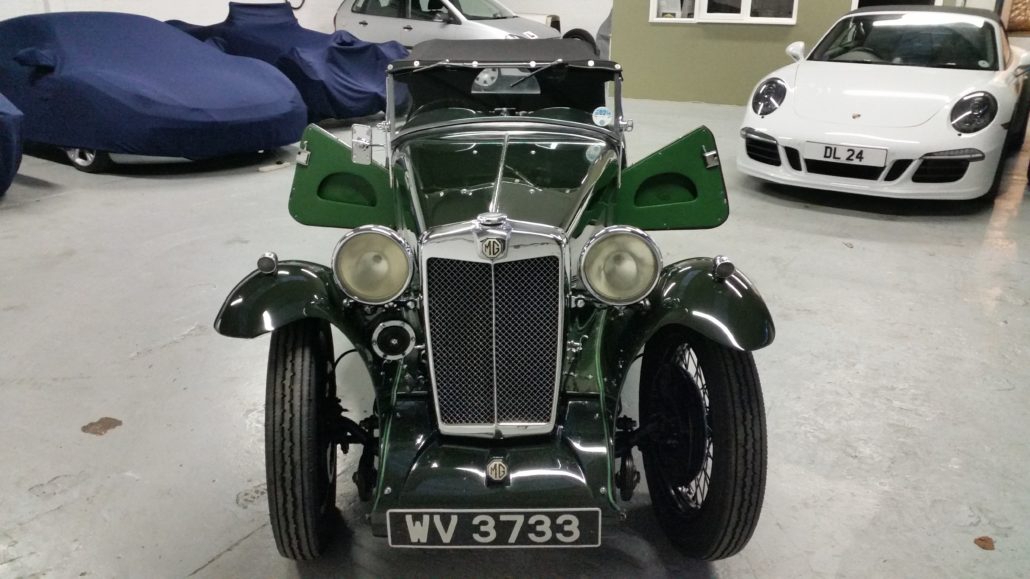
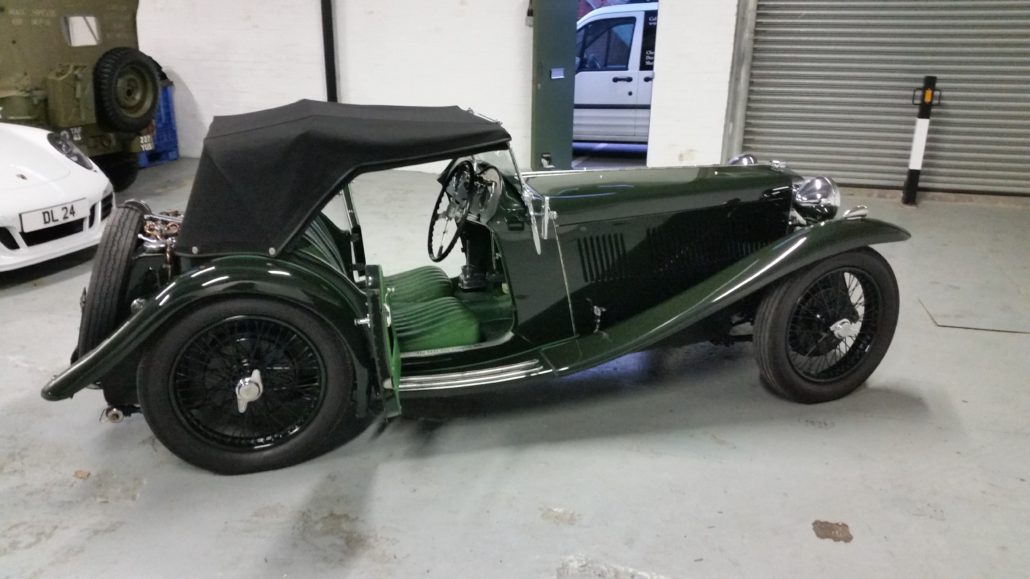
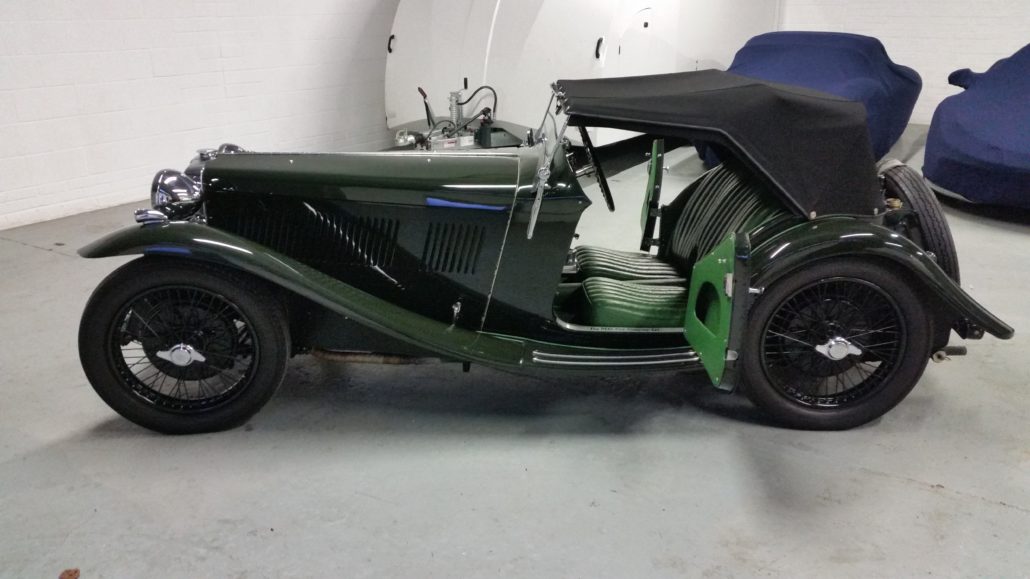
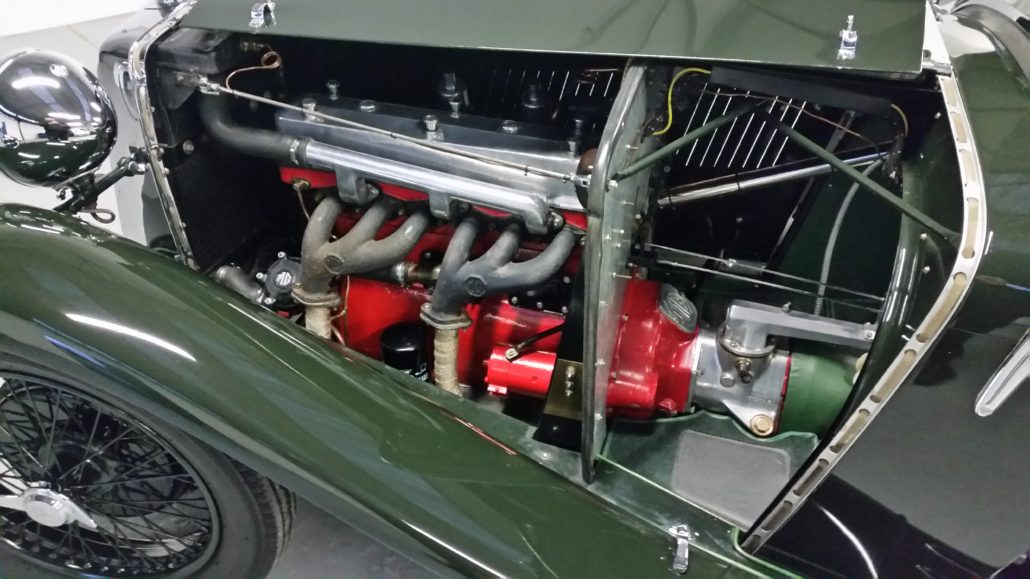
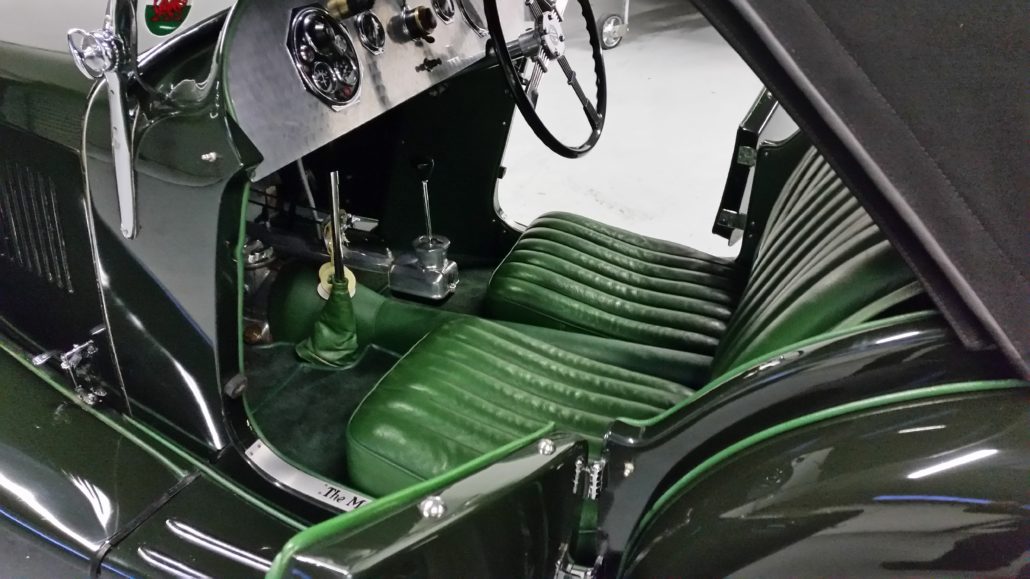
A client contacted me saying he had a few cars which required some detailed care. I called up to see him a few days later and was very impressed with his private collection of vintage and modern vehicles. It was agreed upon that the first car I would work on would be this 1933 MG L2 Magna. It had had a full nut and bolt restoration carried out about 15 years ago and the paint was to be fair, in pretty good condition so an enhancement detail was carried out to bring it back up to a beautiful shine.
Paint measurements were taken once the paintwork had been fully decontaminated, to ascertain how much thickness we had to play with and the results were good across the car. I set about removing the minimal scratches and swirls with a medium compound and pad combination and a few hours later had the required results before finishing off with a coating of supernatural hybrid wax/sealant.
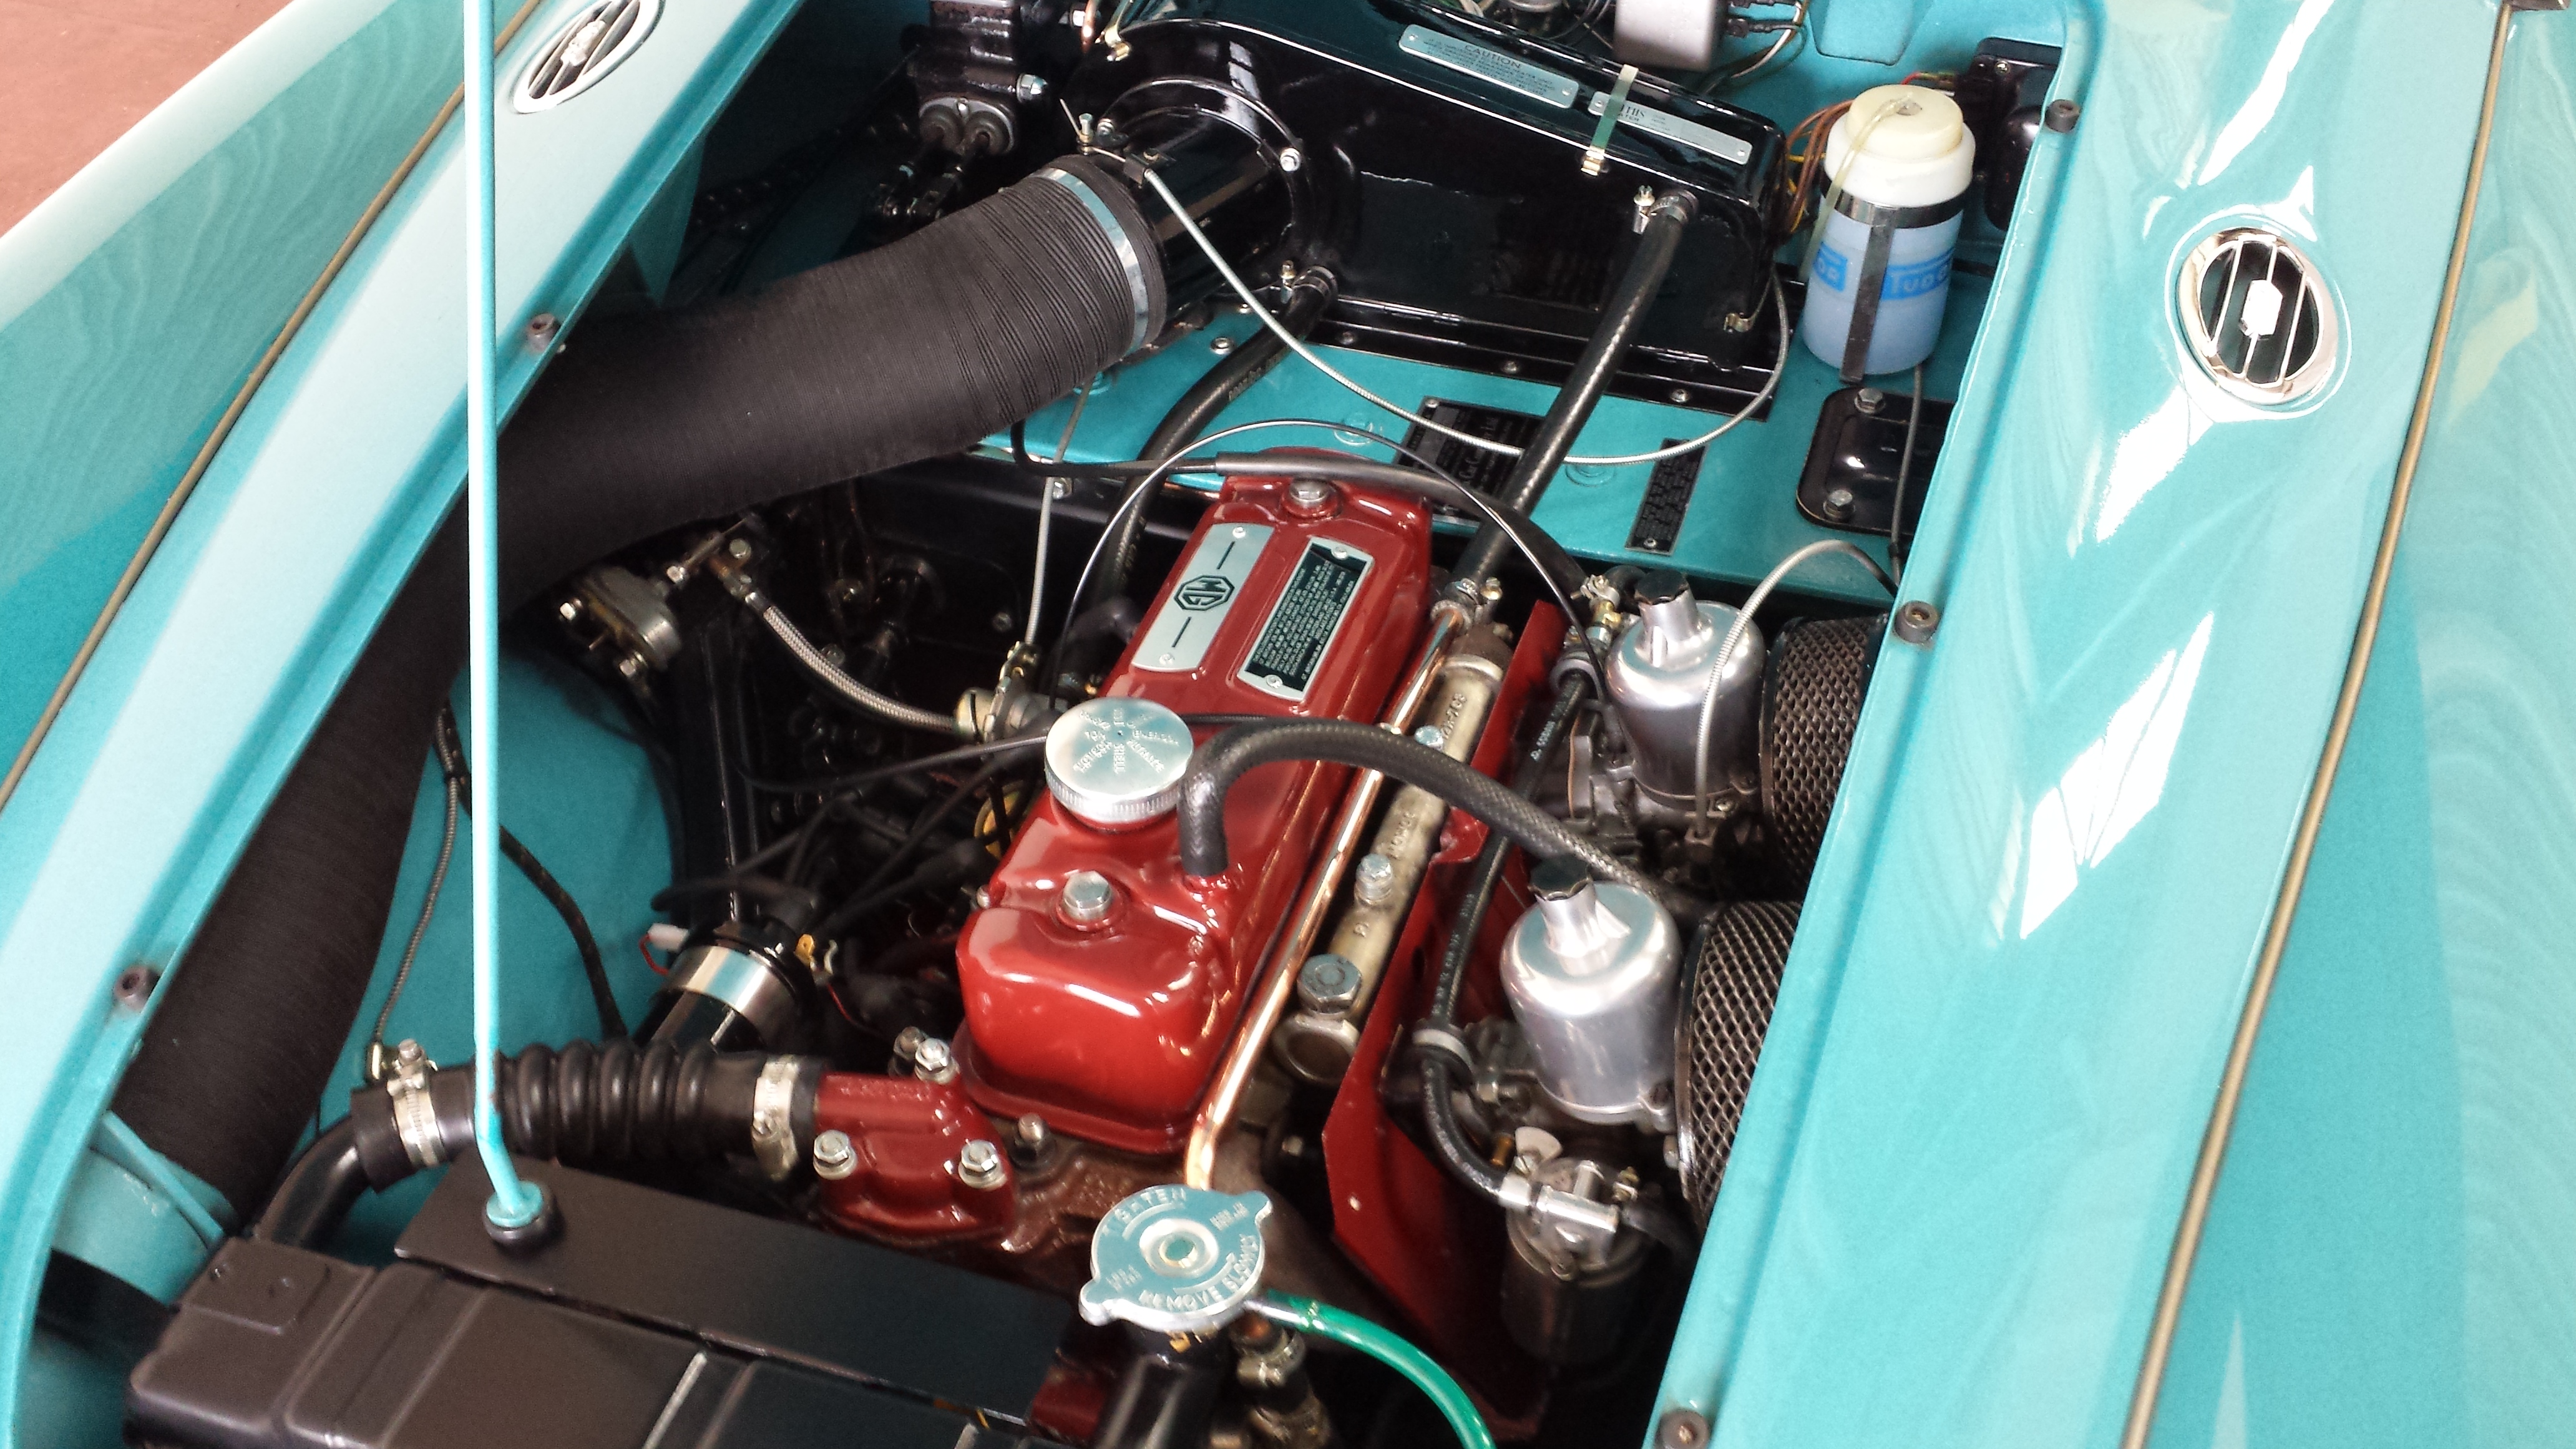
The engine was next on the list and a few hours of Autosol later brought these results.
Moving onto the interior, all the chromework was gently polished with Autosol before the seats were cleaned with a leather cleaner and then conditioned.
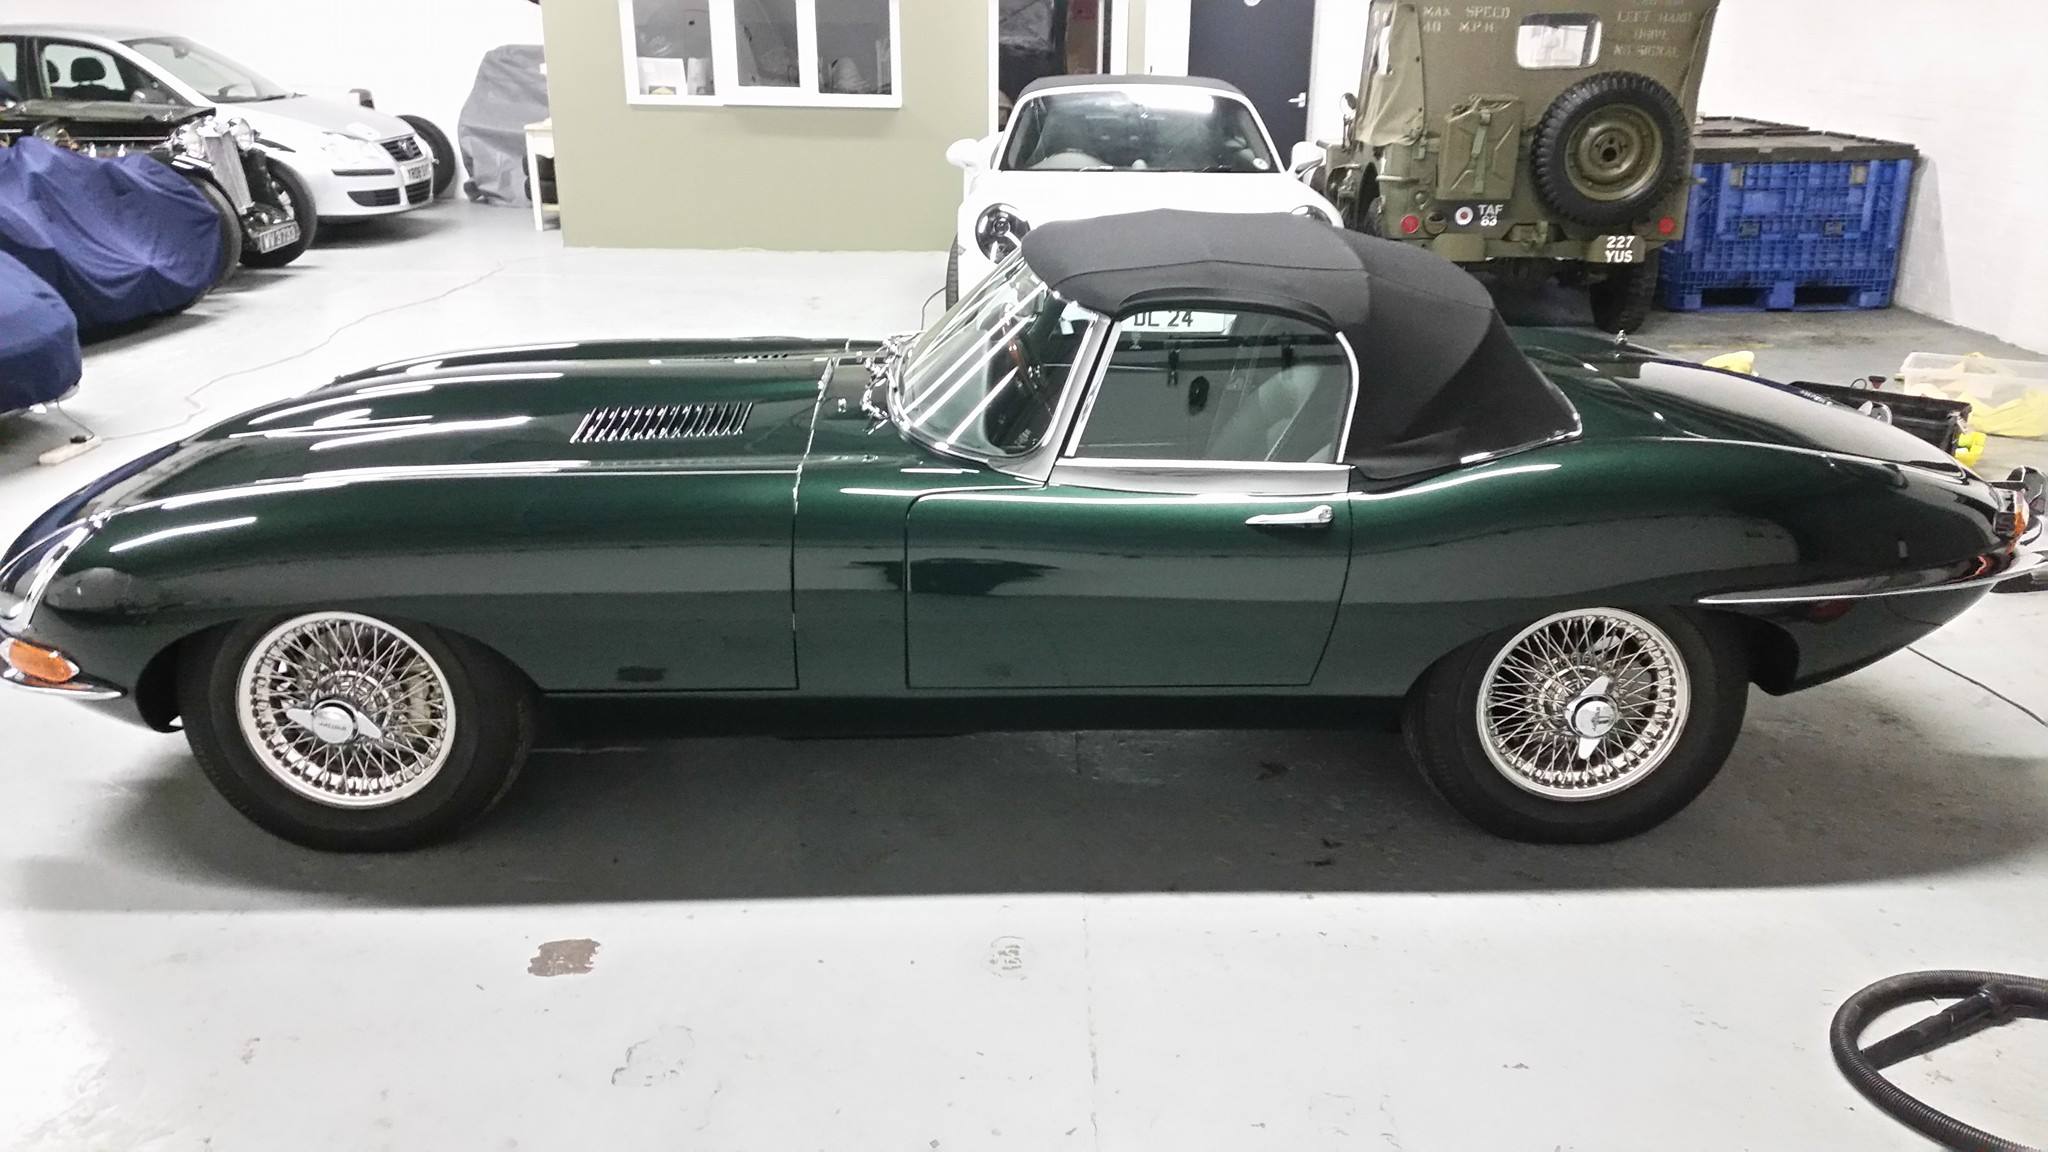
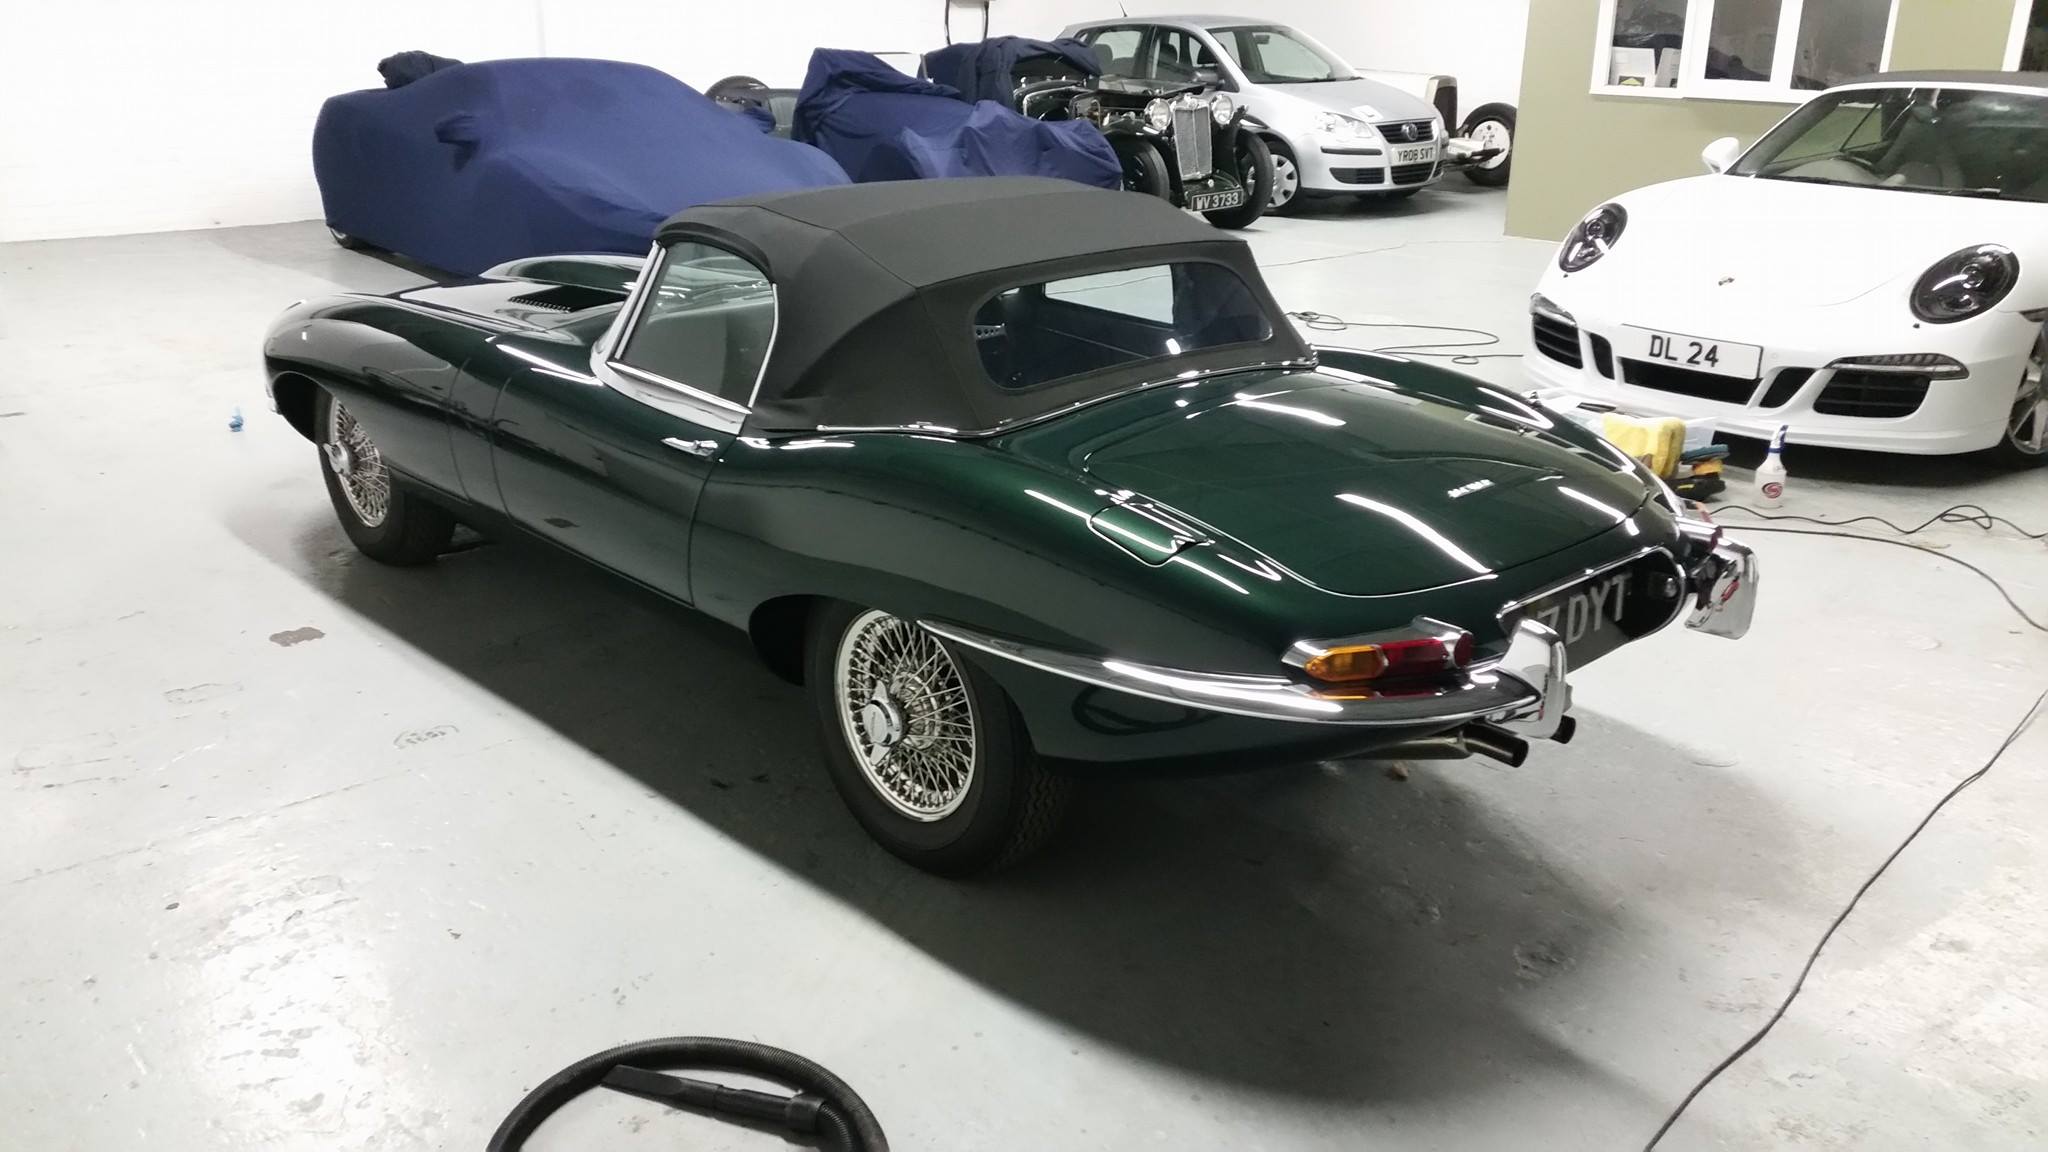
We were given the opportunity to carry out a full enhancement detail on this stunning 1962 E-type Jaguar a while back.
A £200,000 nut and bolt restoration had been carried out previously, so what was required by us here at Reflective Desire, was to bring it to a concours condition by carrying out an enhancement detail on the paintwork, interior and engine bay.
First off, the car was put through a 3 stage decontamination process, which included a clay bar, a de-tar and an application of iron x to remove any industrial fallout. After this, an hour was spent taking readings of the paint depth to ascertain how much clear coat we had to work with. upon realising we had a good thickness of paint, it was decided upon to use a medium to soft pad and medium abrasive compound to remove the light marring and swirls which were noticeable on the paintwork.
Side on view after machine polishing.
Once all of the machine polishing was finished, a layer of “Swissvax Best of Show” was applied to the paintwork. The interior was hoovered and cleaned, before protection was applied and the hood was washed and sealed using a hydrophobic coating.
A fine collection of vintage and modern day sportscars.
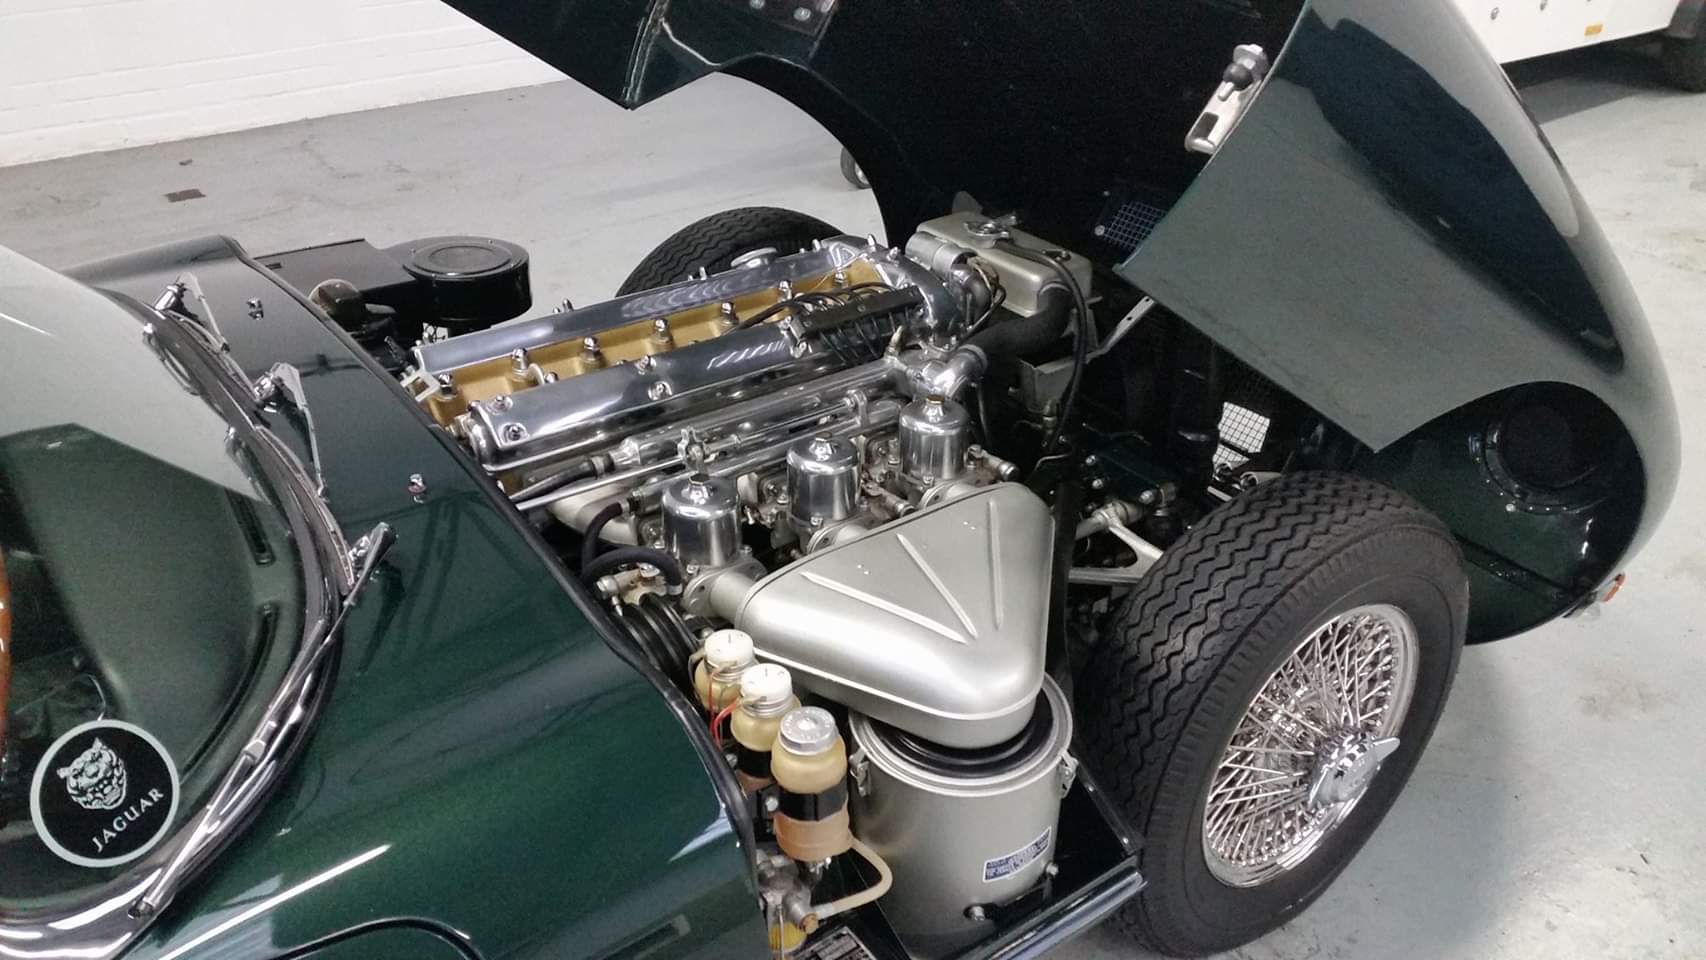
Onto the engine bay, all hoses and pipes were cleaned dressed and polished, using degreaser, Autosol and detail spray and the underside of the bonnet, another coating of “Swissvax Best of Show”.
Jaguar E-Type engine bay after detailing.
A thoroughly clean engine bay.
https://www.reflectivedesire.co.uk/wp-content/uploads/2019/06/FB_IMG_1556821213436.jpg9601706adminhttps://www.reflectivedesire.co.uk/wp-content/uploads/2024/08/reflective-desire-300x161-2.pngadmin2019-06-14 15:34:172019-06-14 15:34:171962 Jaguar E Type 3.8 Series 1. Enhancement detail.
Ferrari followed up their 599 sports car with the new F12berlinetta in 2012. The F12 berlinetta is the most powerful high-performance road car Ferrari has ever launched. It was designed by the Ferrari Styling Center in cooperation with Pininfarina and is said to be “a perfect balance of uncompromising aerodynamics with harmonious proportions interpreting the typical elements of Ferrari’s front-engined V12 cars in an original and innovative way.” The F12 berlinetta is powered by a V12 engine with an impressive output of 740 HP – an increase of 120 HP over the previous 599 GTB Fiorano. This increase in power also comes with a decrease of fuel consumption, specifically a 30% reduction. With a total weight of just 3362 lbs, the F12berlinetta will sprint from 0 to 60 mph in just 3.1 seconds, while top speed goes up to over 211 mph. Ferrari has also announced that the new model lapped the Fiorano circuit in 1:23, faster than any other Ferrari road car.
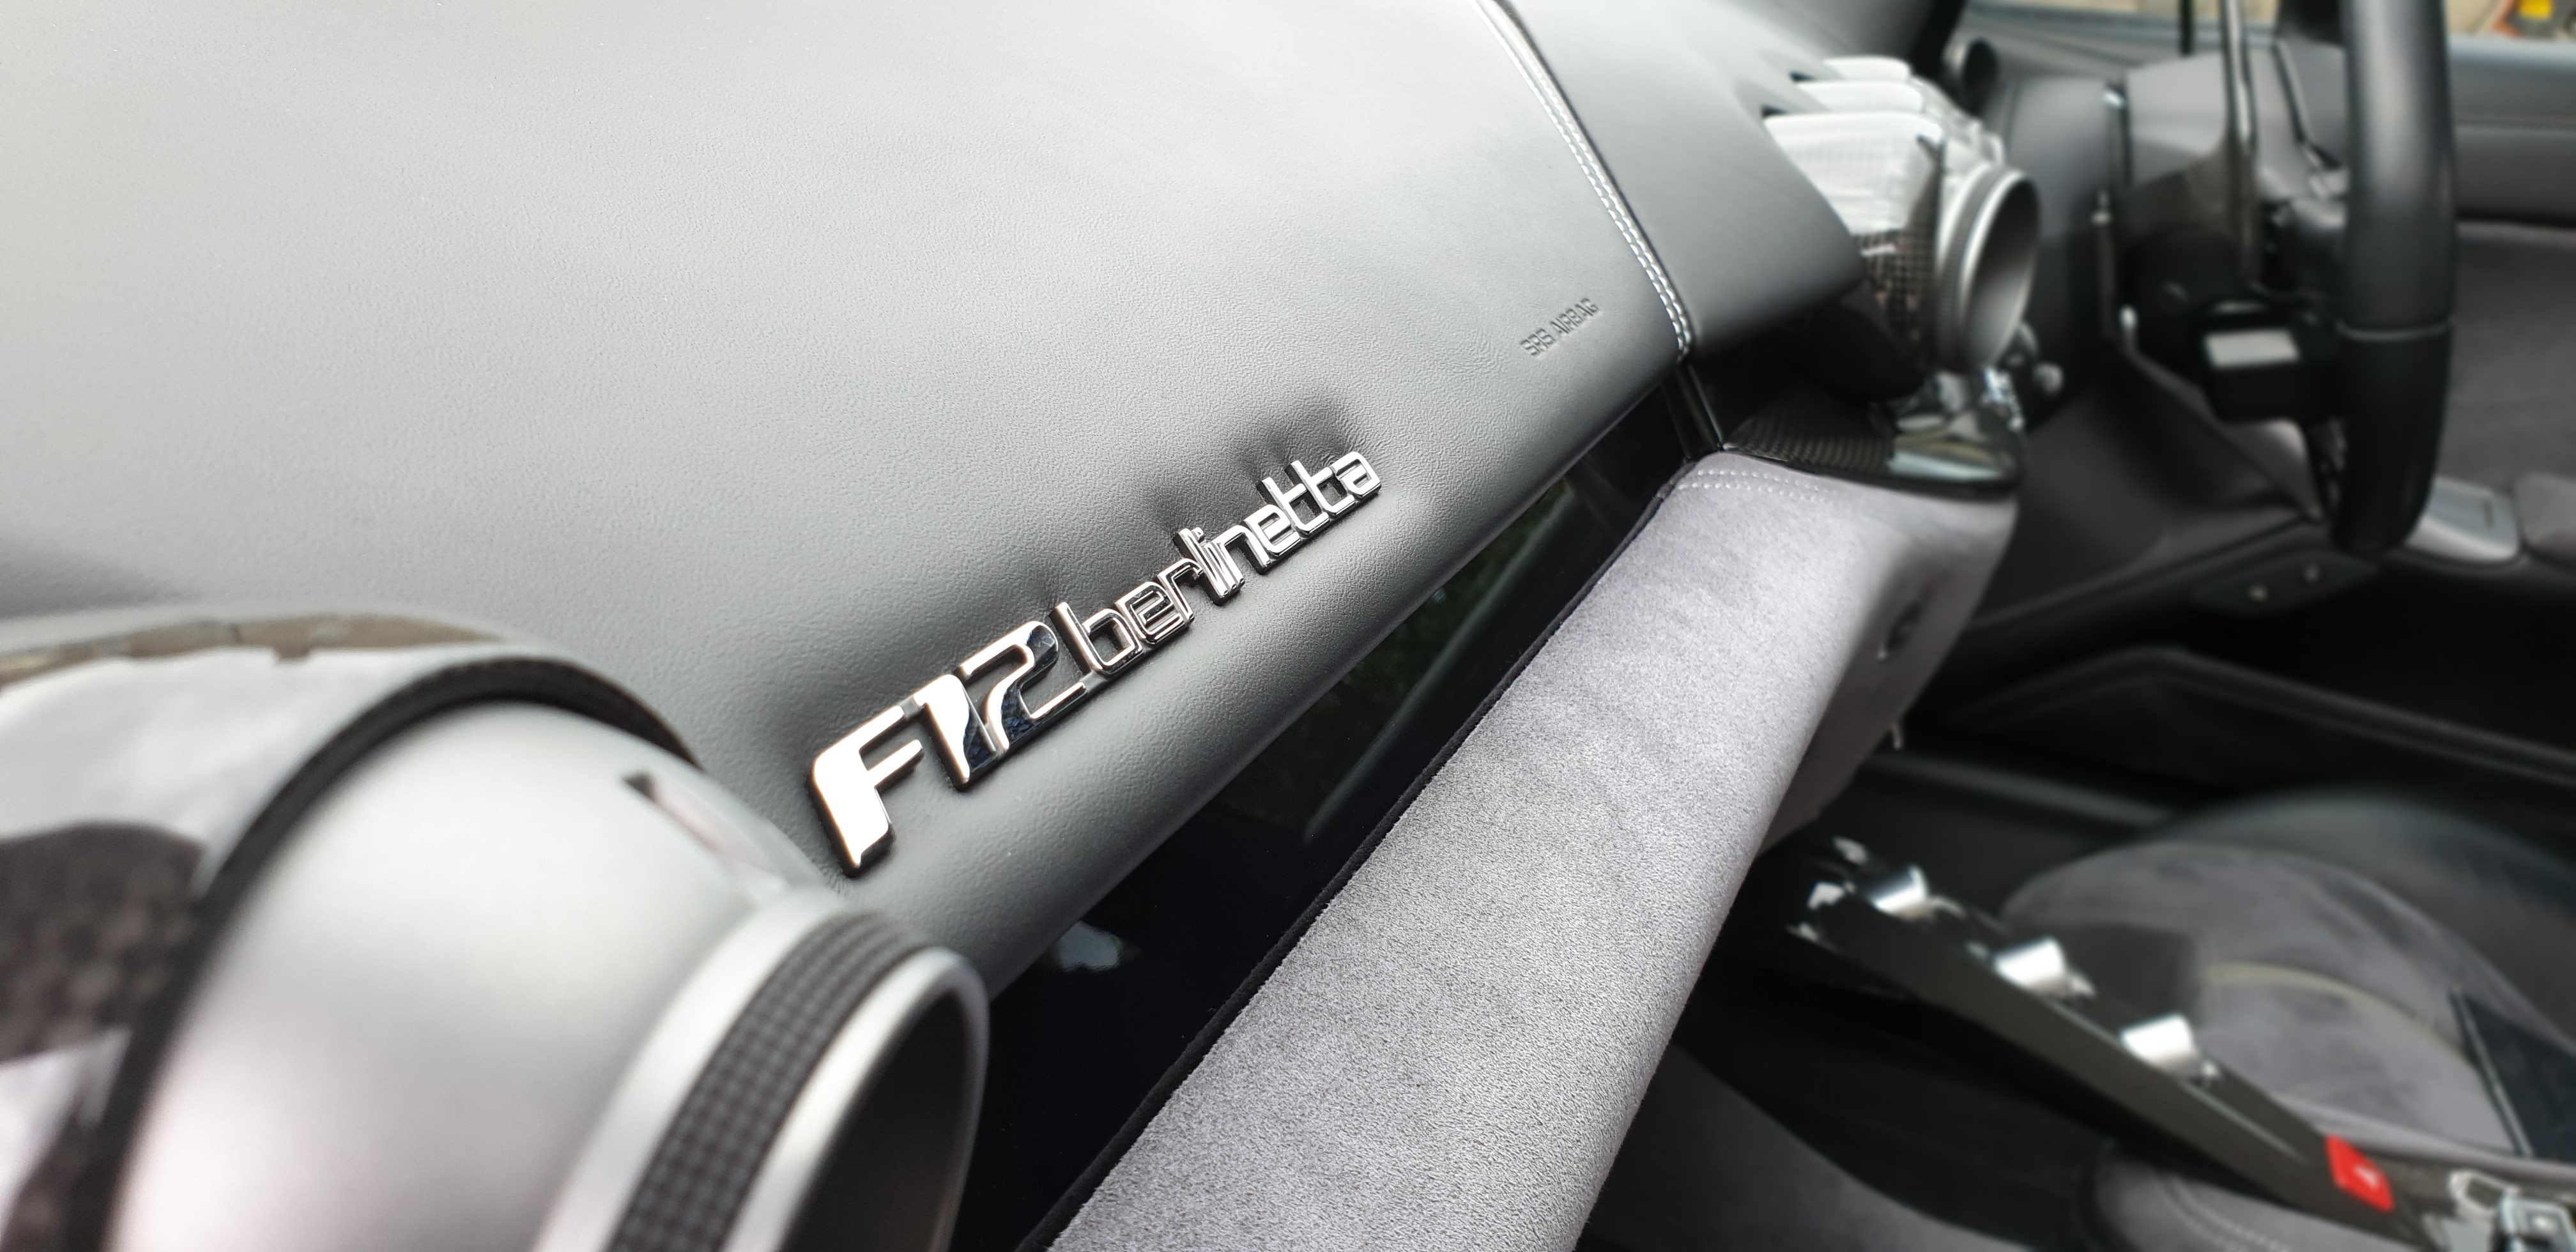
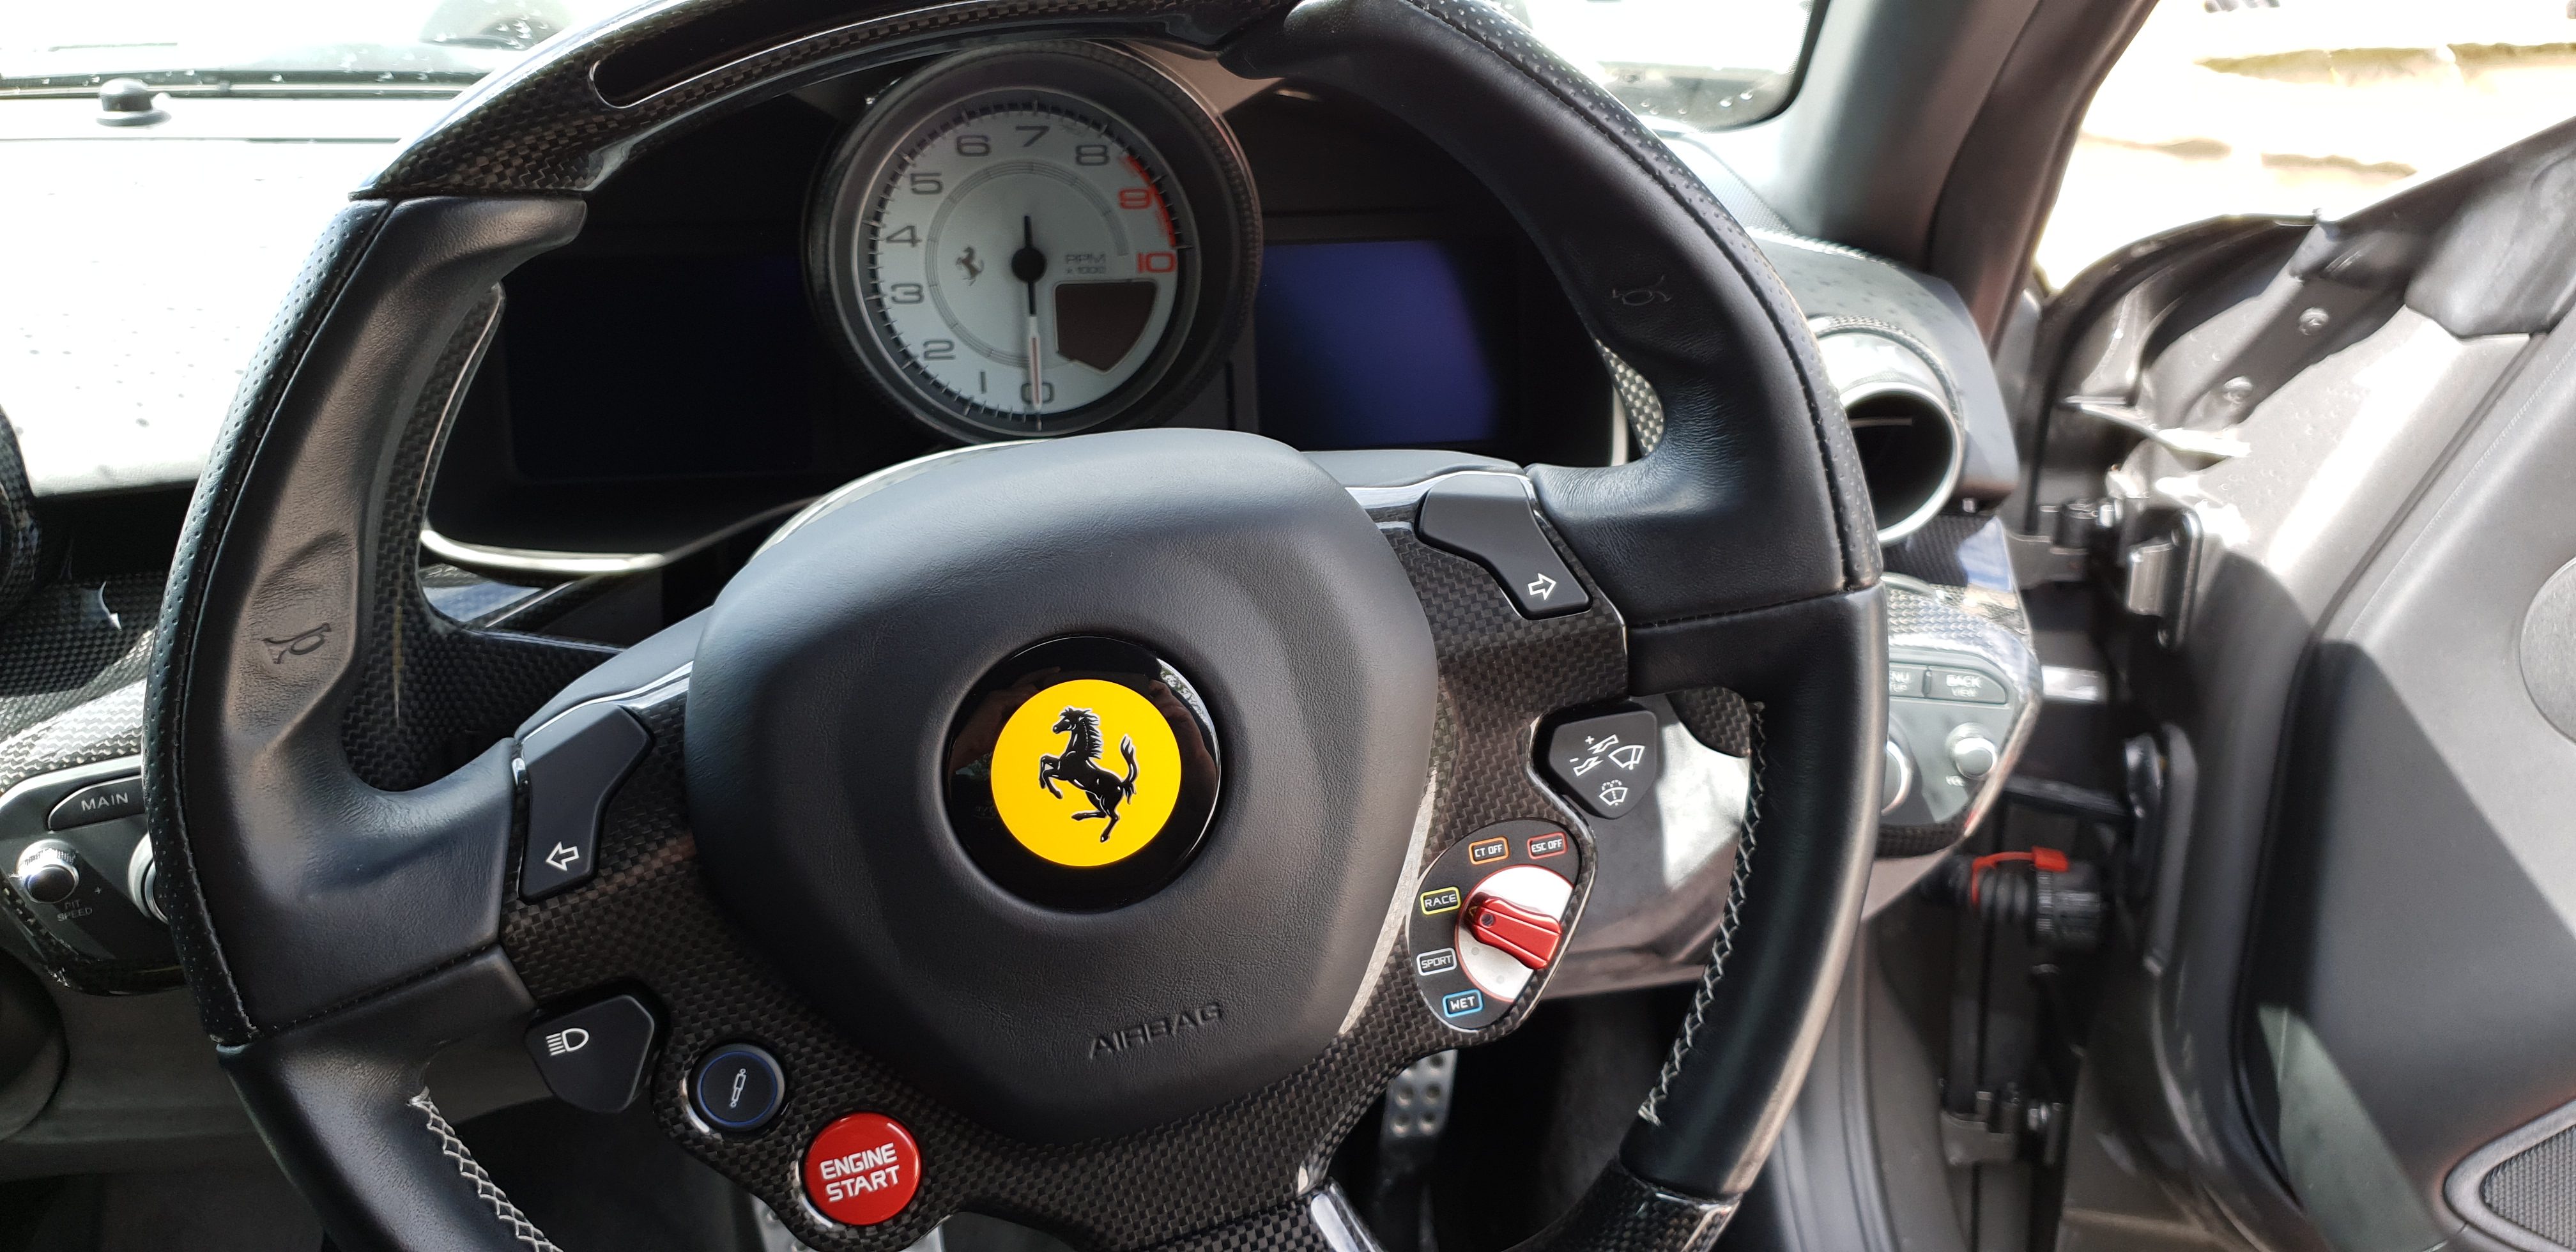
Ferrari F12 dashboard
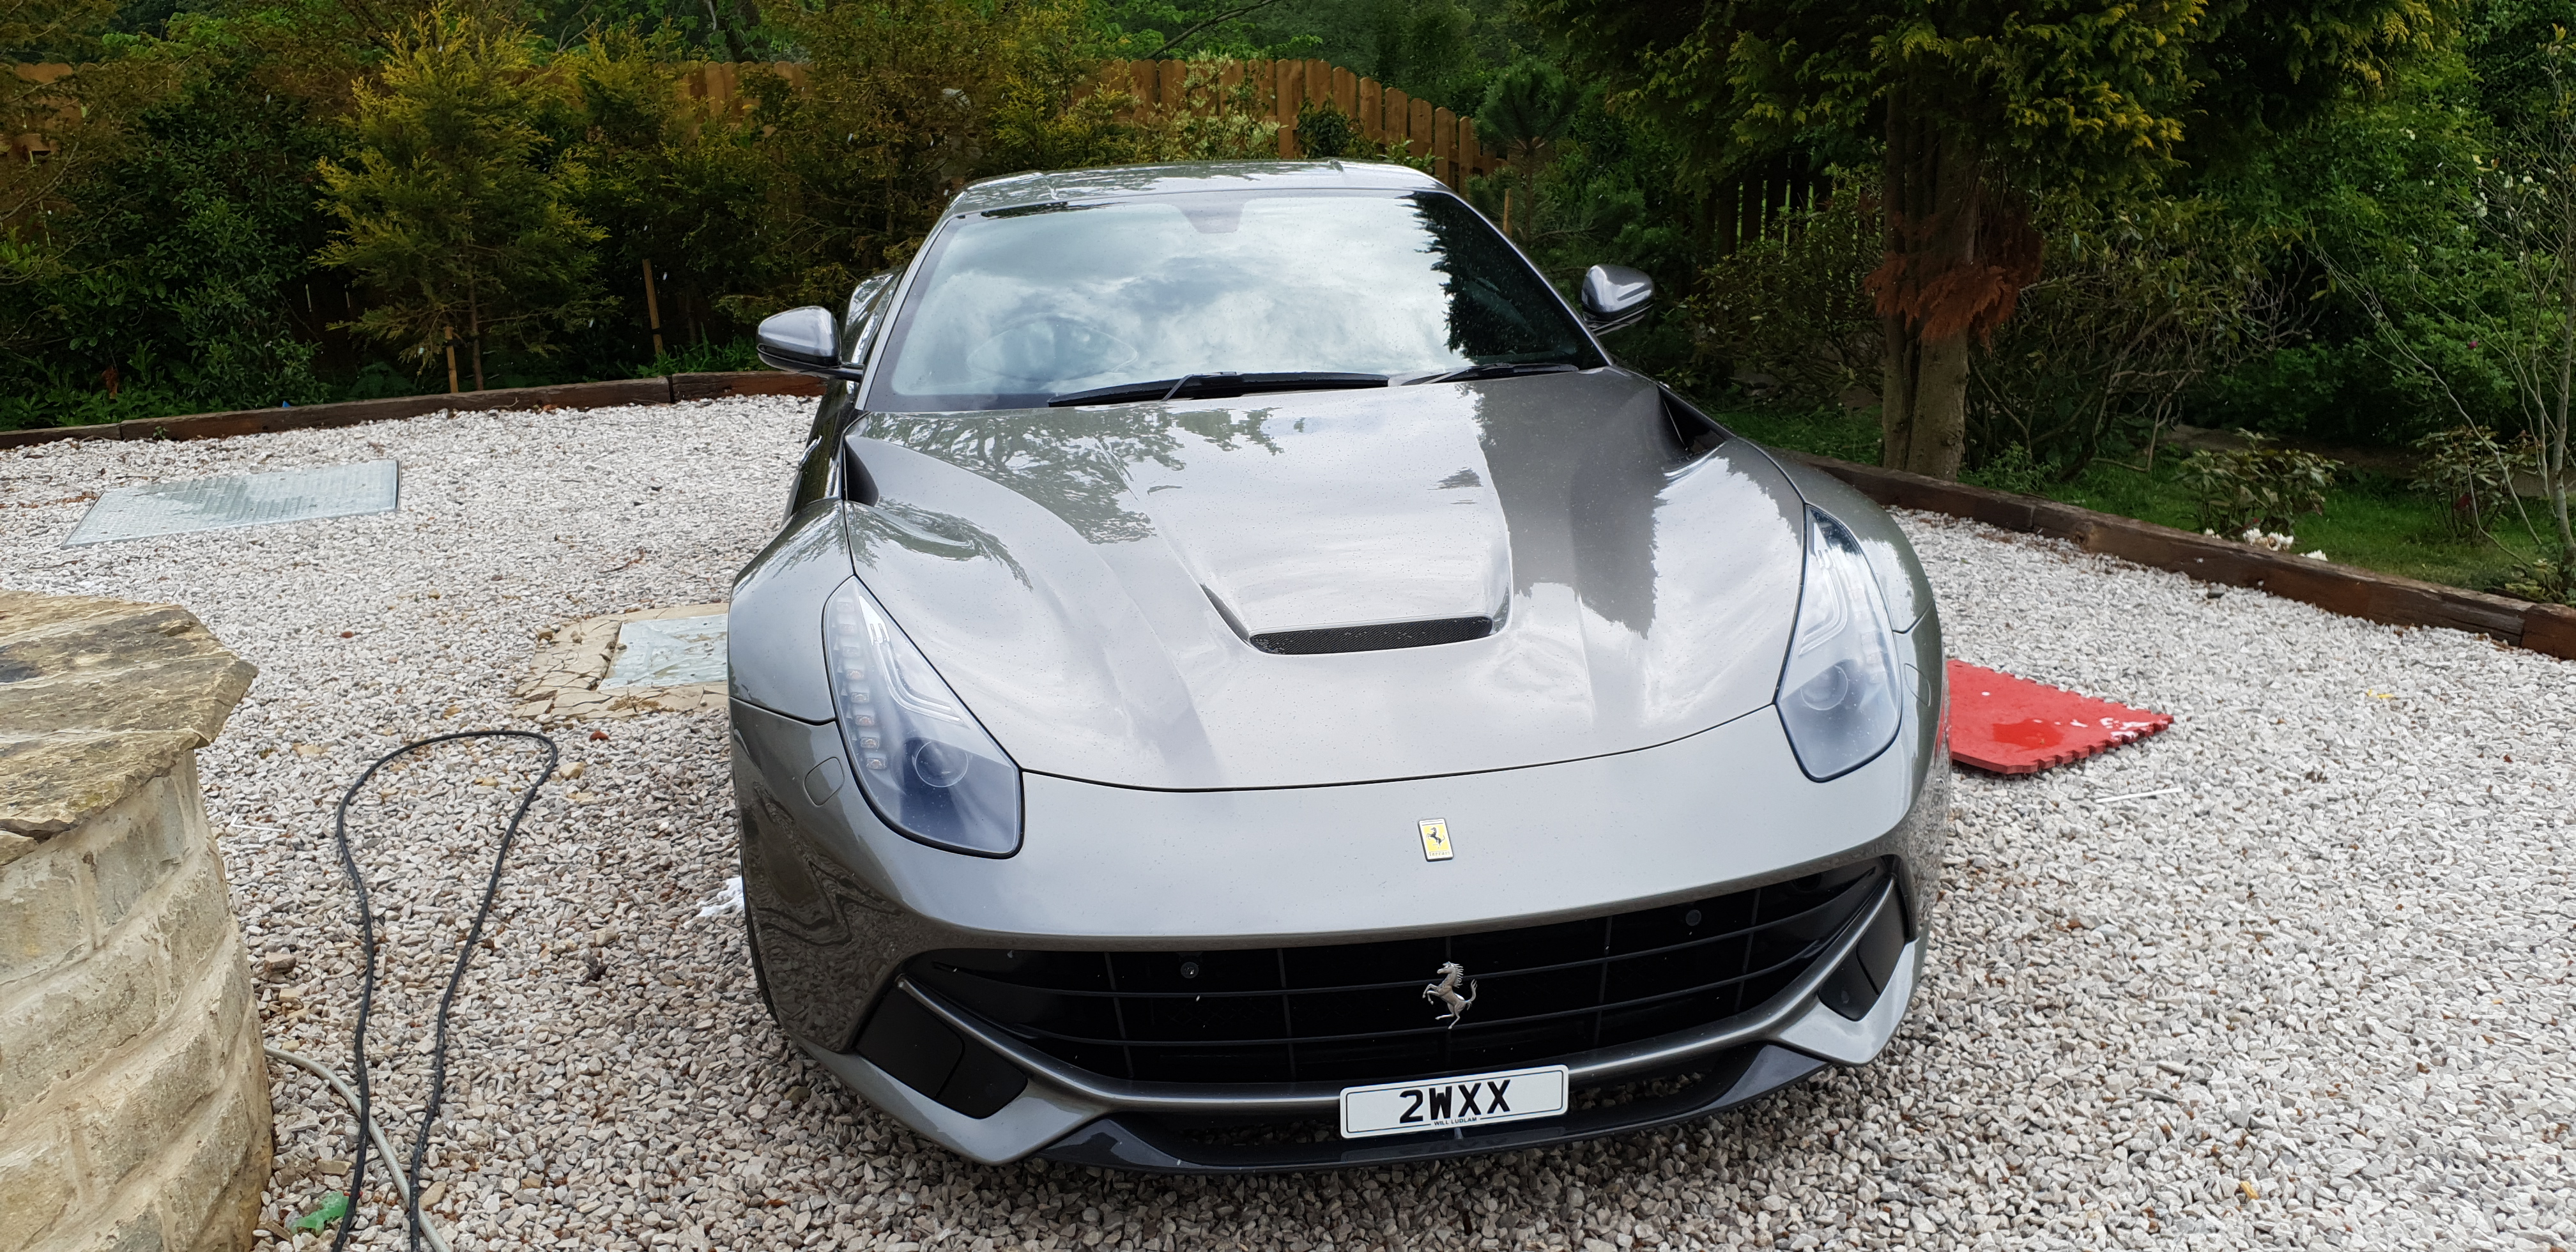
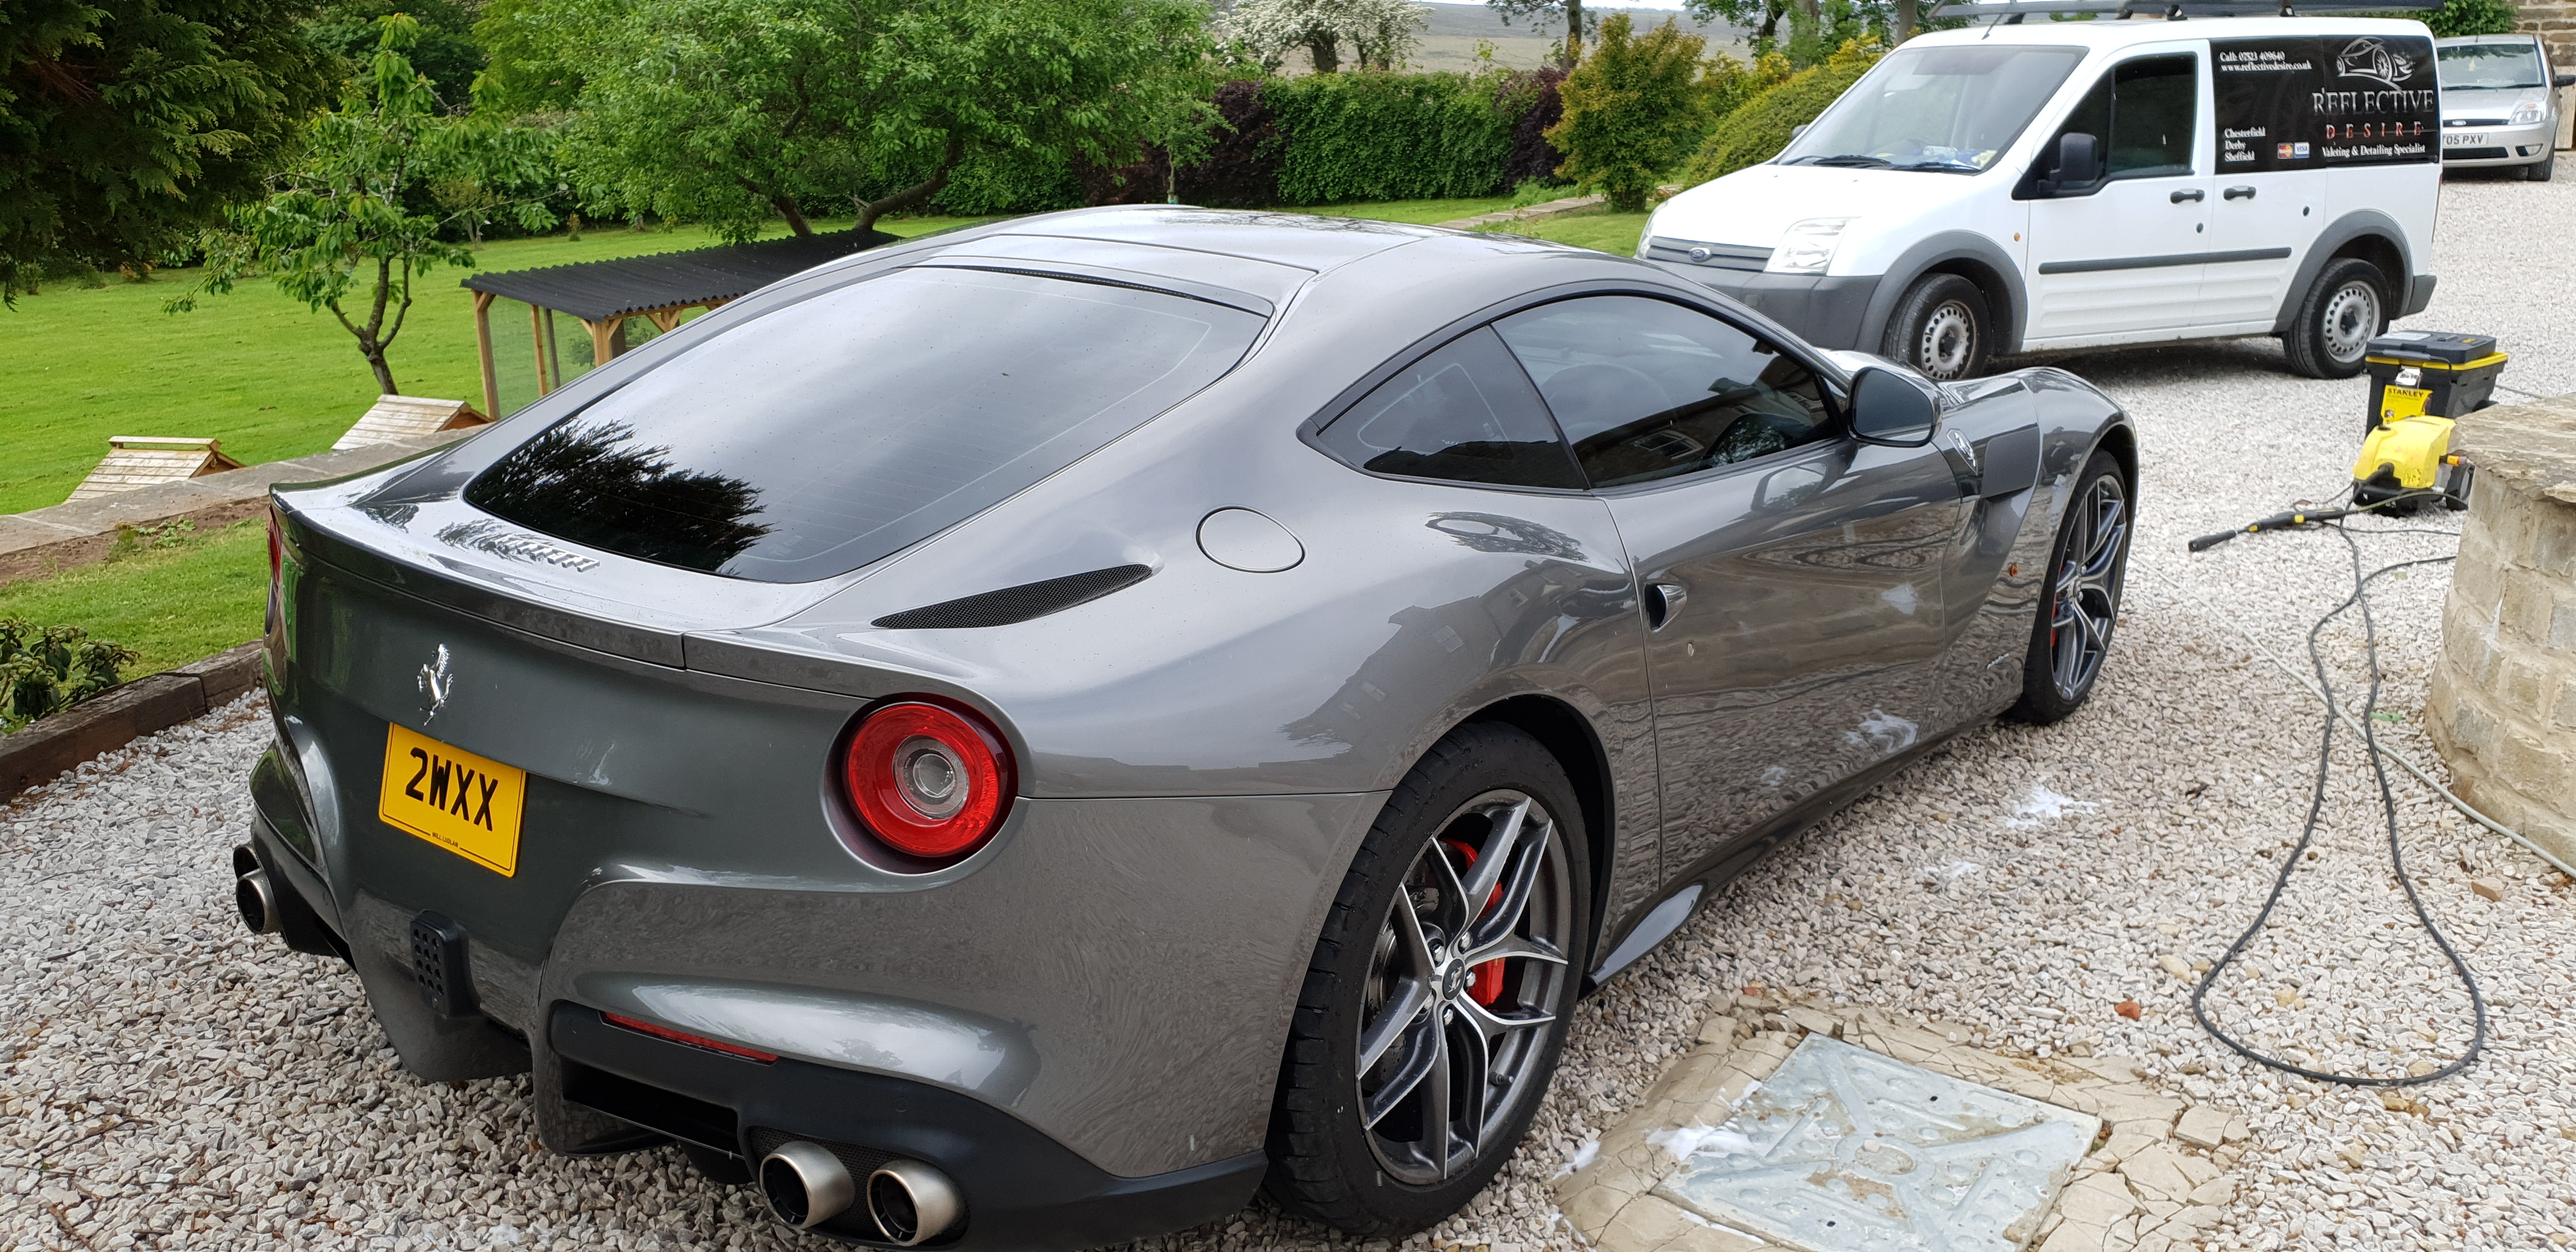
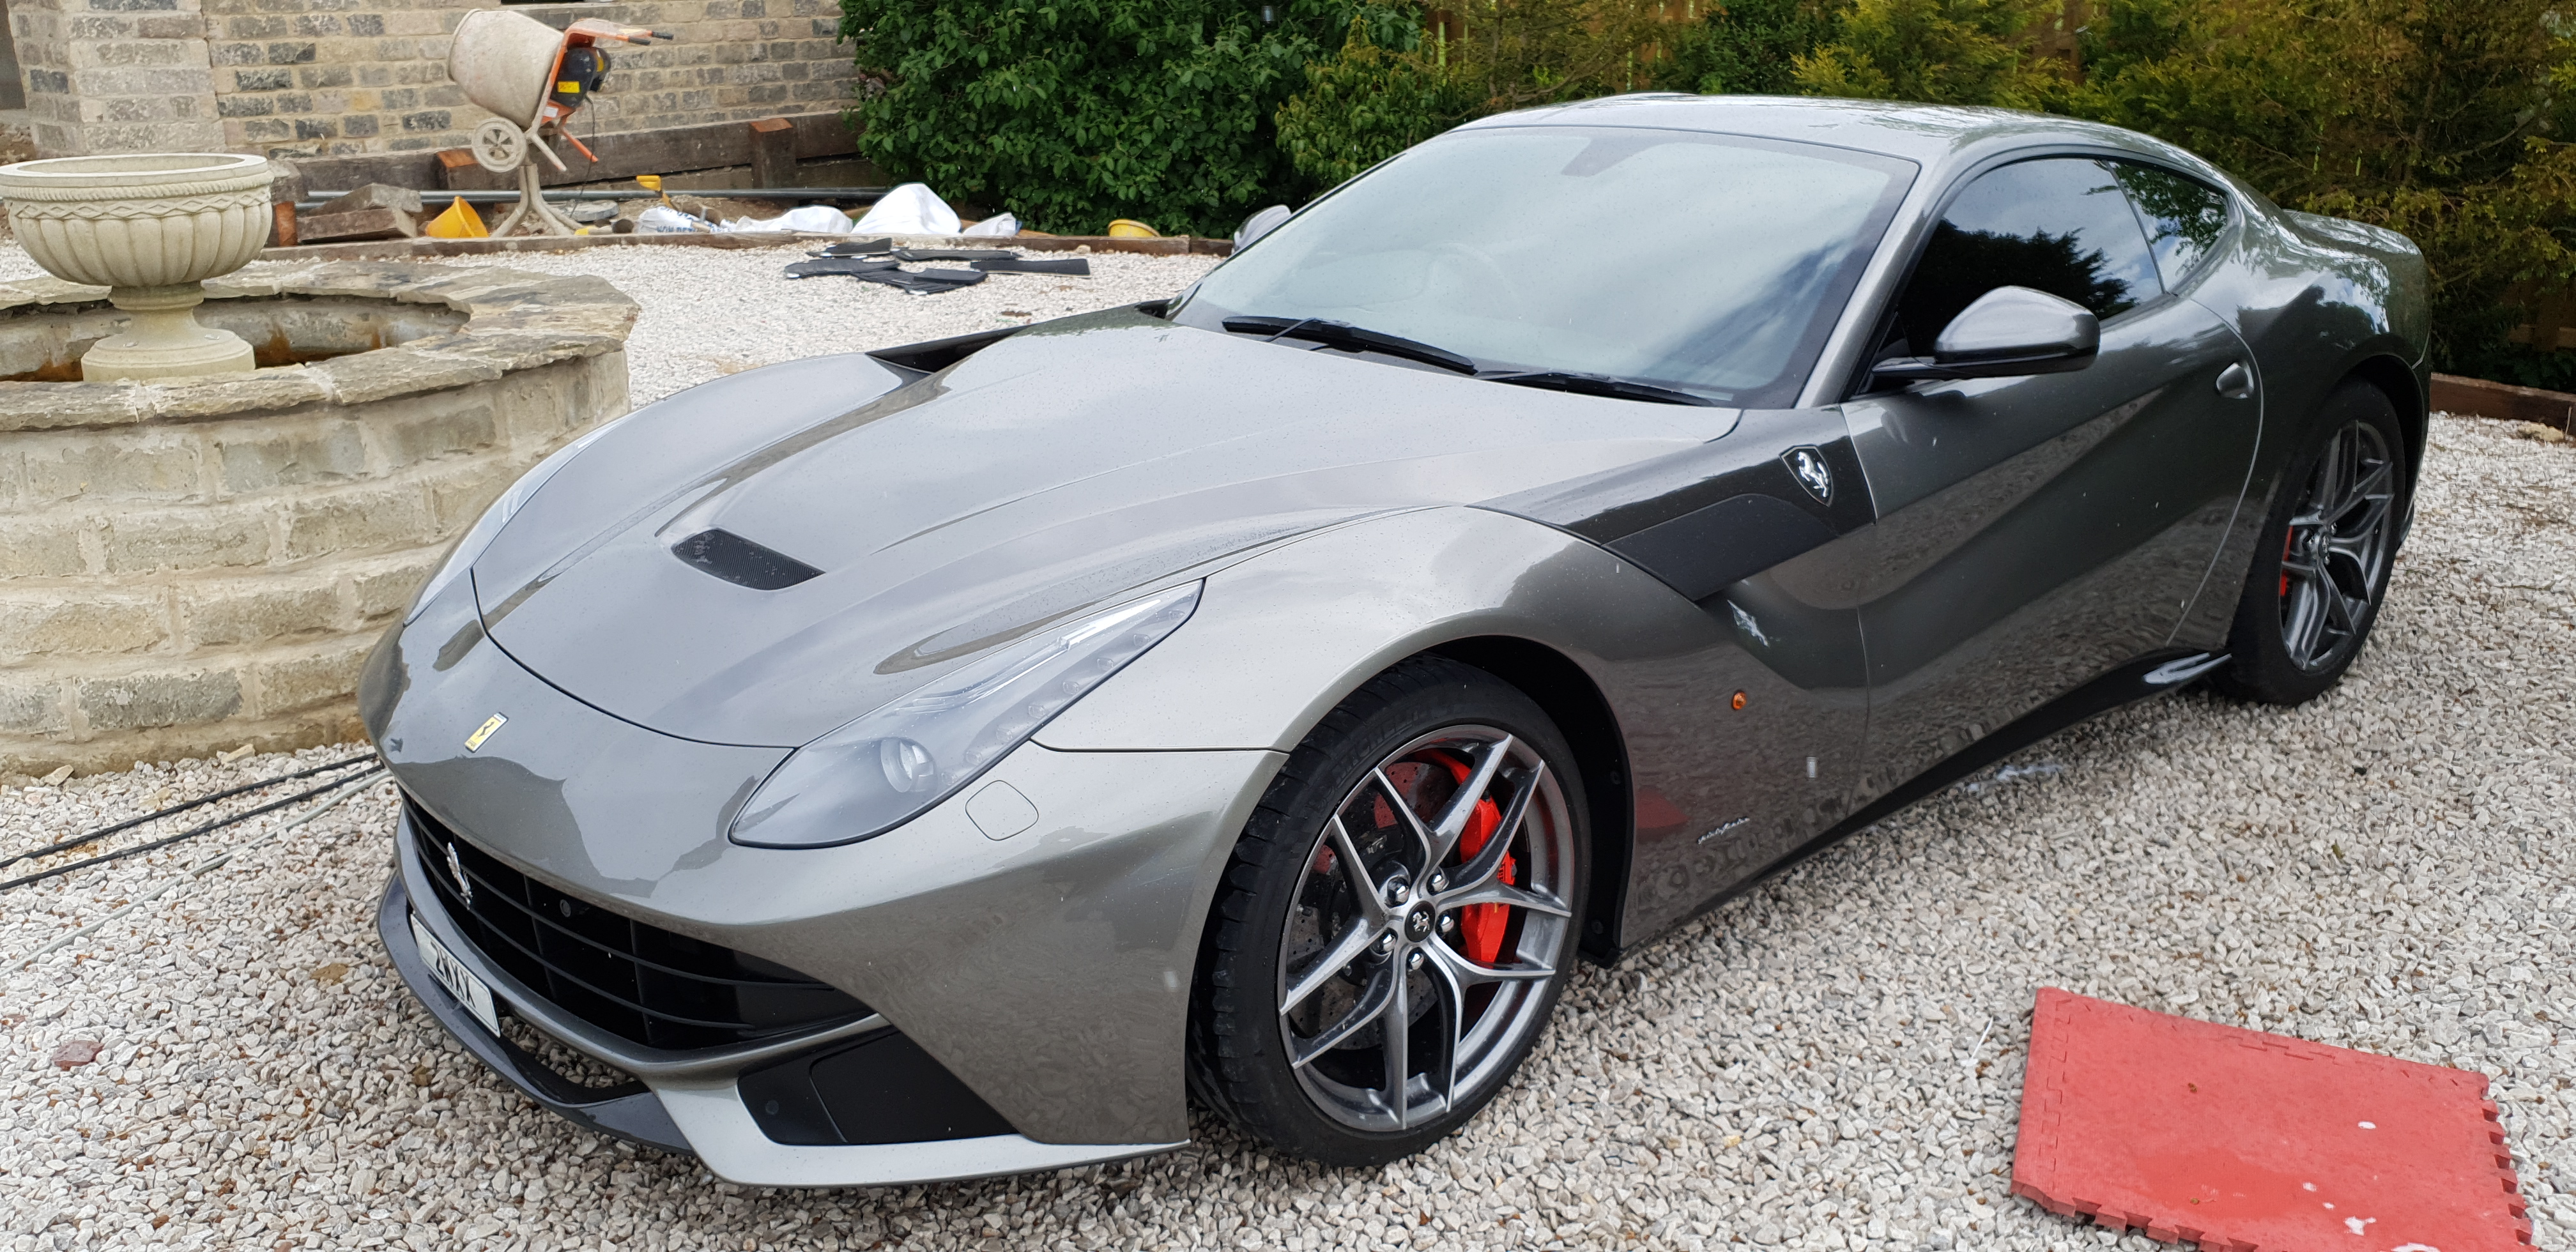
We were given the job of cleaning this lovely F12 Berlinetta AB S-A. A manufacturers PPF (paint protection film) was applied when new, so special care was taken when the 3 stage decontamination was carried out on the vehicle. A full clay bar treatment was carried out before the use of a de-tar and iron x treatment to finish the cleaning of the paint.
Ferrari F12
Ferrari F12 Rear view.
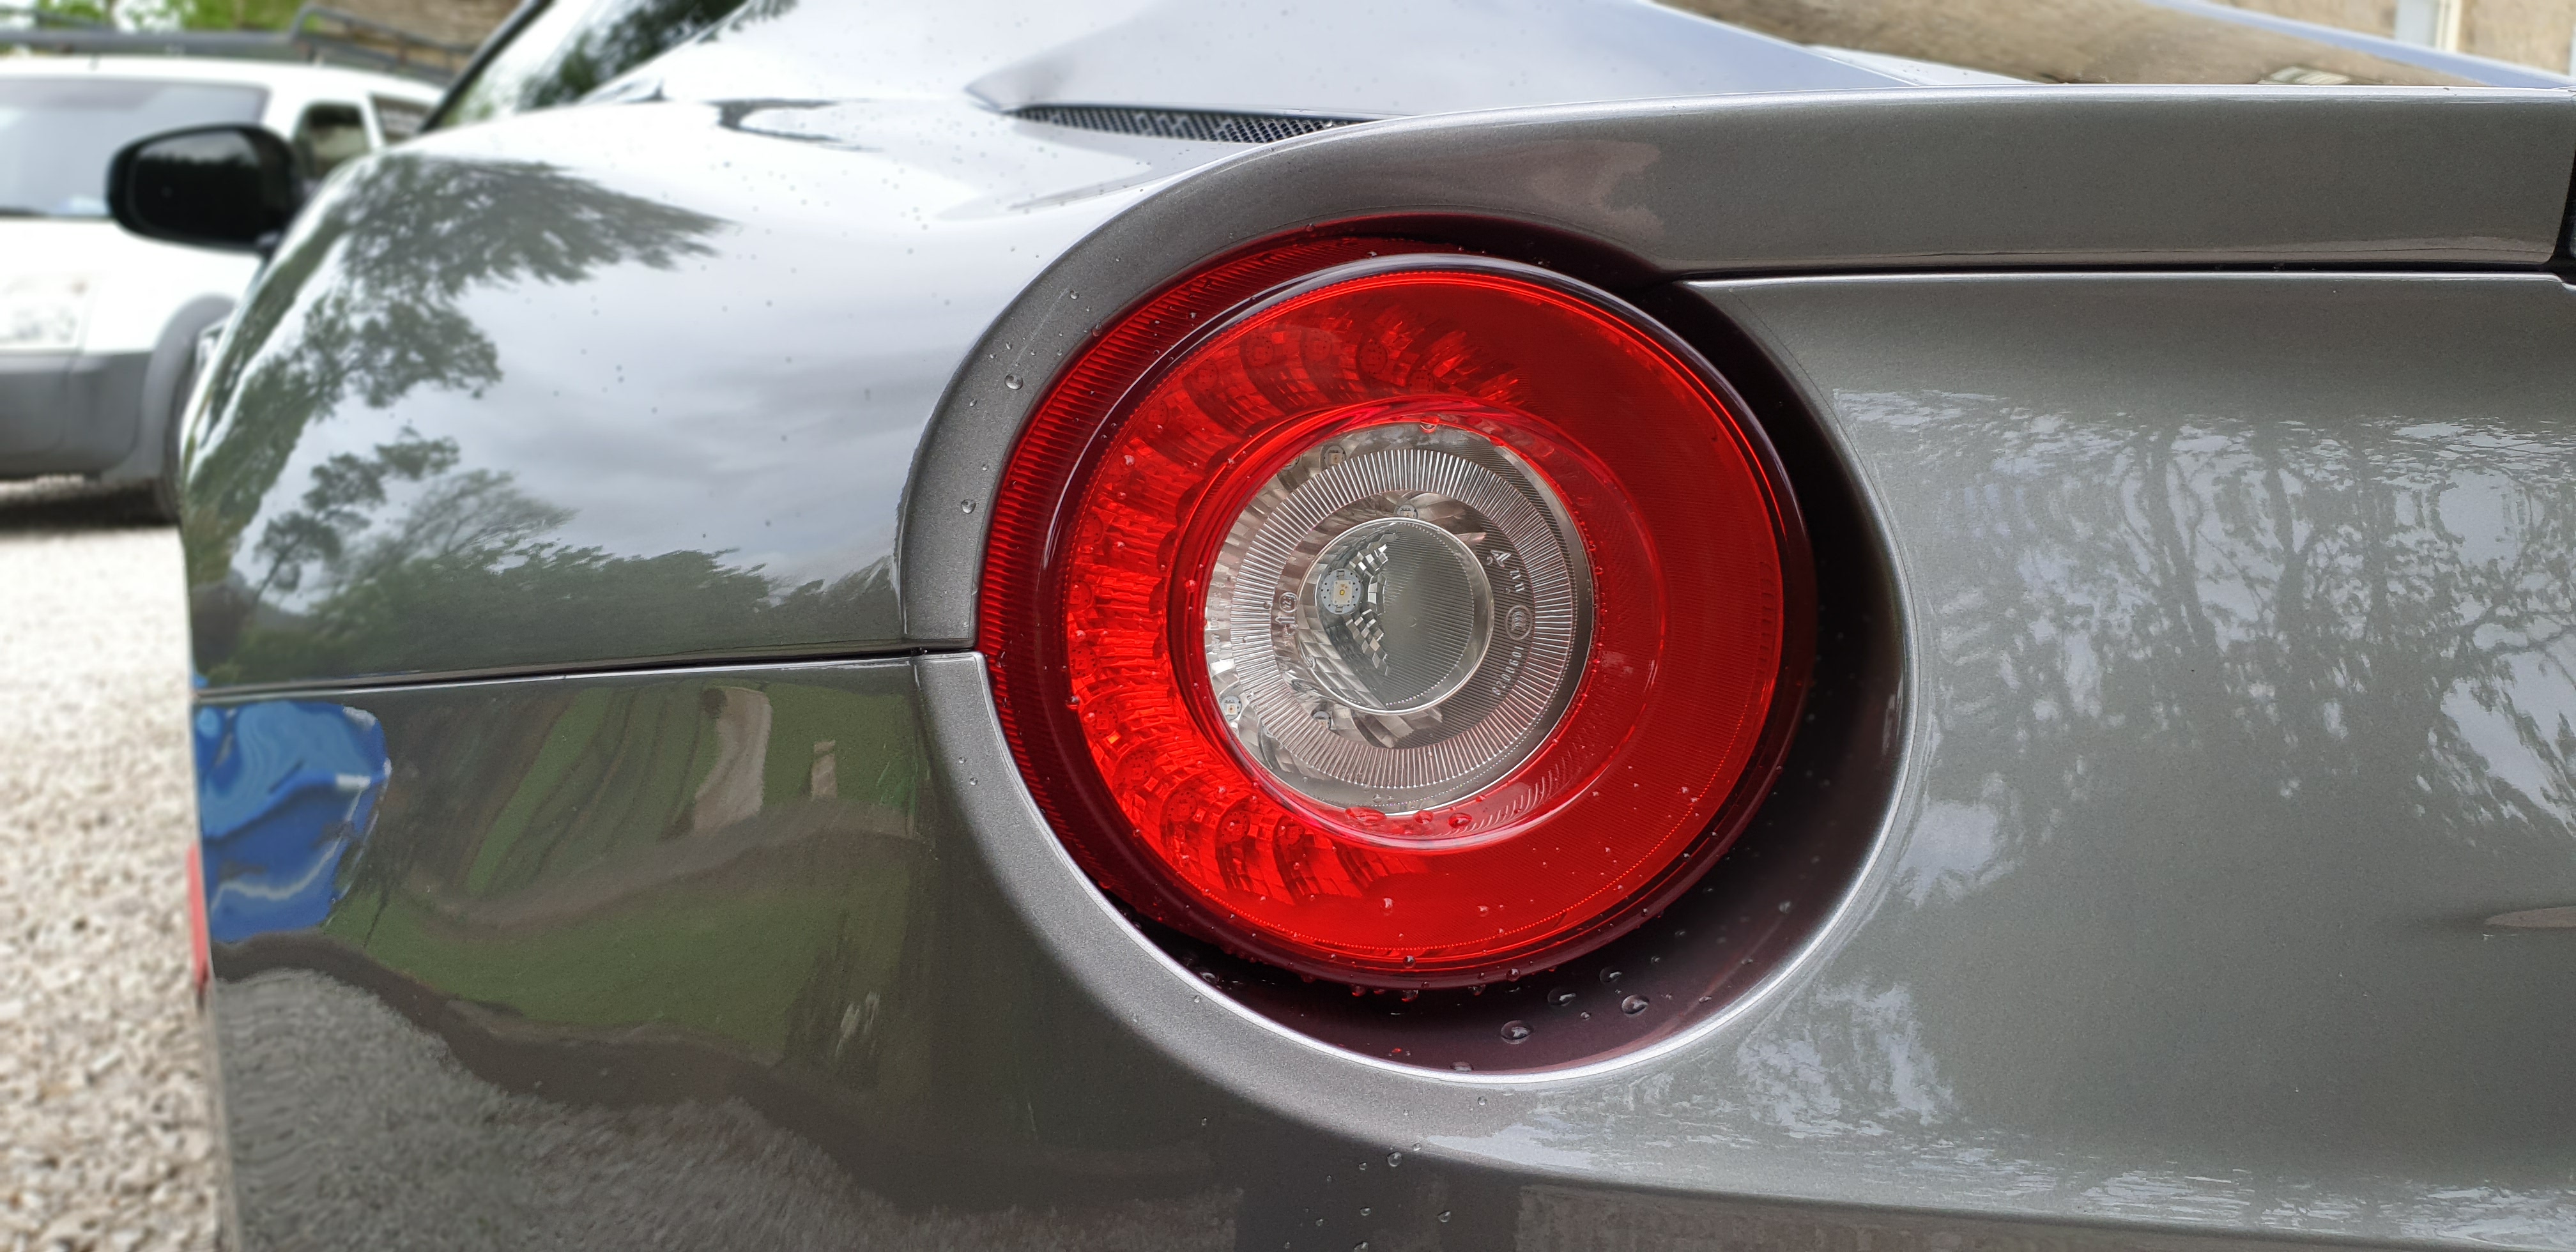
Ferrari F12 Rear light.
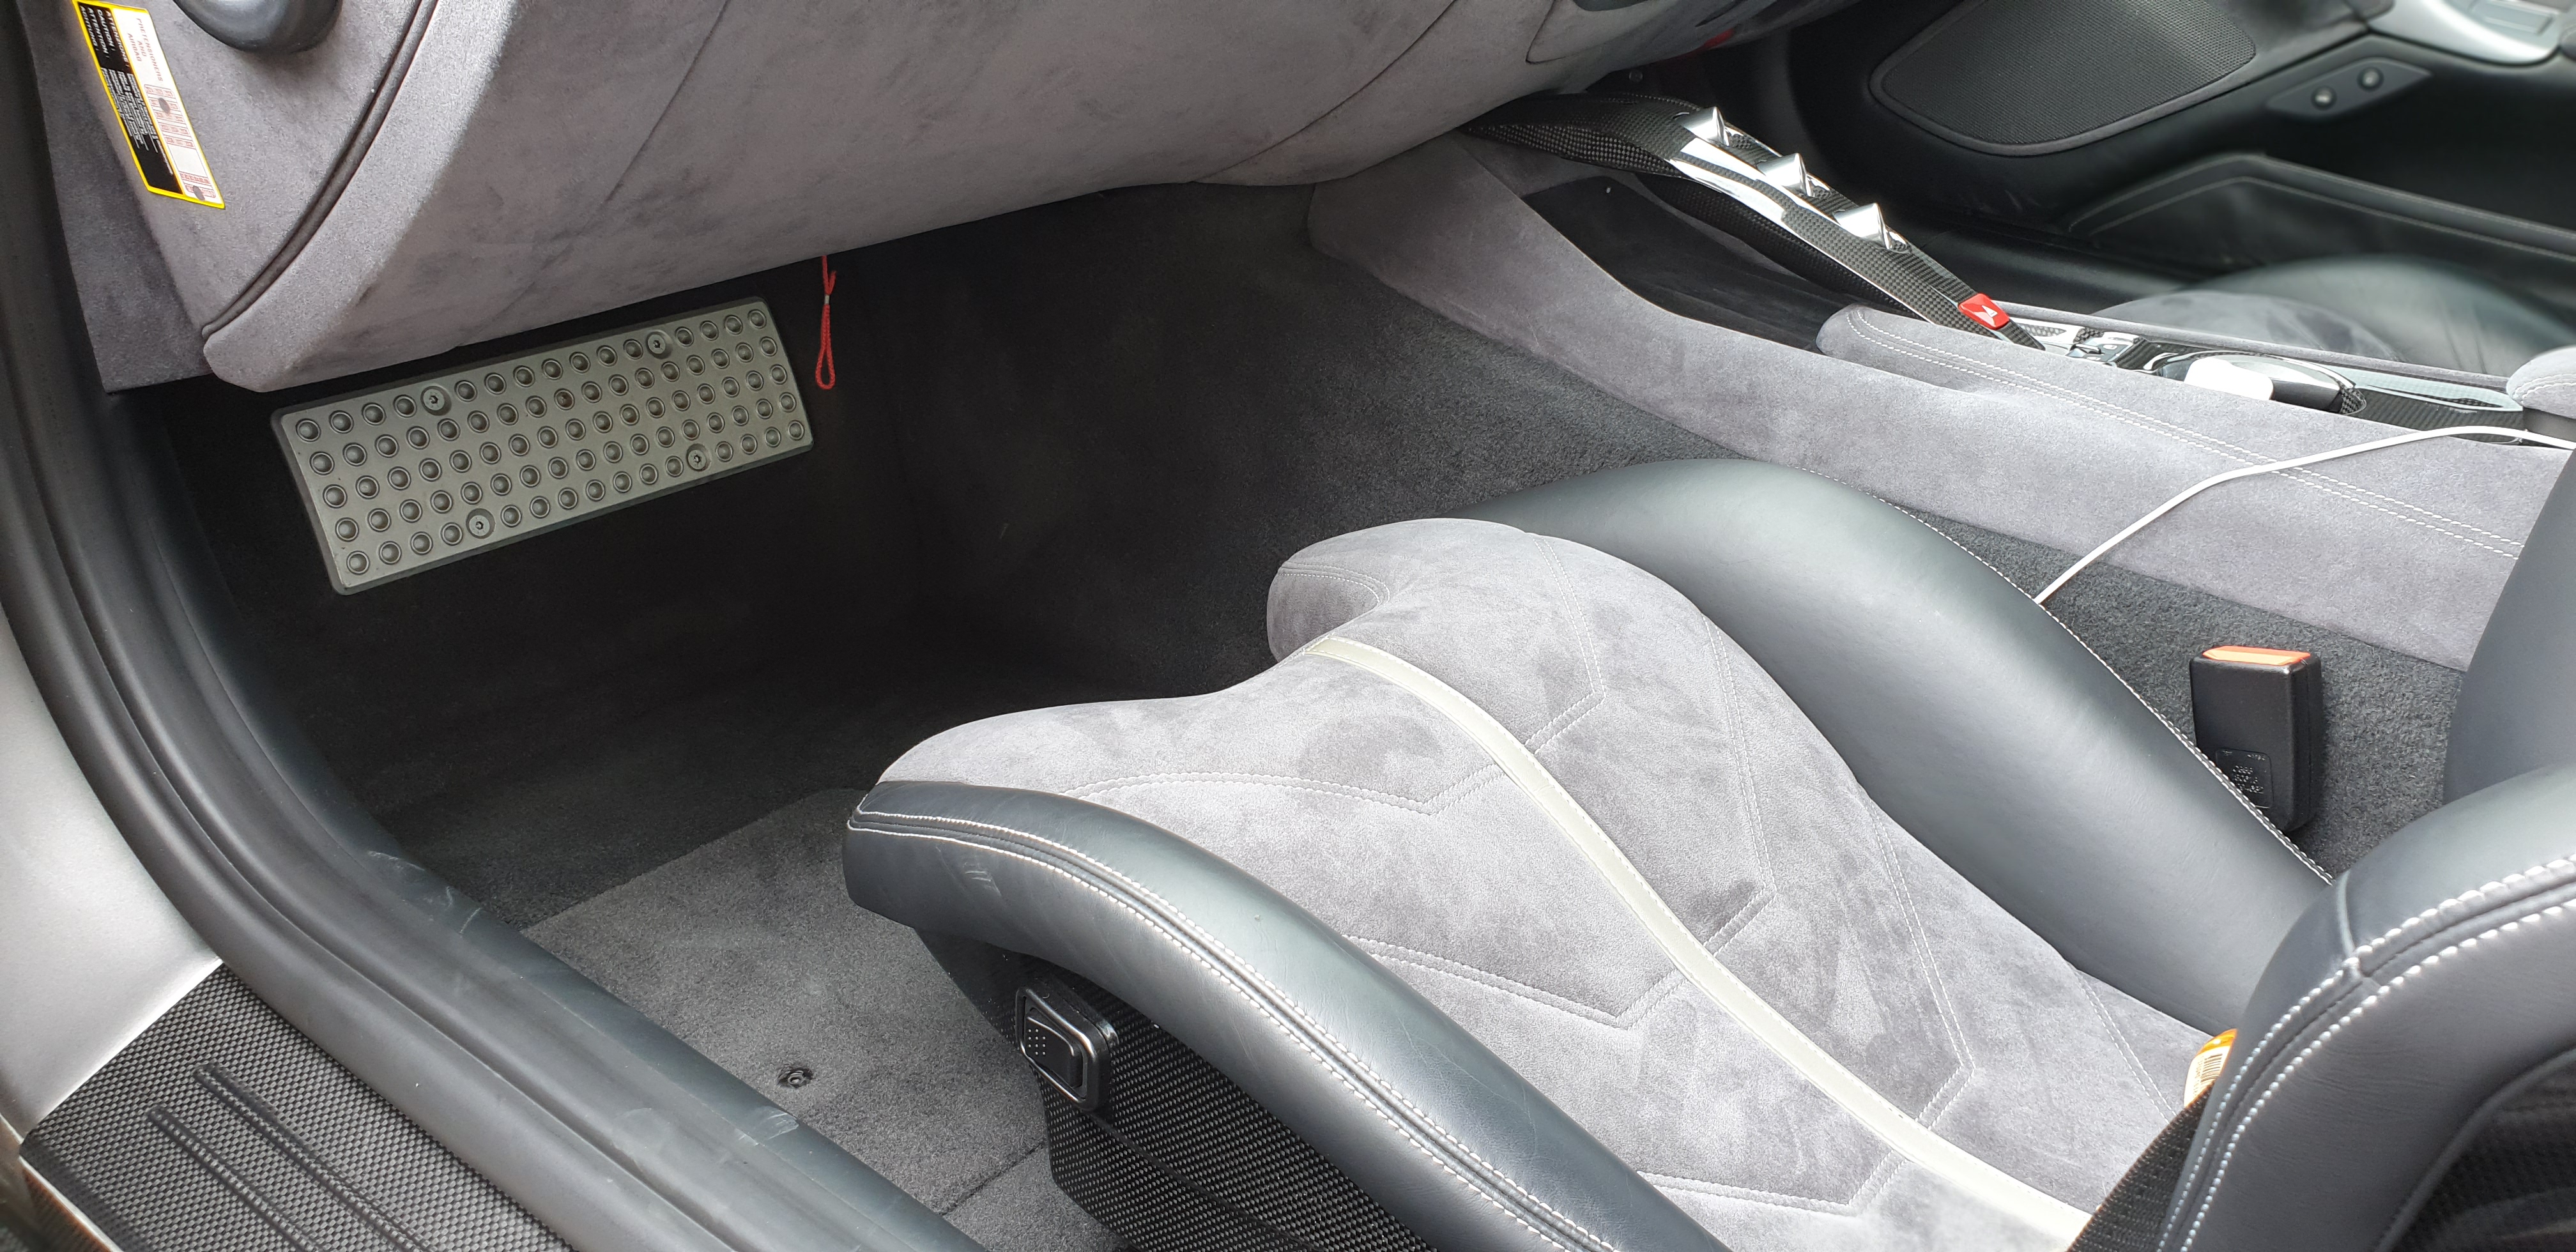
Ferrari F12 interior.
The exterior was finished with a specialised ppf wax which protects against UV and eases future cleaning.
F12 interior
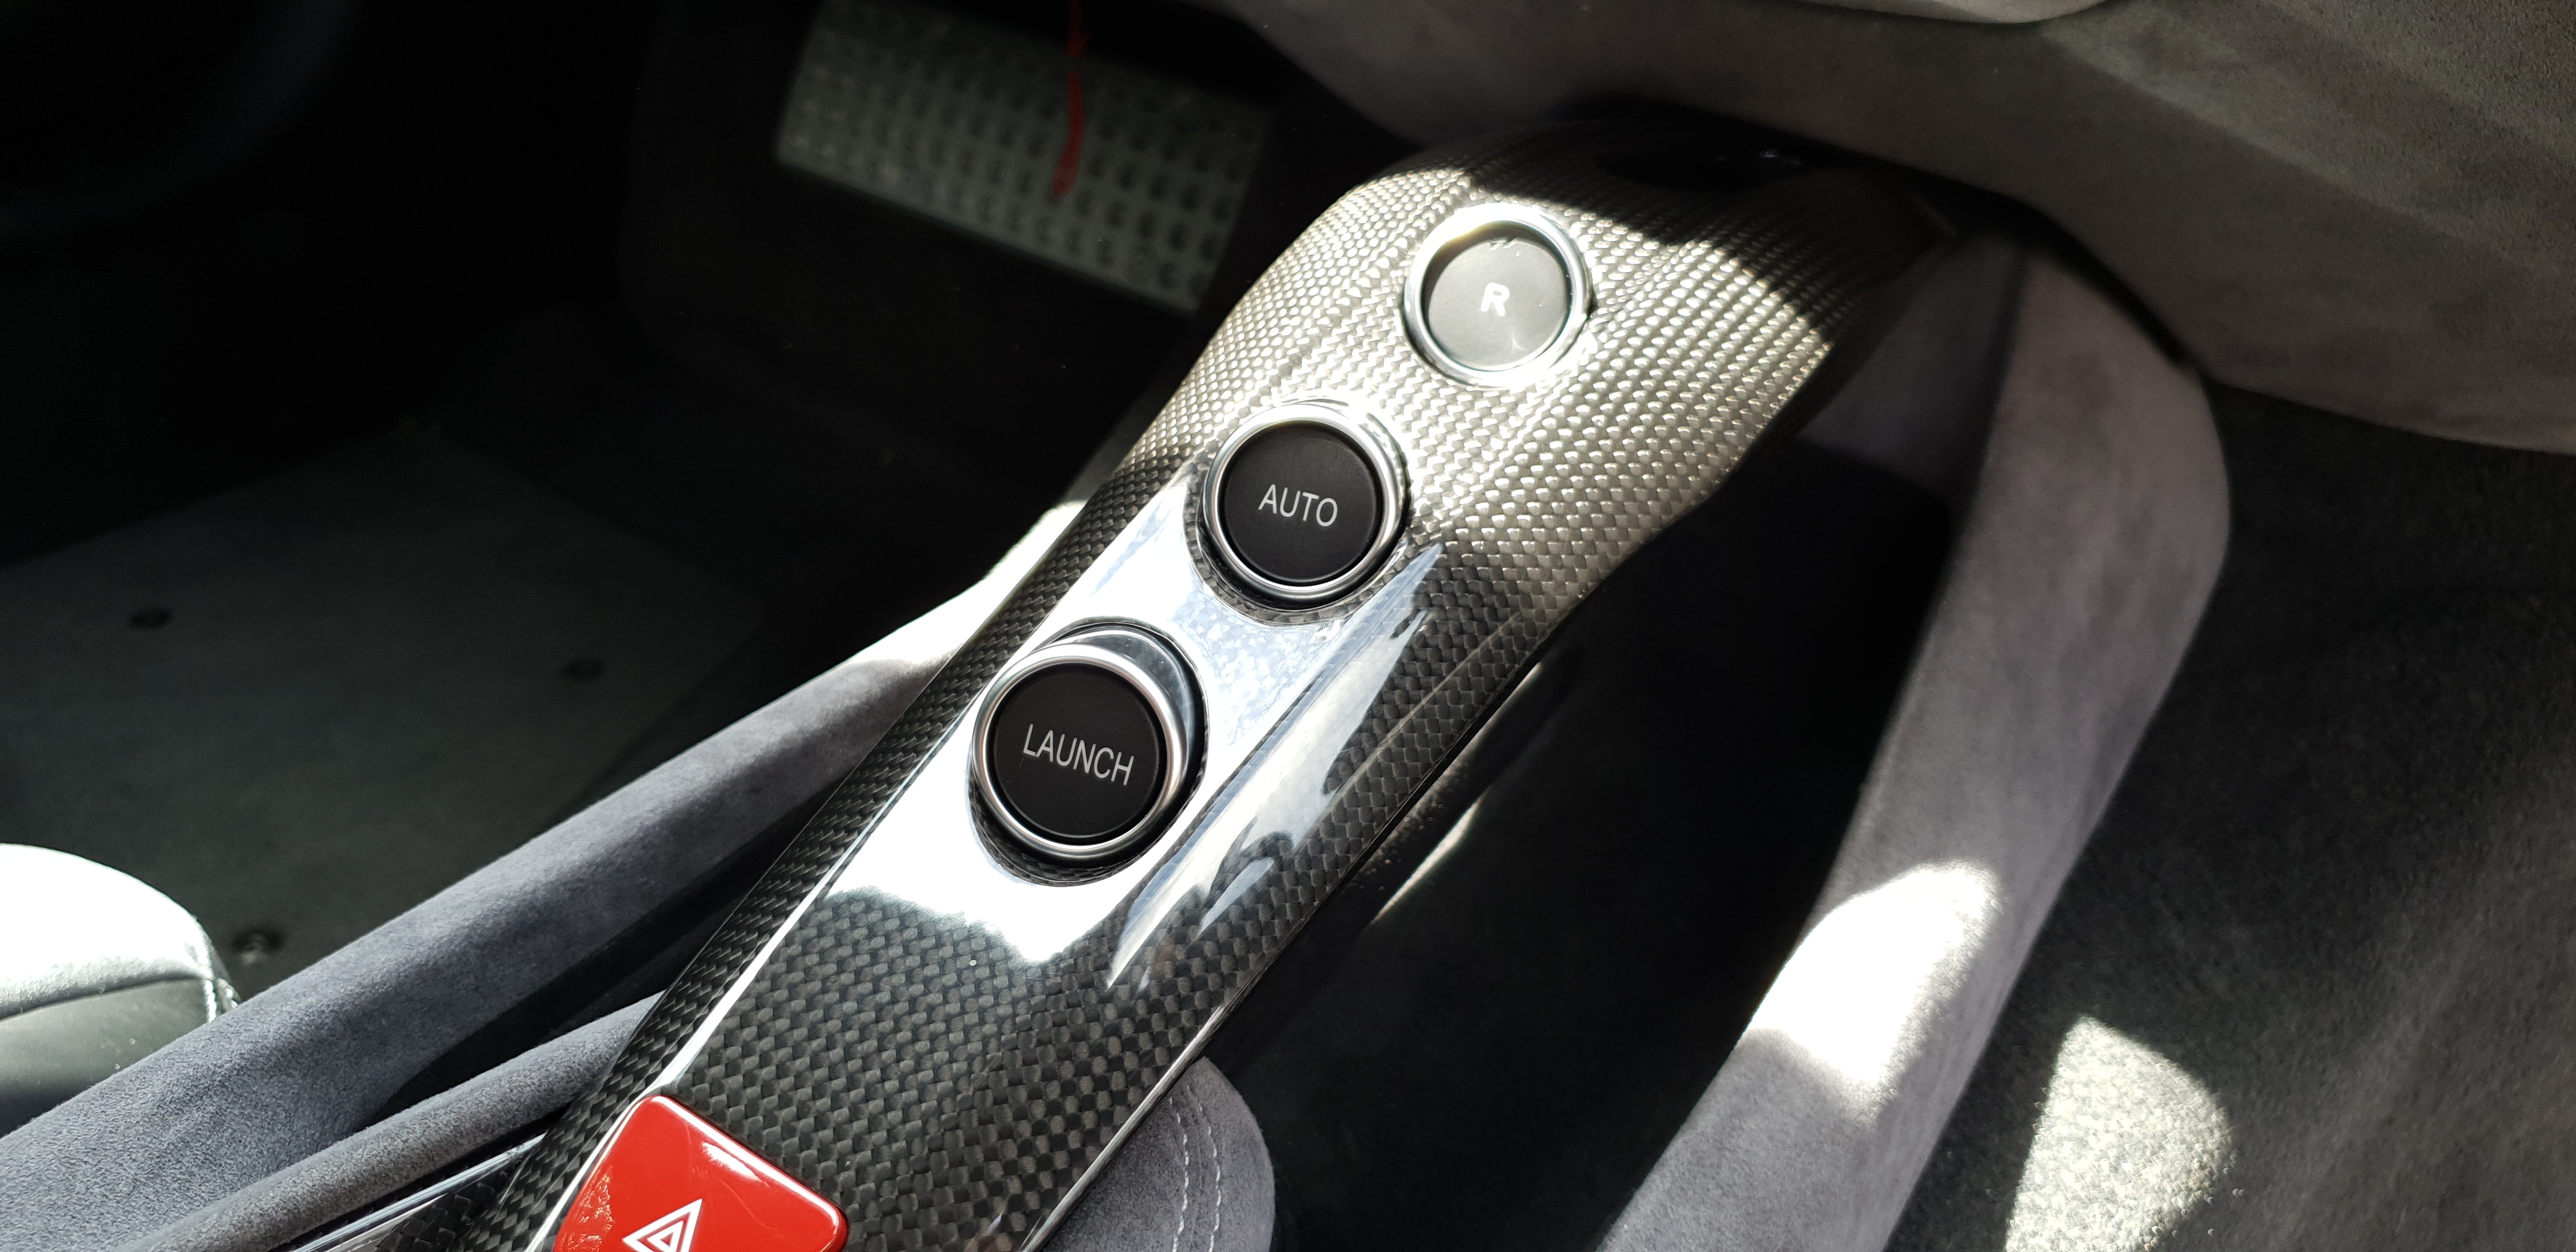
F12 launch control
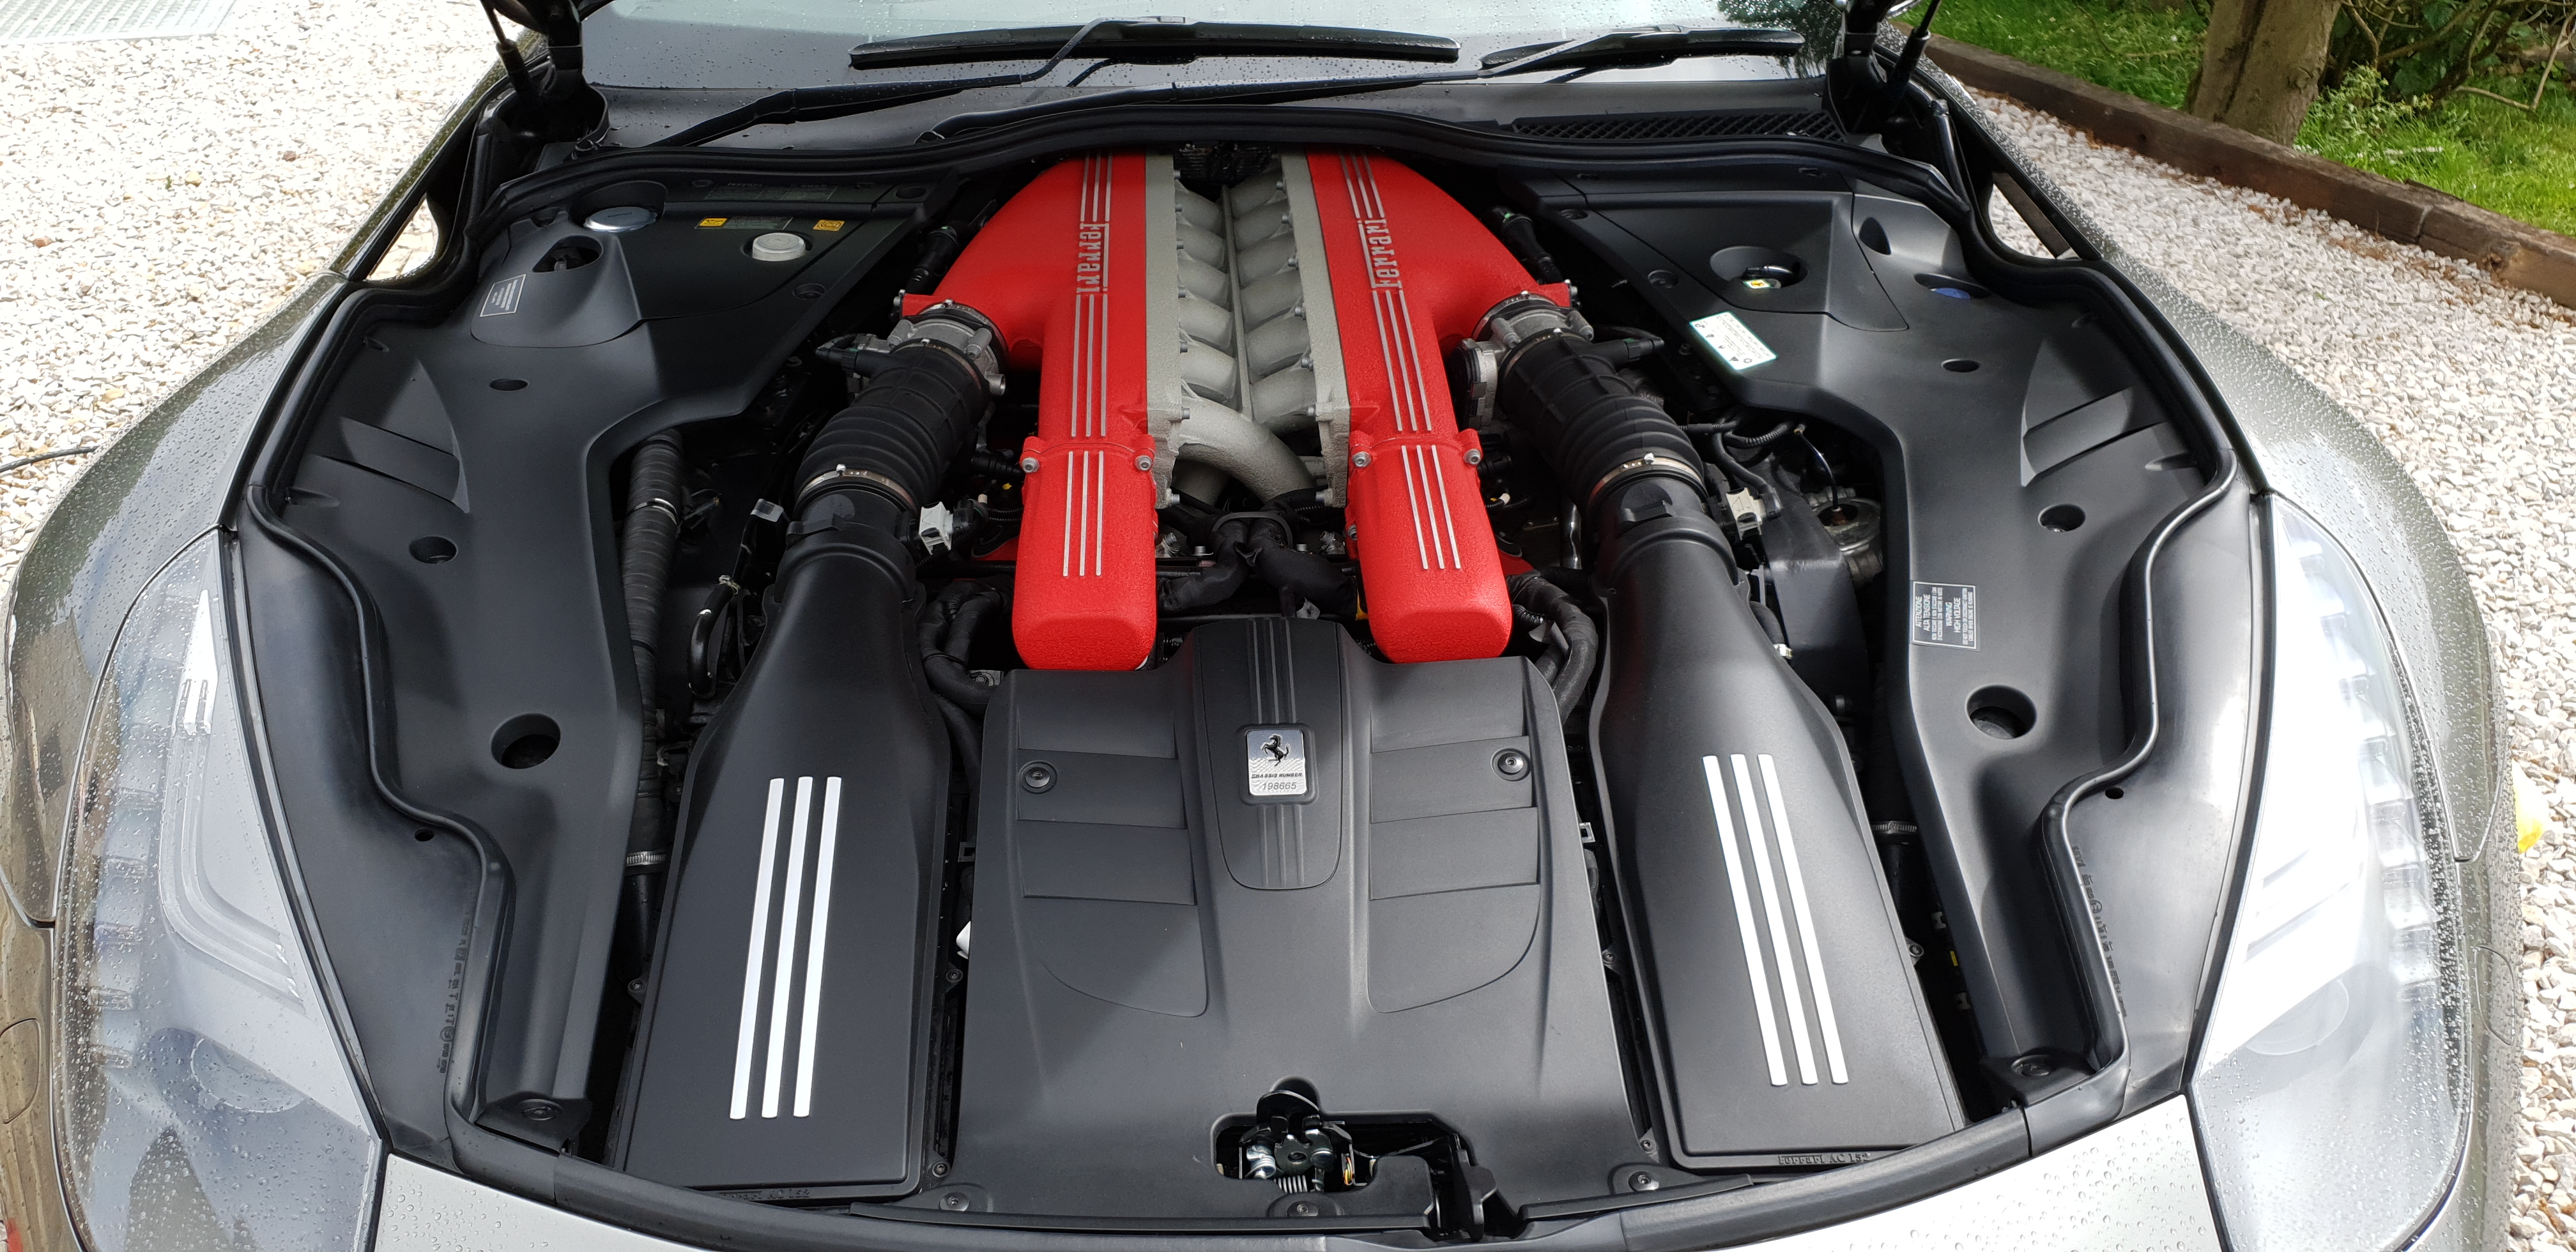
The engine bay was detailed using Autosol and detail spray.
F12 engine bay
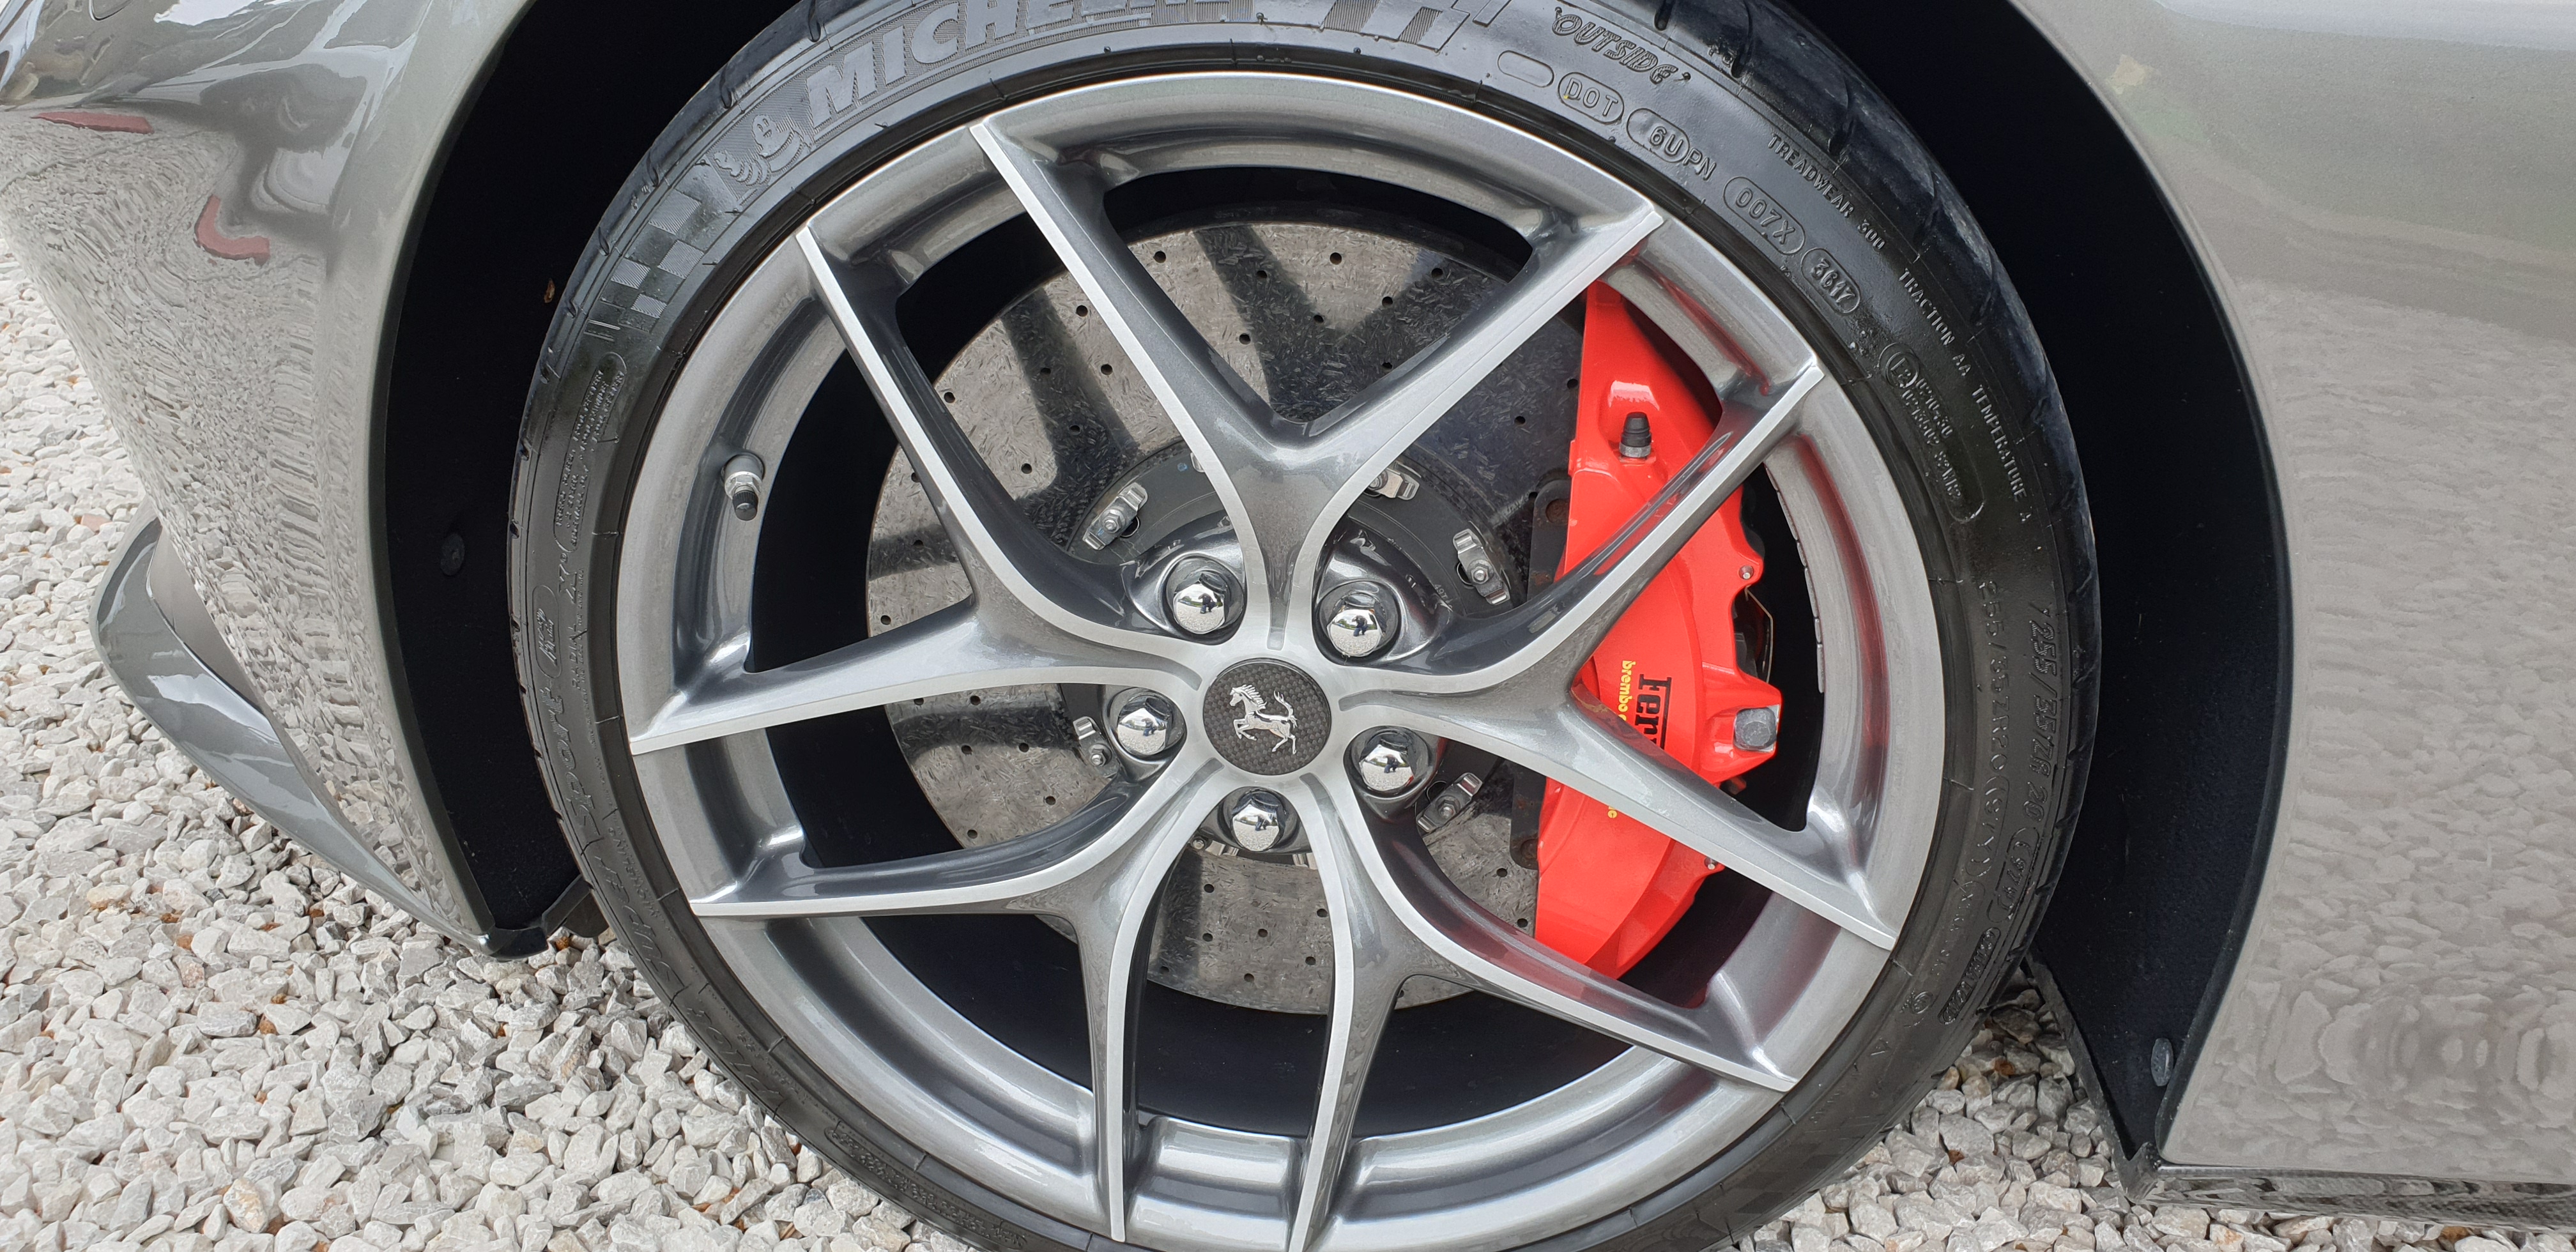
Windows were cleaned and sealed using carlacks glass sealant and the wheels sealed with a good quality wheel wax.
Ferrari F12 wheel
Ferrari F12
https://www.reflectivedesire.co.uk/wp-content/uploads/2019/06/20190530_133524-scaled.jpg12442560adminhttps://www.reflectivedesire.co.uk/wp-content/uploads/2024/08/reflective-desire-300x161-2.pngadmin2019-06-14 15:20:542019-06-14 15:20:54Ferrari F12 Berlinetta AB S-A. 3 stage decontamination and seal.
")
 Reflective Desire
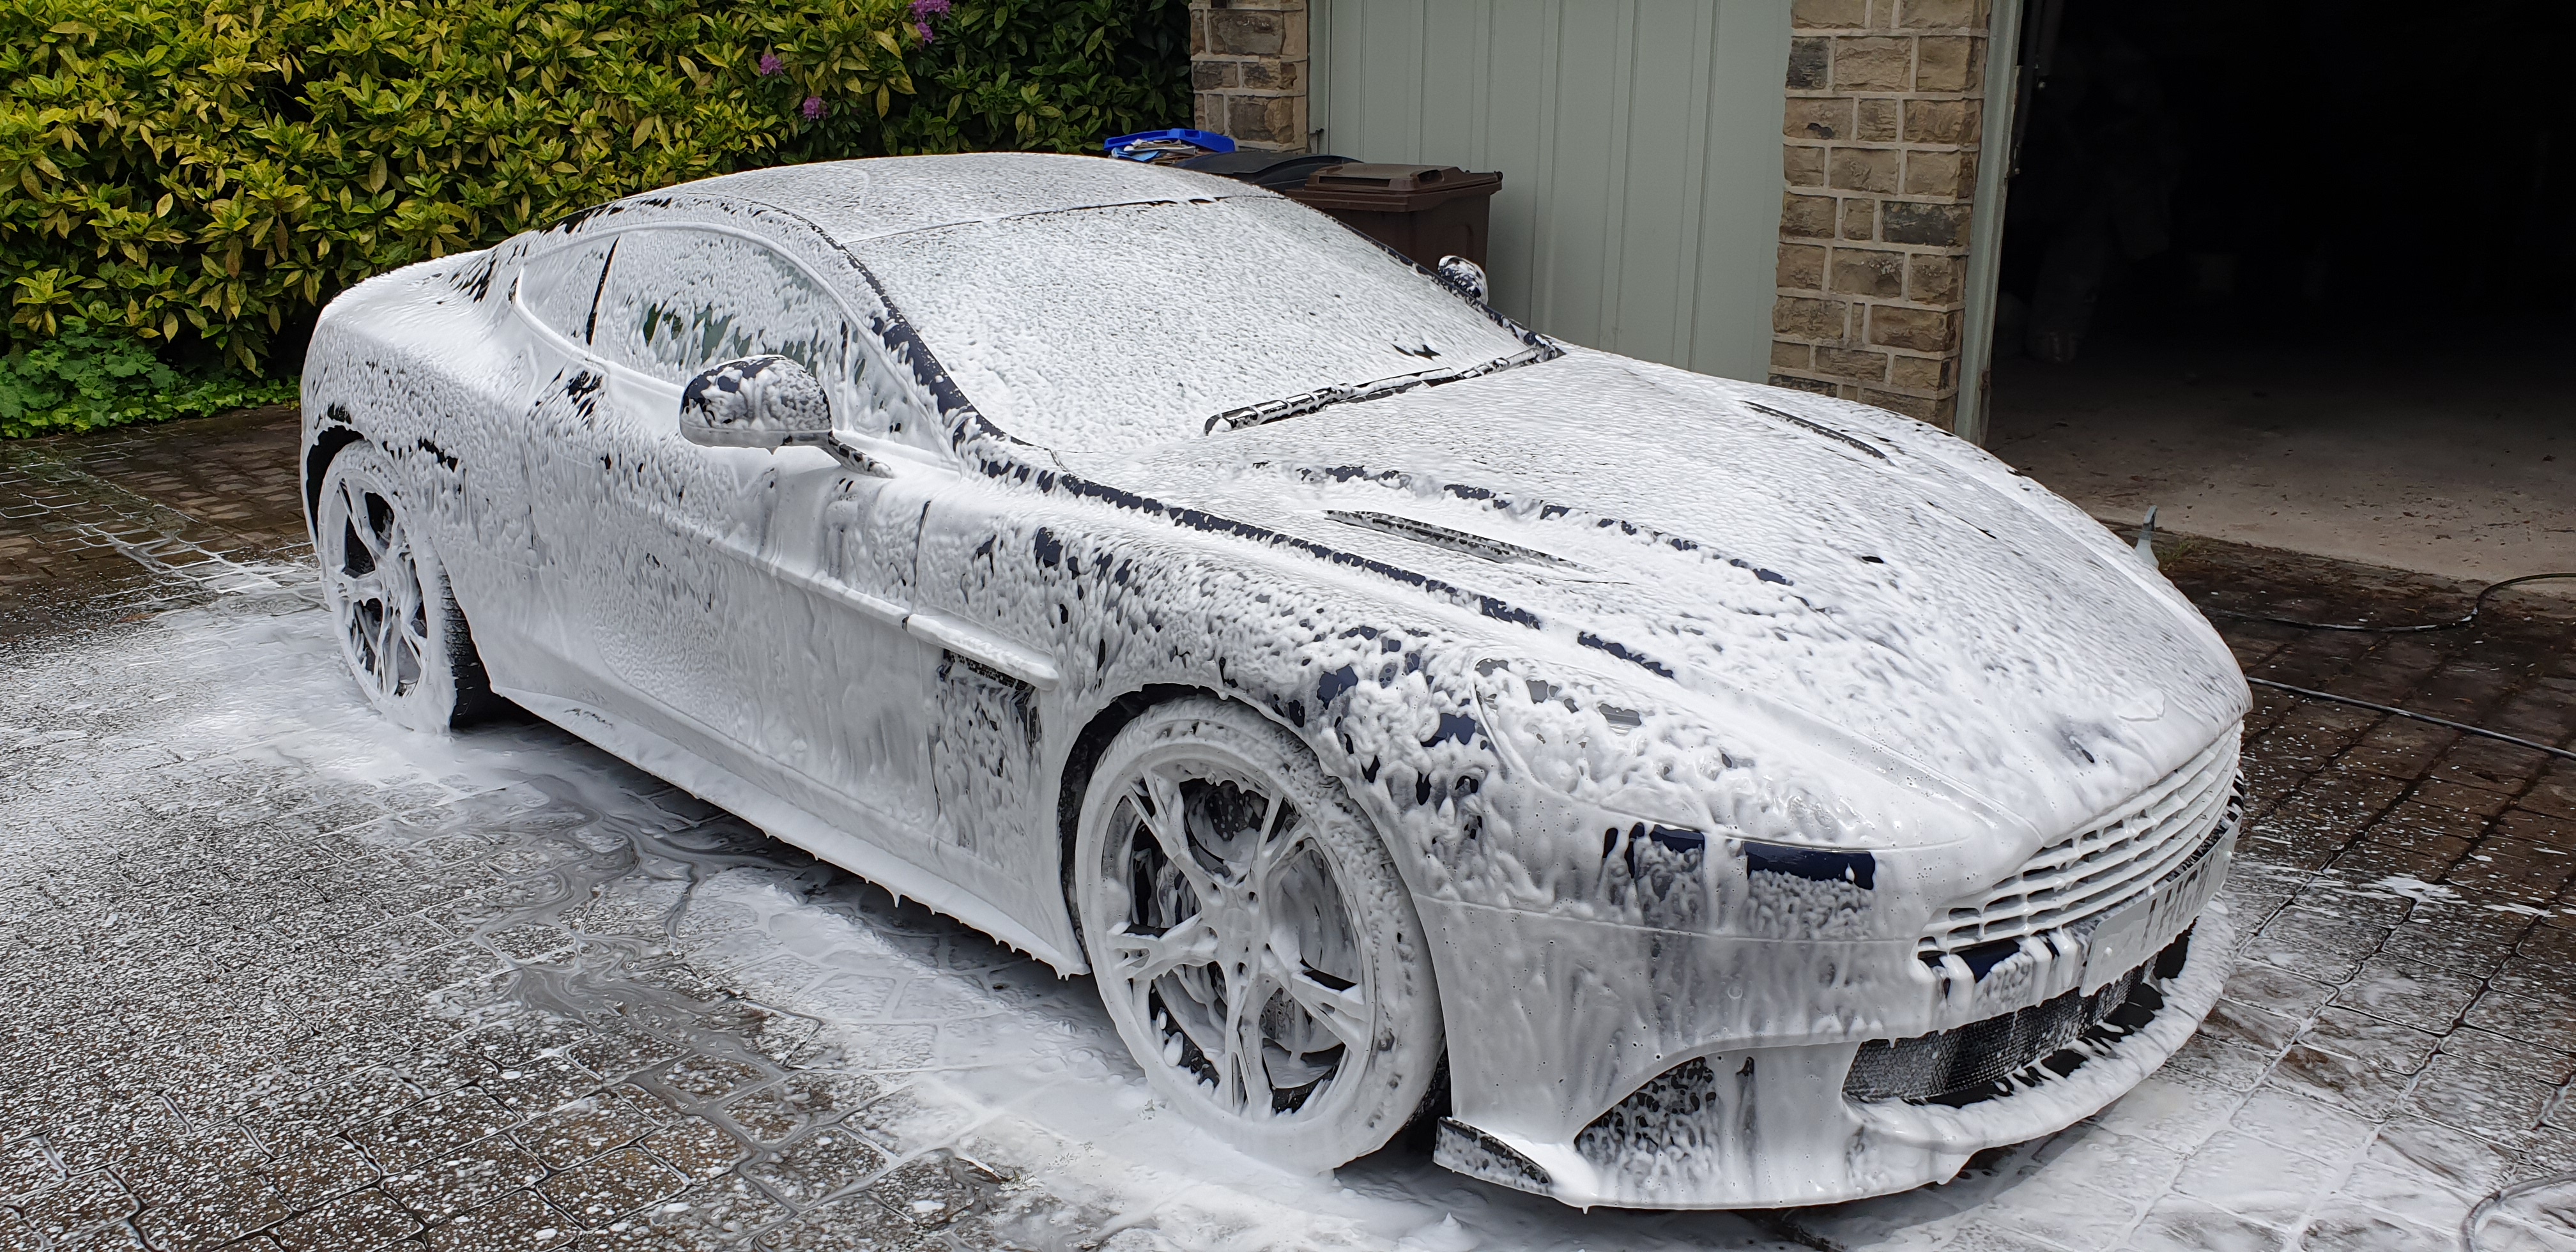
 Reflective Desire.
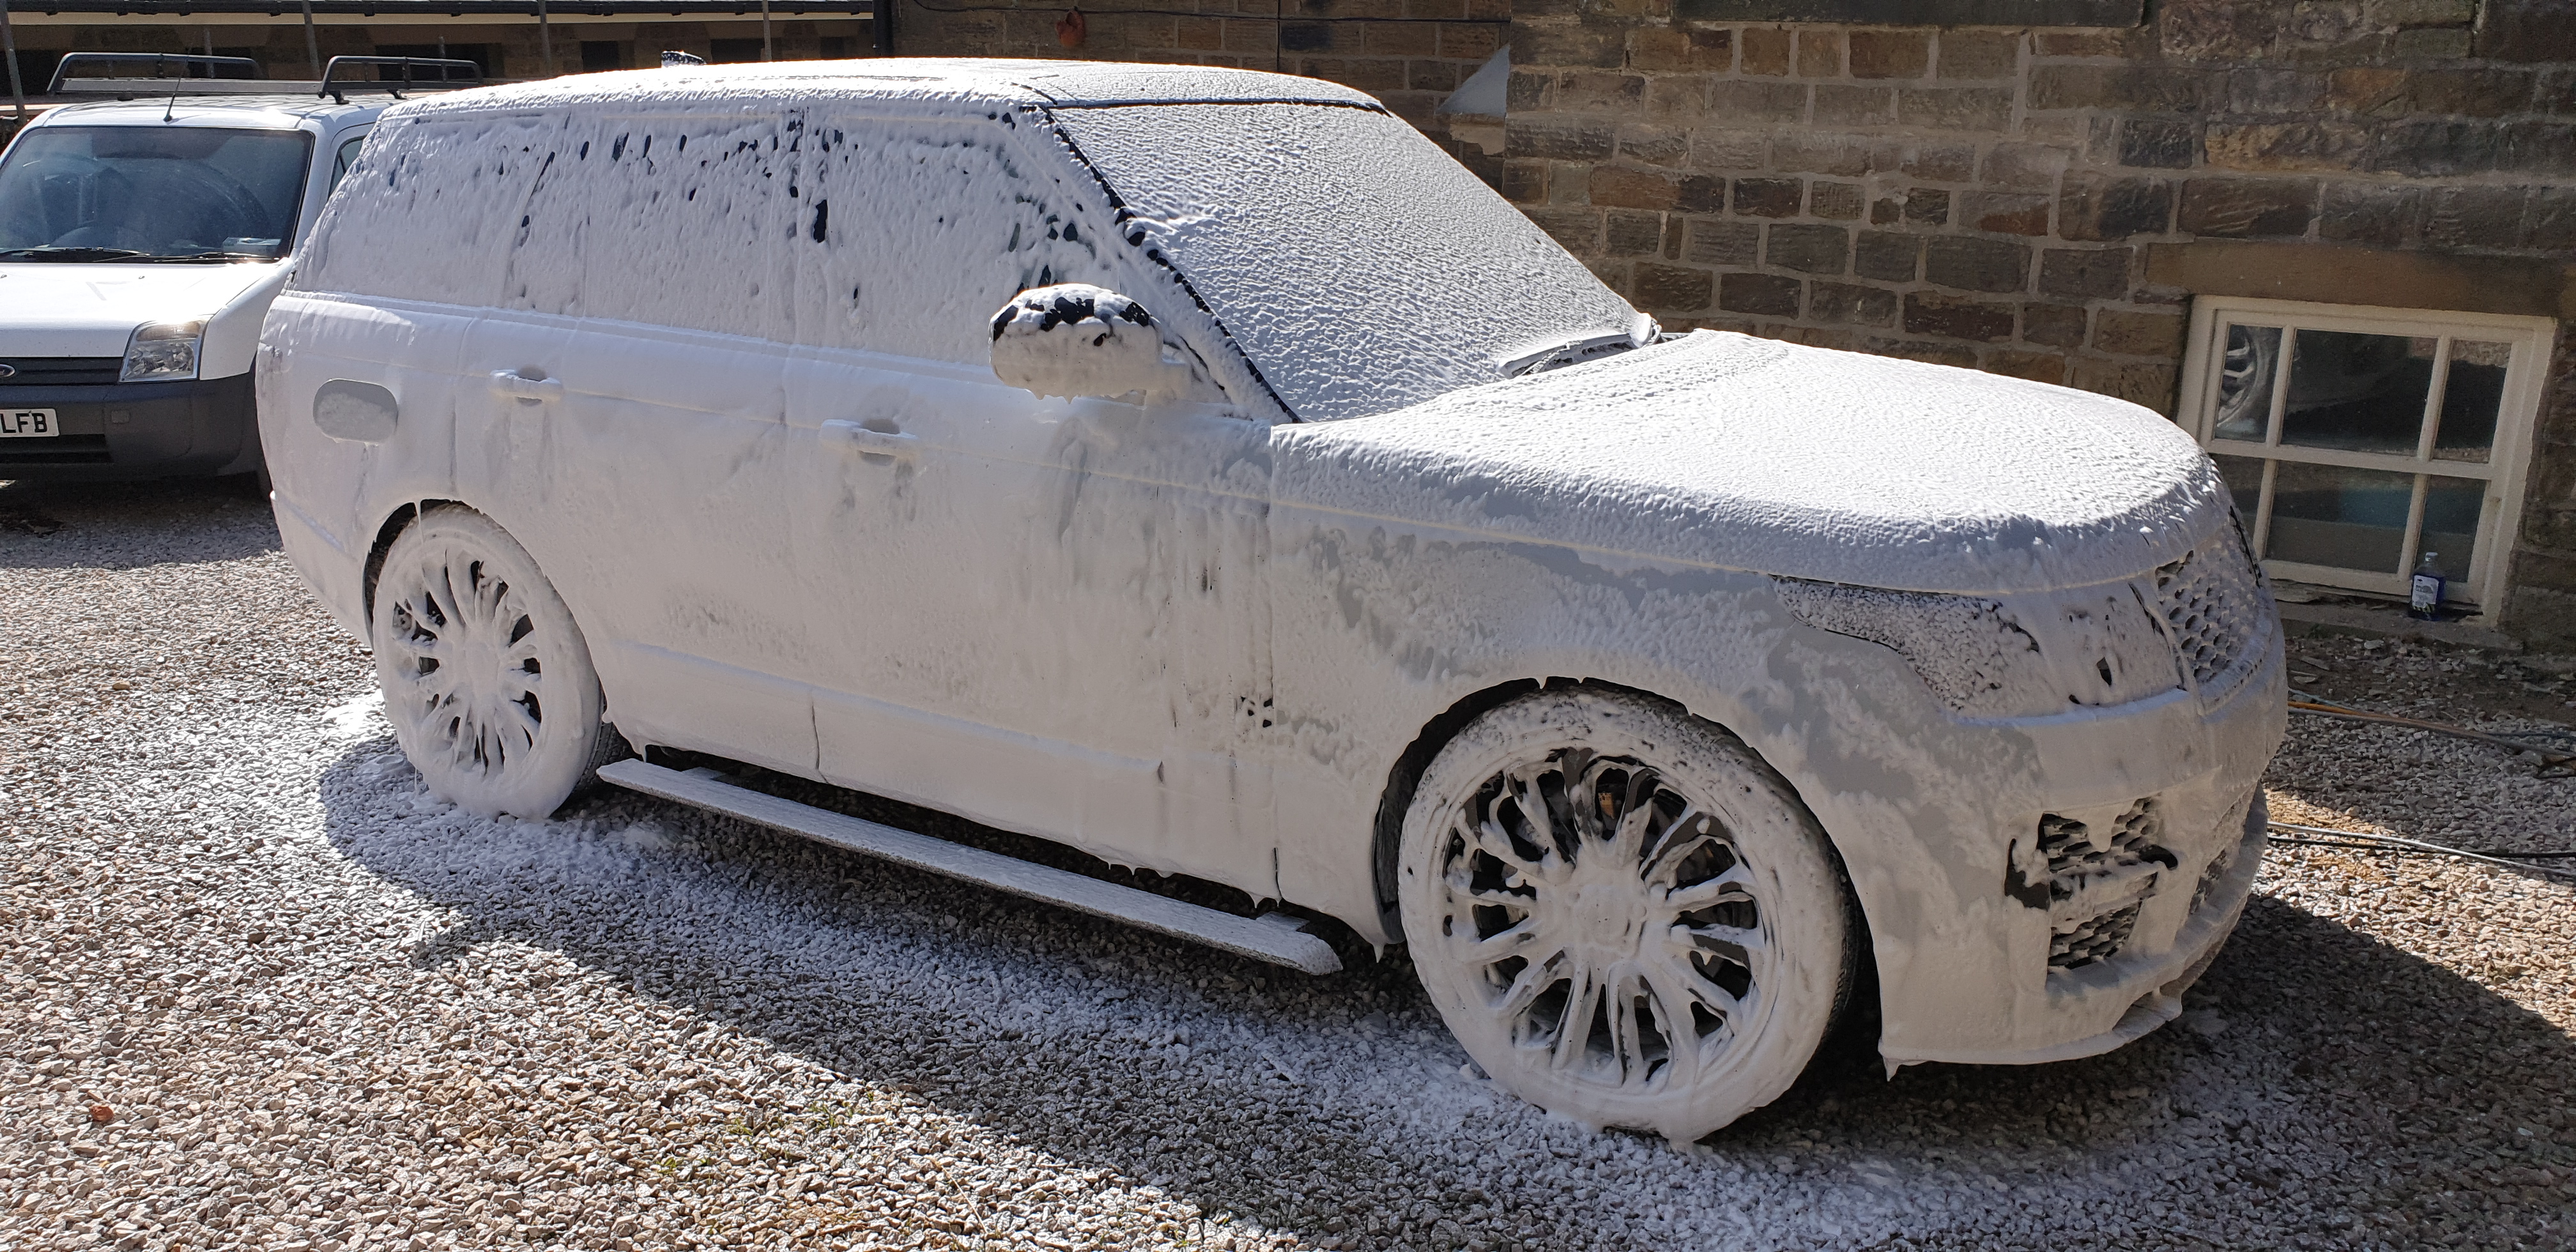

 Reflective Desire Valeting and Detailing
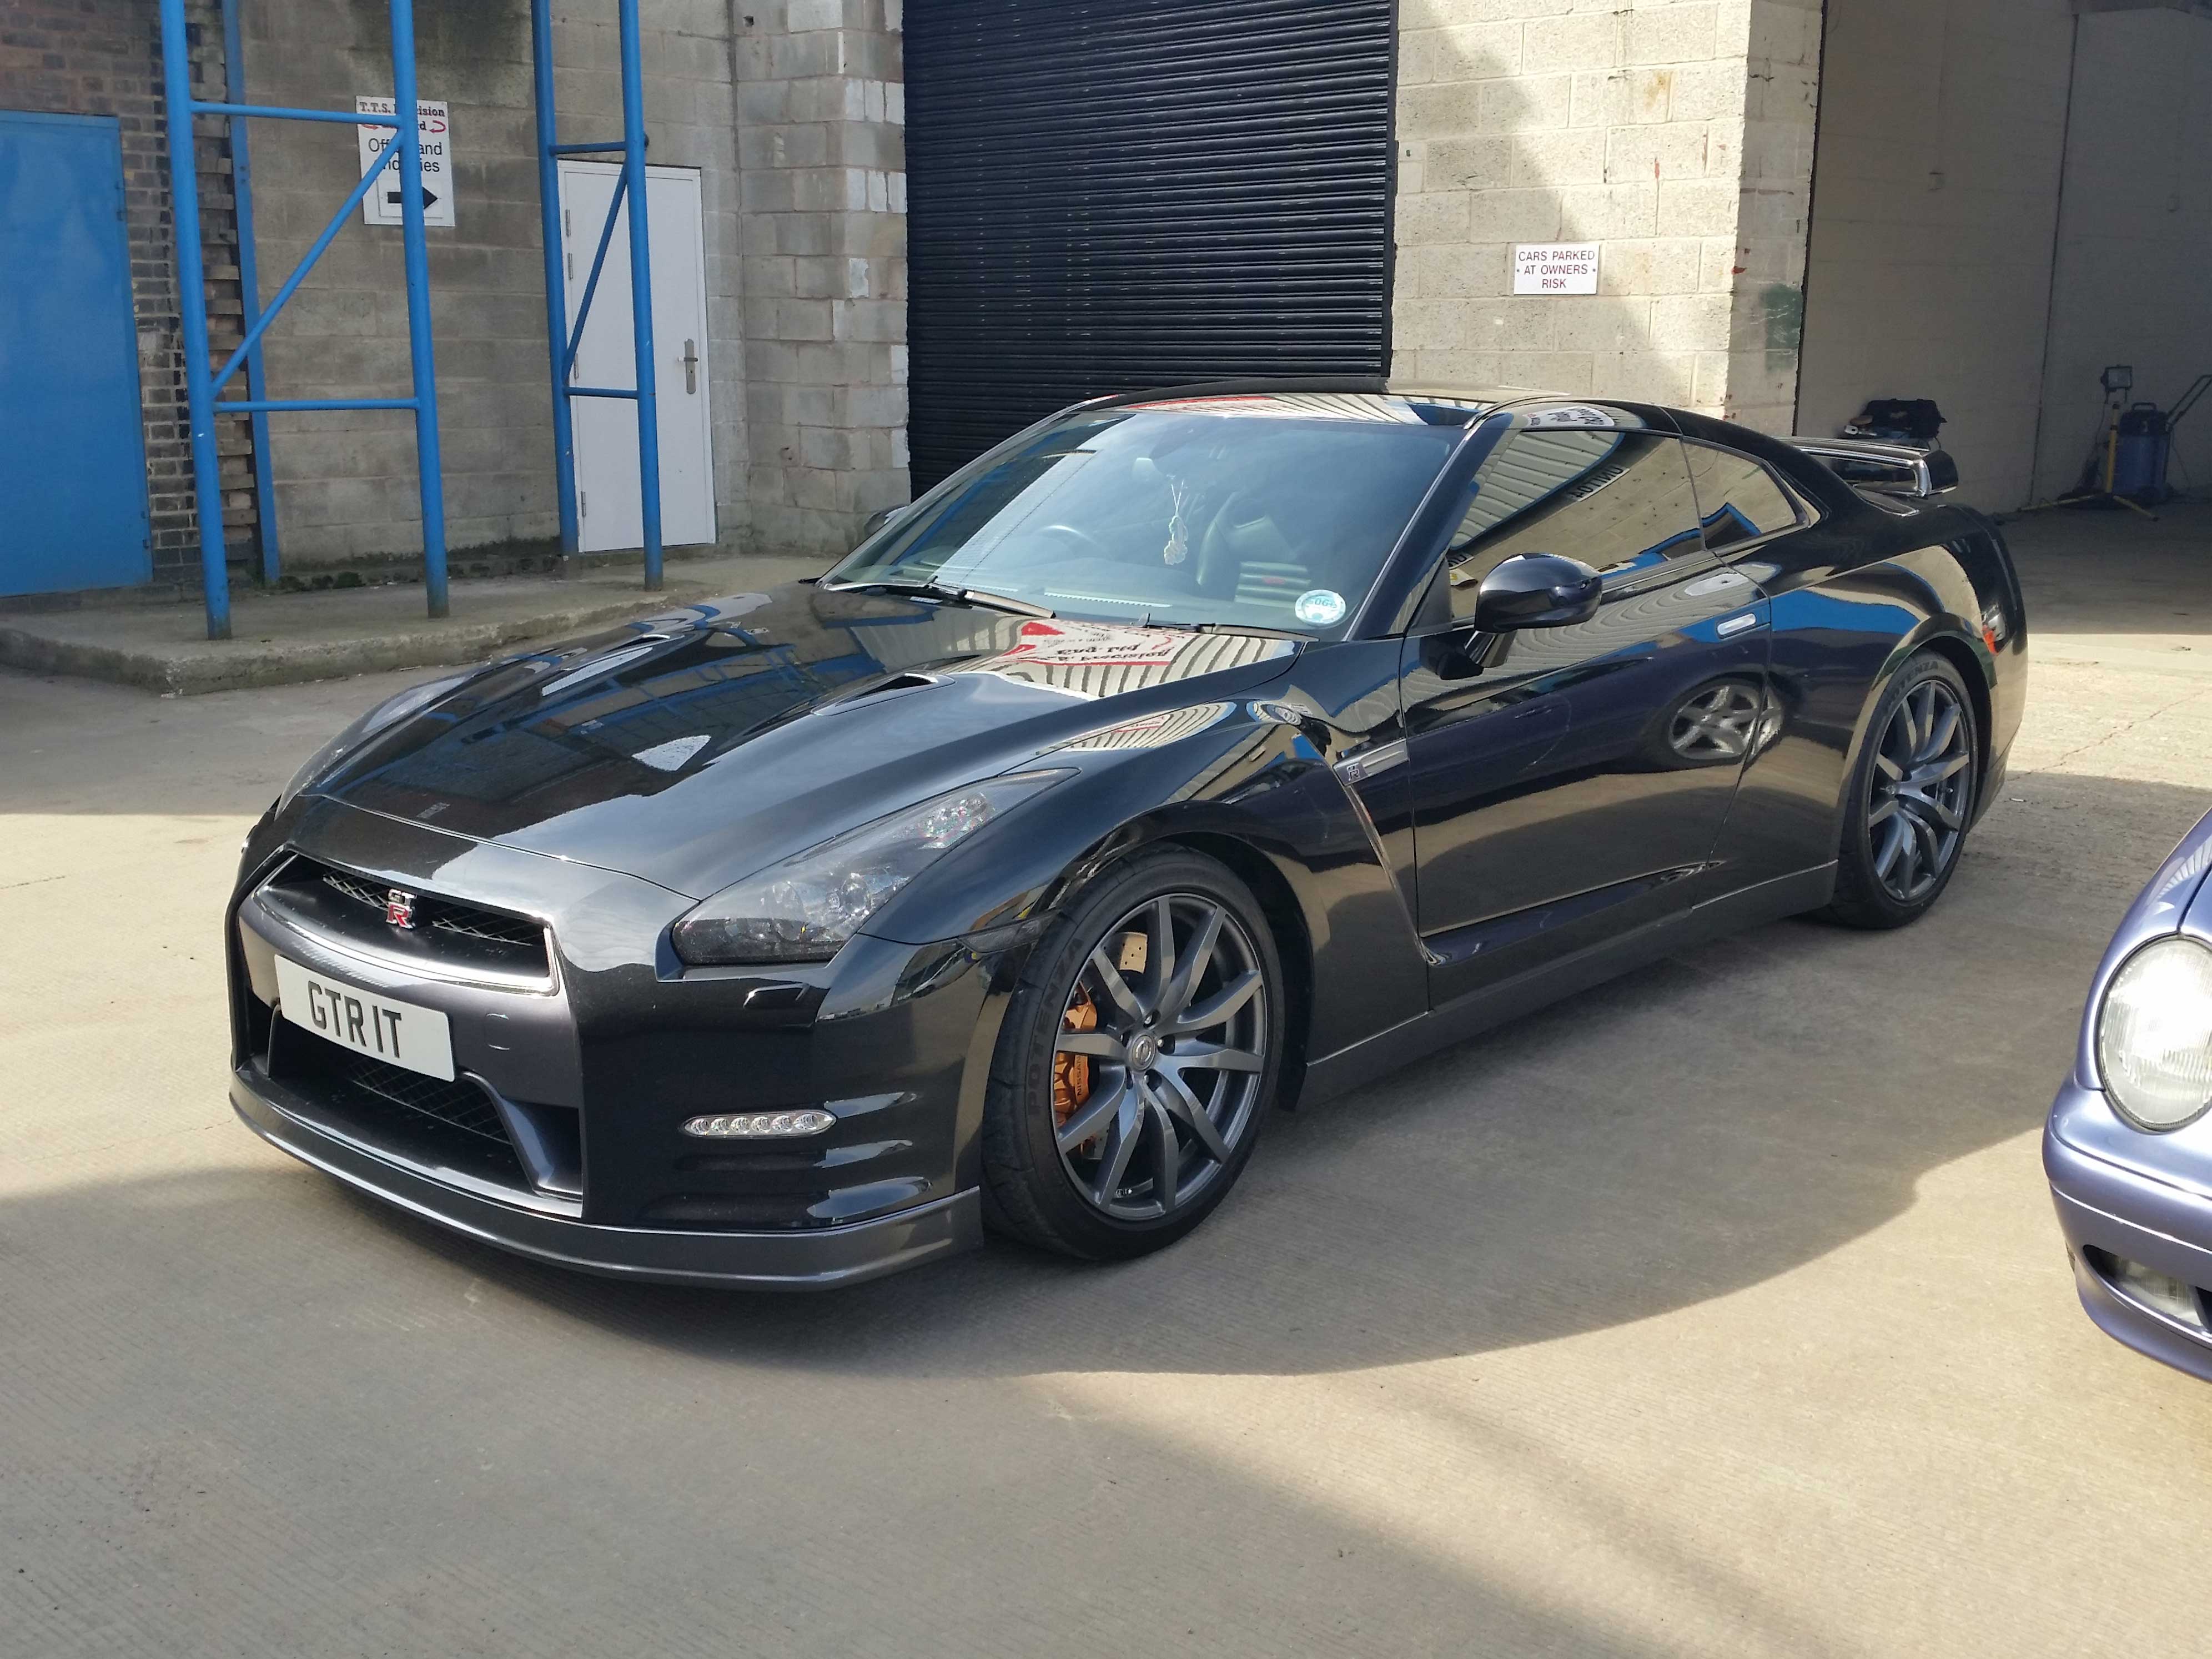


 Reflective Desire